
Baking something simple at home always feels like wrapping the kitchen in a warm blanket. You chop, measure, mix, and a familiar smell fills the housesteady, pleasing, and oddly reassuring. When kids come home from school or friends drop by, a pan of homemade granola bars invites conversation and a sense of shared comfort that store-bought snacks rarely match.
These bars fit into busy days and slow Sundays alike. You can shape them into tidy squares for lunchboxes, crumble them over yogurt, or tuck a couple into a hiking pack. They hold memories: the first batch you made when you moved into your own place, the version tweaked to please a picky eater, or the time a late-night craving turned into a bittersweet chocolate drizzle experiment. Each batch gives you room to improvise and the instant reward of something wholesome and homemade.
At DishGrub, we test recipes until they come out reliable and unfussy. We keep a practical eye on ingredients you can find in most U.S. grocery stores and techniques that busy home cooks can repeat week after week. Our kitchen focuses on cozy comfort food made simple: short ingredient lists, clear steps, and small tips that help you avoid common mistakes. This granola bar recipe reflects that philosophy. It uses pantry stalwartsoats, nuts, nut butter, and a touch of sweetenerand lets you play with dried fruit, chocolate, or seeds depending on what you have on hand. We test variations so you can skip trial-and-error at home.
I encourage you to read through the full method, then make the bars your own. Try toasting the oats or swapping in sunflower seed butter for a nut-free version. When you press the mixture into the pan, do it with confidence; solid bars start with a firm hand. And when you taste that first bite, take a moment. Comfort in the kitchen often arrives in small, chewy squares.
Why you’ll love this dish
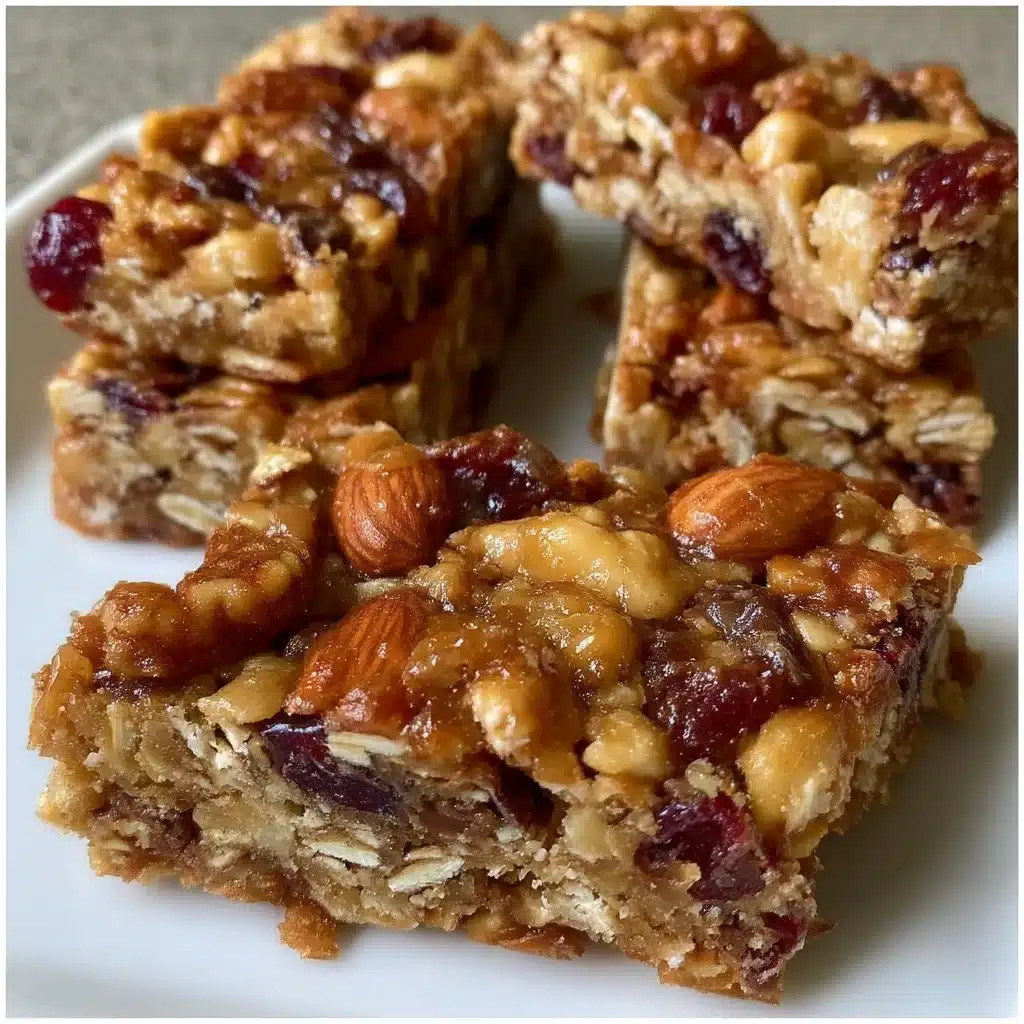
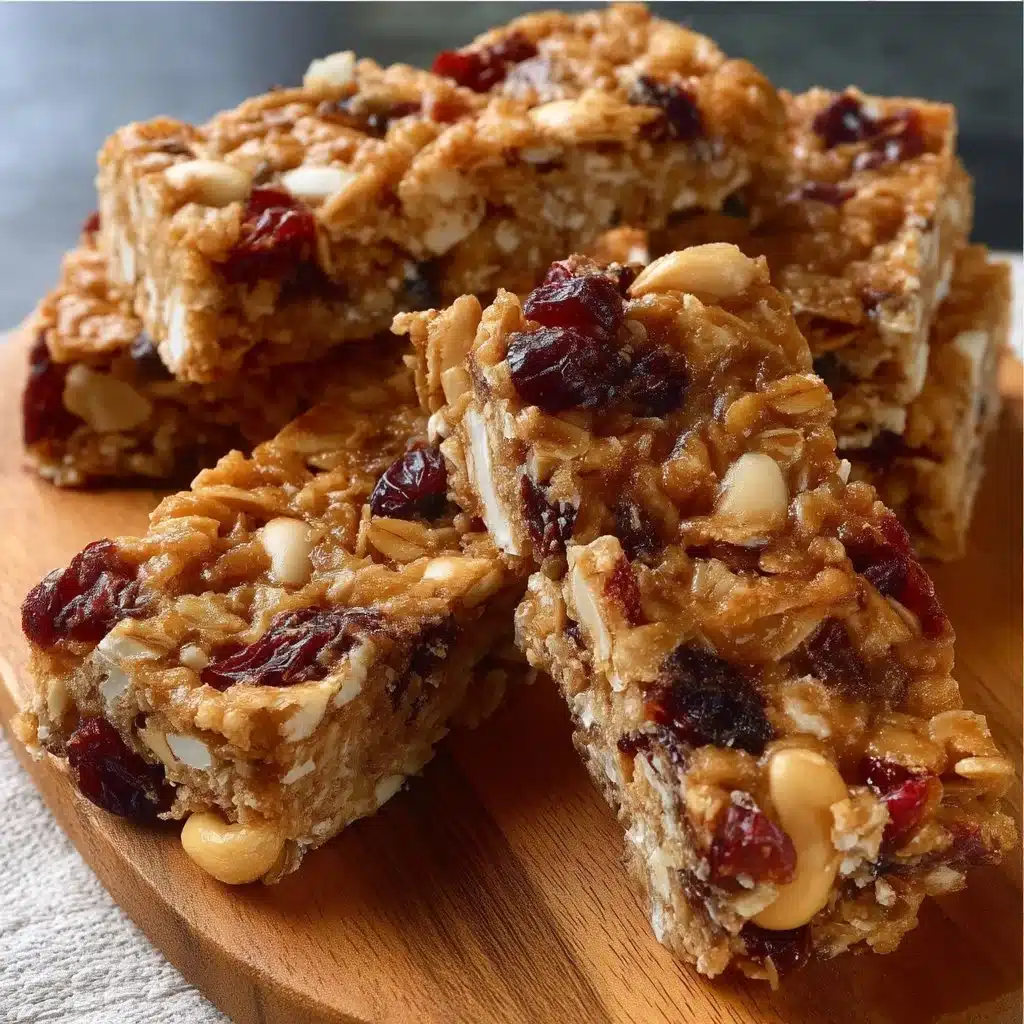
This recipe balances chewy oats, crunchy nuts, and sticky nut butter so every bite feels satisfying. The oats and nuts provide texture and a toasty flavor, while the honey or maple syrup binds everything together and browns lightly in the oven. The nut butter gives richness and keeps the bars cohesive without relying on processed binders.
You will also love how flexible it stays. Swap almonds for walnuts, maple for honey, or add seeds and spices. The base method remains the same, so you can customize to dietary needs, seasonal fruit, or what’s left in the pantry. These bars travel well, they make a great snack for kids and adults, and they store longer than cut-up fruit or fresh baked goods.
Because the recipe uses common ingredients and a single pan, you can make a batch when you have 30 minutes to spare and enjoy bars all week. They strike the perfect balance between wholesome and indulgenthealthy enough for everyday snacking, but decadent when you stir in chocolate chips or a drizzle of melted chocolate.
How to prepare Granola Bars
Begin by measuring ingredients accurately; that simple step makes texture consistent from batch to batch. Chop the nuts into uniform pieces so they distribute evenly and don’t create fragile weak spots. If you like a toastier flavor, toast the oats and nuts in a dry skillet or in the oven for five to seven minutes, stirring once, until they smell fragrant.
Warm the honey or maple syrup slightly so it mixes smoothly with the nut butter and vanilla. Mix the wet and dry components quickly while the sweetener remains warmthe coating helps the oats and nuts bind. Press the mixture into the pan with firm, even pressure. Use the bottom of a measuring cup or a flat spatula to compress the mixture tightly; this step determines whether the bars hold together after baking and cooling.
Keep an eye on the oven. The top should turn golden brown but not darken too much; that results in dry bars. Allow the bars to cool completely in the pan before cutting. Cooling lets the sugars re-set and ensures clean squares that won’t crumble as you slice. If you’re in a hurry, chill the pan briefly in the refrigerator to speed the firming process.
Ingredients
- 2 cups rolled oats
- 1 cup nuts (e.g., almonds, walnuts)
- 1/2 cup honey or maple syrup
- 1/2 cup nut butter (e.g., peanut, almond)
- 1/2 cup dried fruit (e.g., cranberries, raisins)
- 1/4 cup chocolate chips (optional)
- 1/2 tsp vanilla extract
- 1/4 tsp salt
Instructions
- Preheat the oven to 350°F (175°C) and line an 8-inch square baking pan with parchment paper.
- Mix the rolled oats, chopped nuts, salt, and dried fruit in a large bowl.
- Combine the honey or maple syrup, nut butter, and vanilla extract in a separate bowl and stir until smooth.
- Pour the wet mixture over the dry ingredients and stir until everything coats evenly.
- Transfer the mixture to the prepared pan and press it down firmly and evenly.
- Bake for about 20 to 25 minutes until the top turns golden brown.
- Cool completely in the pan before lifting out the parchment and cutting into bars.
Serving ideas
Serve these granola bars sliced into squares as an on-the-go breakfast or a quick snack with a glass of milk or a cup of coffee. Crumble a bar over Greek yogurt and fresh berries for extra crunch and energy at breakfast. Wrap individual bars in parchment and tuck them into lunchboxes for a homemade alternative to packaged snacks.
For a dessert twist, warm a bar slightly and top it with a spoonful of vanilla ice cream or drizzle melted chocolate and sea salt over cut squares. Offer small squares alongside a cheese platepaired with nutty cheeses, the bars add a sweet, crunchy counterpoint. For parties, cut the bars into bite-sized pieces and arrange them on a platter with fruit and nuts.
Storage tips
Cool the bars fully before storing; warm bars trap steam and soften over time. Store bars in an airtight container at room temperature for up to one week. Place a sheet of parchment or wax paper between layers to prevent sticking.
Refrigerate bars for longer storage; they will keep for up to two weeks in the fridge. For extended storage, freeze the bars in a single layer until firm, then stack them with parchment between layers in a freezer-safe bag; they will keep for up to three months. Thaw frozen bars at room temperature for about 30 minutes or warm them briefly in a microwave for 10 to 15 seconds for a fresh-baked feel.
DishGrub Kitchen Tips
Use a scale when possible for more consistent results, but measuring cups work fine here. Toasting the oats and nuts enhances flavordo it briefly and watch them closely to avoid burning. When pressing the mixture into the pan, wet your hands slightly or use the bottom of a measuring cup to get a smooth, compact surface.
If you use a nut butter that separates, stir it well before measuring to incorporate any oil back into the body. If your mixture feels too dry and crumbly, add a teaspoon or two of warm honey or nut butter until it holds together. If it feels too wet, fold in a tablespoon of oats at a time until you reach a firm-but-sticky consistency.
Cool the bars completely in the pan to allow the sugars to set; warm bars break apart easily. Use a sharp, long knife to slice clean edges and wipe the blade between cuts for tidy squares.
Recipe variations
Make these bars vegan by using maple syrup and a plant-based nut butter; omit chocolate chips or use dairy-free chocolate. For a nut-free version, substitute roasted sunflower or pumpkin seeds and use sunflower seed butter.
Add seeds like chia, flax, or hemp for extra nutrition and crunch. Stir in a teaspoon of cinnamon or a pinch of nutmeg for warm spice notes. Swap dried cranberries for chopped dried apricots or chopped dates to change the sweetness profile. For chewy, bite-sized clusters, drop spoonfuls onto a baking sheet and press slightly instead of baking in a pan.
If you prefer no-bake bars, increase the nut butter and honey to 3/4 cup each, press into the pan, and refrigerate until firm; skip the oven altogether. For an indulgent finish, drizzle melted chocolate over the cooled bars and chill until the chocolate sets.
Common questions
Can I make these gluten-free?
Yes, you can make them gluten-free by using certified gluten-free rolled oats. Oats themselves may contain traces of gluten from cross-contact during processing, so choose oats labeled gluten-free if you need to avoid gluten. Watch the labels on any added dried fruit or chocolate to ensure they meet your dietary needs.
How do I prevent the bars from crumbling?
Press the mixture firmly into the pan to compact the ingredients and bake until the edges turn golden. Allow the pan to cool completely so the sugars and nut butter re-set; cutting while warm causes crumbling. If you still get crumbly bars, add an extra tablespoon of nut butter or honey to improve binding before the next bake.
Can I make these bars without baking?
Yes, you can make no-bake bars. Increase the binding ingredients slightlyuse about 3/4 cup nut butter and 3/4 cup honey or maple syrupmix until sticky, press into the pan, and refrigerate until set. No-bake bars remain chewier and softer than baked versions, so chill them if you prefer firmer texture.
How do I swap ingredients safely for allergies?
Substitute nut butter with seed butters like sunflower or tahini for a nut-free option. Replace nuts with an equal volume of seeds or toasted puffed grains for crunch. Always check ingredient labels for cross-contact warnings if you prepare food for someone with severe allergies.
Conclusion
For a tested, reliable approach to homemade bars and more ideas you can trust, check the Homemade Granola Bars Recipe – Love and Lemons for inspiration and seasonal twists.





