
I still remember the first time I walked into my grandmother’s kitchen and smelled hot chocolate cake baking. The house felt like a blanketwarm, safe, and somehow sweeter than the air outside. She didn’t preach about technique or weigh things on a scale; she taught by doing. She measured with a chipped glass cup, stirred with a wooden spoon, and wiped the batter-splattered bowl on her apron as if each mess told the story of the day. Her cake rose, dense where it should be tender and so deeply chocolatey that every forkful invited another. Those long, flour-dusted hours of chatter, the way music hummed from the radio, and the inevitable pile of mismatched dishes made that cake taste like company. That feelingsimple, delicious, and sharedshaped how I bake and how I cook for others.
Home kitchens capture moments more than recipes. A moist chocolate cake carries more than cocoa and eggs; it carries birthdays, late-night study sessions, and Sunday apologies. When I bake this cake, I imagine someone pulling the pan from the oven, the steam fogging their glasses, and a counter full of people waiting for the first slice. I picture kids sneaking crumbs, friends leaning on the island, and partners reaching for the frosting knife. Baking this cake gives you something to pass around, to laugh over, to use as an excuse to linger. That’s the kind of comfort food DishGrub celebratesfood that’s not fussy, that arrives at the table ready to make memories.
We test recipes until they behave. At DishGrub, we focus on easy comfort food that works in a busy life: recipes you can rely on, clear troubleshooting tips, and tweaks when you want to make a dish your own. This chocolate cake is one of those dependable dessertssimple ingredients, forgiving technique, and reliably moist results. If you love chocolate in every possible form, you might also enjoy our Chocolate Football Brownies recipe, a fun, game-day riff that shares the same deep-cocoa spirit as this cake.
Why this recipe stands out
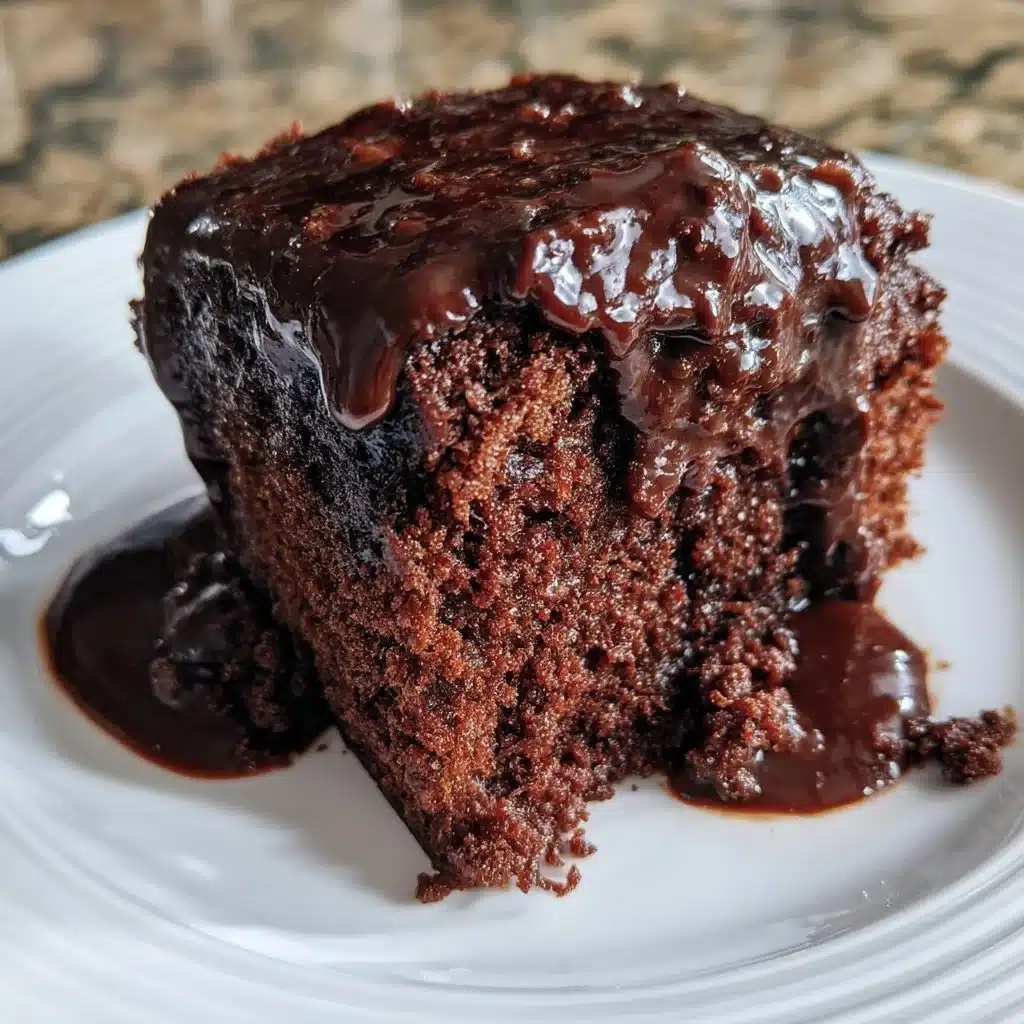
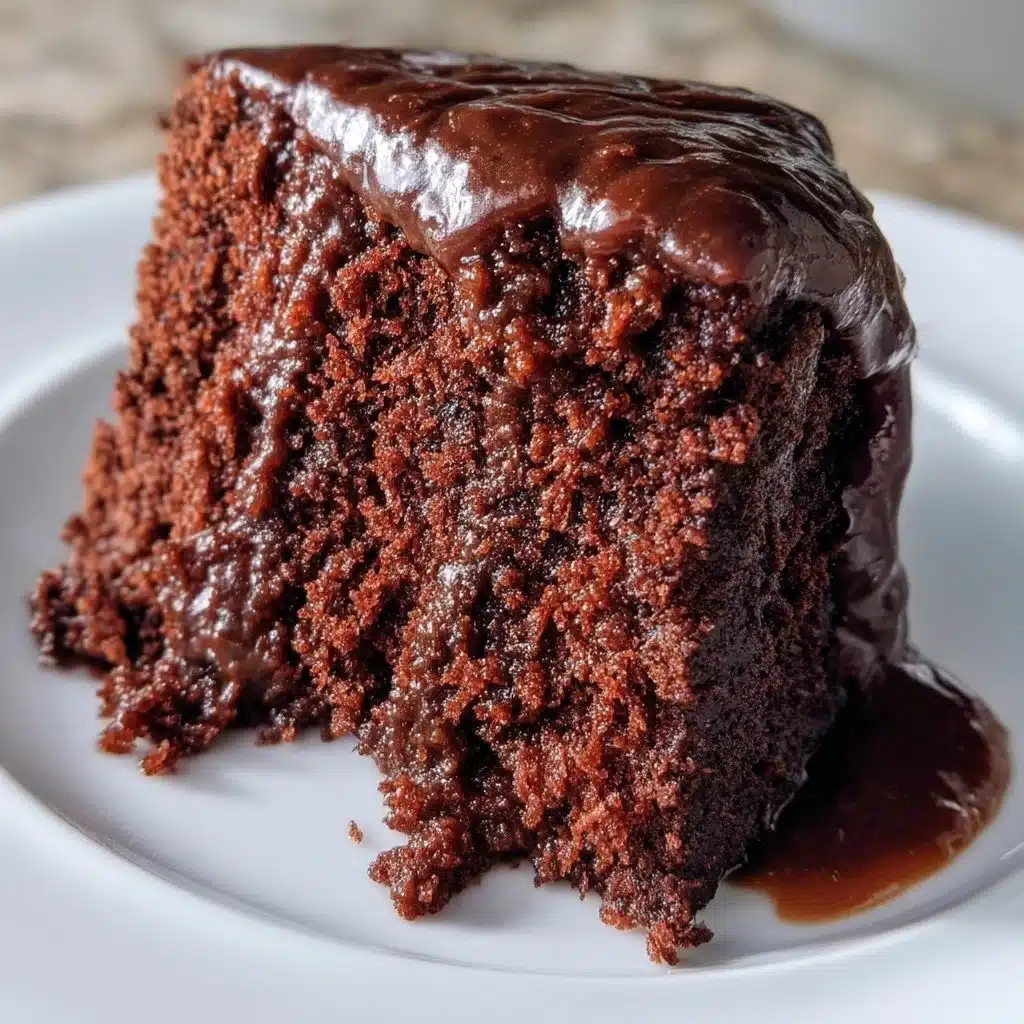
This cake shows up every time you need it: straightforward ingredients, a batter that forgives small measuring slips, and a finish that stays moist for days. It balances cocoa with sugar in a way that keeps the chocolate bright without losing the classic cake texture. The trick here is simple chemistrybaking soda and baking powder work together to create lift, while a splash of oil and the boiling water keep the crumb tender and hydrated. The batter thins when you add boiling water, which sounds odd, but that’s how you extract maximum chocolate flavor and keep the cake moist without making it heavy.
You won’t need special toolsjust bowls, a mixer or whisk, and two 9-inch pansso this works on weeknights or for weekend celebrations. The cake layers stack well for frosting or a naked layer look with a dusting of powdered sugar. Because the recipe tolerates slight timing or temperature shifts, it’s forgiving for home cooks who want a reliable chocolate cake without fuss.
Steps to make Moist Chocolate Cake
Ingredients
- 1 3/4 cups all-purpose flour
- 3/4 cup unsweetened cocoa powder
- 2 cups granulated sugar
- 1 1/2 teaspoons baking powder
- 1 1/2 teaspoons baking soda
- 1 teaspoon fine salt
- 2 large eggs
- 1 cup whole milk
- 1/2 cup vegetable oil
- 2 teaspoons vanilla extract
- 1 cup boiling water
Instructions
- Preheat your oven to 350°F (175°C). Grease and flour two 9-inch round cake pans.
- Combine the flour, cocoa powder, sugar, baking powder, baking soda, and salt in a large bowl.
- Add the eggs, milk, oil, and vanilla to the dry ingredients.
- Beat the mixture on medium speed for about 2 minutes until smooth.
- Stir in the boiling water slowly; the batter will become thin.
- Pour the batter evenly into the prepared pans.
- Bake for 30 to 35 minutes until a toothpick inserted into the center comes out clean.
- Let the cakes cool for 10 minutes in the pans, then remove them to cool completely on wire racks.
How to serve this dish
Serve this cake warm or at room temperature depending on the moment. For cozy, immediate comfort, cut a wedge straight from a warm layer and add a scoop of vanilla ice creamheat and cold make the chocolate sing. For celebrations, stack and fill between layers with a simple whipped cream frosting or a creamy chocolate buttercream; add fresh berries for a bright counterpoint. For casual sharing, keep it unfrosted and dust the top with powdered sugar or cocoa powder, then serve slices on mismatched plates for a homey touch.
If you want an elevated finish, brush each layer with a tablespoon of brewed coffee or a coffee-syrup before stacking; the extra moisture and flavor deepen the chocolate without making it bitter. For a rustic look, spread ganache over the top and let it drip down the sides for dramatic texture. No matter how you plate it, pair with a strong black coffee or a cold glass of milk for a nostalgic pairing that guests will appreciate.
How to keep leftovers
Cool the cake completely before wrapping to avoid trapping steam and turning the crumb gummy. Wrap each layer tightly in plastic wrap, then place in an airtight container or a resealable bag. Stored at room temperature, an unfrosted cake will keep for up to 2 days; in the refrigerator, it will last 4 to 5 days, though refrigeration can slightly firm the texturebring to room temperature before serving for the best mouthfeel.
For longer storage, freeze layers in their wrapped state. Double-wrap with plastic and then foil or place in a freezer-safe container to avoid freezer burn. Frozen cake layers will keep for up to 3 months. Thaw in the refrigerator overnight, then bring to room temperature before frosting. If you freeze frosted cake, allow the frosting to set well before wrapping and freeze on a flat surface to preserve the finish.
DishGrub Kitchen Tips
Use room-temperature eggs and milk to help the batter emulsify smoothly. Warm (not hot) milk and oil combine better with the dry ingredients and reduce the chance of a separated batter. When adding the boiling water, pour it slowly while mixing to ensure even distribution and to avoid splashes.
Sift the cocoa powder with the flour if your cocoa tends to clump; this prevents streaks and ensures an even crumb. If you don’t have a mixer, whisk vigorously by handthis cake’s forgiving nature makes it easy to make without electric tools. Test for doneness by inserting a toothpick in the center; a few moist crumbs are okay, but avoid gummy batter. Let the cake cool sufficiently before slicing to keep slices clean and even.
Recipe variations
Turn this cake into a layered mocha cake by replacing 1/4 cup of boiling water with cooled espresso for a coffee-kissed flavor. Add a handful of chocolate chips or chopped bittersweet chocolate to the batter for pockets of melted chocolate in each bite. For a nutty twist, fold 1/2 cup of toasted chopped walnuts or hazelnuts into the batter just before pouring into the pans.
Make it gluten-free by swapping the all-purpose flour for a one-to-one gluten-free baking blendnote texture can vary, so consider adding 1/4 teaspoon xanthan gum if your blend lacks binding power. For a dairy-free version, replace whole milk with unsweetened almond milk or oat milk and use a neutral oil like canola or light olive oil. You can also transform the layers into cupcakes; bake in standard muffin tins for about 18 to 22 minutes and watch closely for doneness.
Frequently asked questions
Q: Why is my cake dry even though I followed the recipe?
A: Dry cake usually stems from overbaking, too much flour, or oven temperature that runs hot. First, confirm your oven temperature with an oven thermometer; many ovens read higher than the set temperature. Next, measure flour correctlyspoon it into the measuring cup and level with a knife instead of scooping directly from the bag, which packs extra flour. Finally, check the cake toward the lower end of the baking time and remove it as soon as a toothpick comes out with a few moist crumbs. If your kitchen is dry, the added moisture of frosting or a simple syrup brush (equal parts sugar and water heated until the sugar dissolves) can revive slices.
Q: My batter was very thin after adding boiling waterdid I do something wrong?
A: No. This recipe calls for boiling water to bloom the cocoa and thin the batter; that step helps the cake stay moist and develop a rich chocolate flavor. Thin batter is normal. Pour it into the prepared pans and bake as directed. If you see separation (oil floating on top) before you add the water, mix a little more vigorously to re-emulsify.
Q: Can I make this cake in a single 9×13 pan instead of two round pans?
A: Yes. Pour the batter into a greased 9×13-inch pan and bake at 350°F (175°C) for about 30 to 40 minutes, checking for doneness with a toothpick starting at 25 minutes. Baking time will vary based on pan material and depth; a metal pan may cook faster than glass. Adjustments may be necessary, but the recipe adapts well to this swap and yields fewer assembled layers to manage.
Q: How do I prevent the cake from sinking in the middle?
A: Sinking happens when the center sets too slowly or cools unevenly. Make sure you preheat the oven so the cake starts baking immediately. Avoid opening the oven door during the first 20 minutes of baking; sudden temperature changes can cause collapse. Also, measure leaveners accuratelytoo much baking soda or powder can produce a quick rise that collapses. Finally, use room-temperature ingredients for even mixing and structure.
Conclusion
For a dependable, no-fuss chocolate cake that brings people together, this recipe delivers every timemoist crumb, rich cocoa flavor, and easy adaptability. If you want to compare techniques or watch a viral, highly rated version of a similar cake, check out ABSOLUTE BEST Moist Chocolate Cake (VIRAL recipe & VIDEO …) for another approach and inspiration.





