
There’s something about the simple pleasure of dark chocolate folded into clouds of cream that quiets a busy day. I think of rainy afternoons and the soft clink of spoons against glass, of little victories a finished homework page, a long call with an old friend rewarded with a tiny, perfect cup of mousse. These Easy Chocolate Mousse Cups feel like that: small, unpretentious, and wildly comforting. They deliver deep chocolate flavor without a long list of steps, so you can make something that feels special even on a weeknight. Share them at the end of a casual dinner or sneak one into a lunchbox as a sweet surprise; they bring people together without fuss.
I test recipes in real kitchens, not just labs, and I love the ways simple techniques create big results. At DishGrub we aim for recipes that fit real lives recipes you can rely on and return to. We test each dish repeatedly, scale for different serving sizes, and focus on straightforward instructions so that home cooks can get delicious outcomes without stress. For a bright fruity contrast, try our raspberry version for a seasonal twist that keeps the same easy method and deep flavor. Try the raspberry chocolate mousse if you want to add a tart lift to the chocolate. I write this because I know you want tasty, quick desserts that still feel homemade. These mousse cups hit that sweet spot: three main ingredients plus a couple of pantry basics, set in clear cups that look elegant but take almost no time.
Why you’ll love this dish
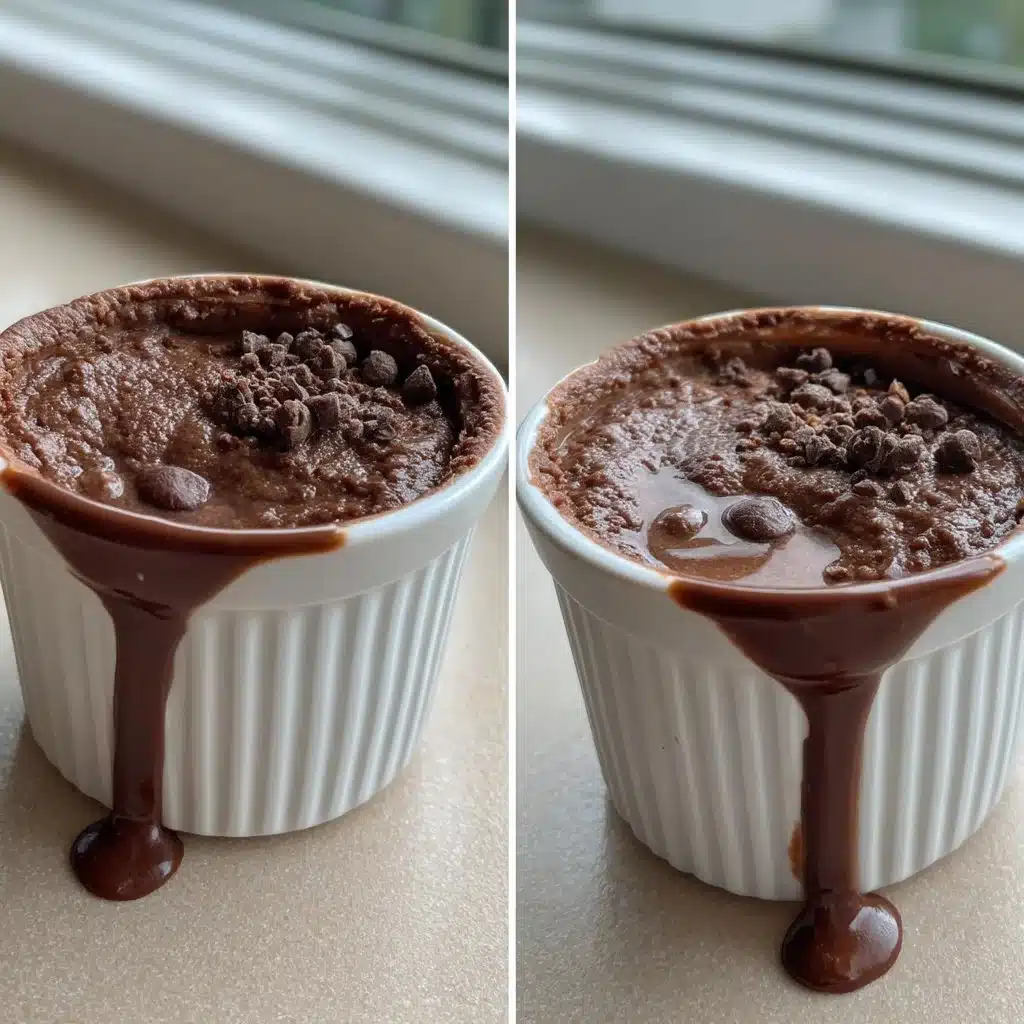
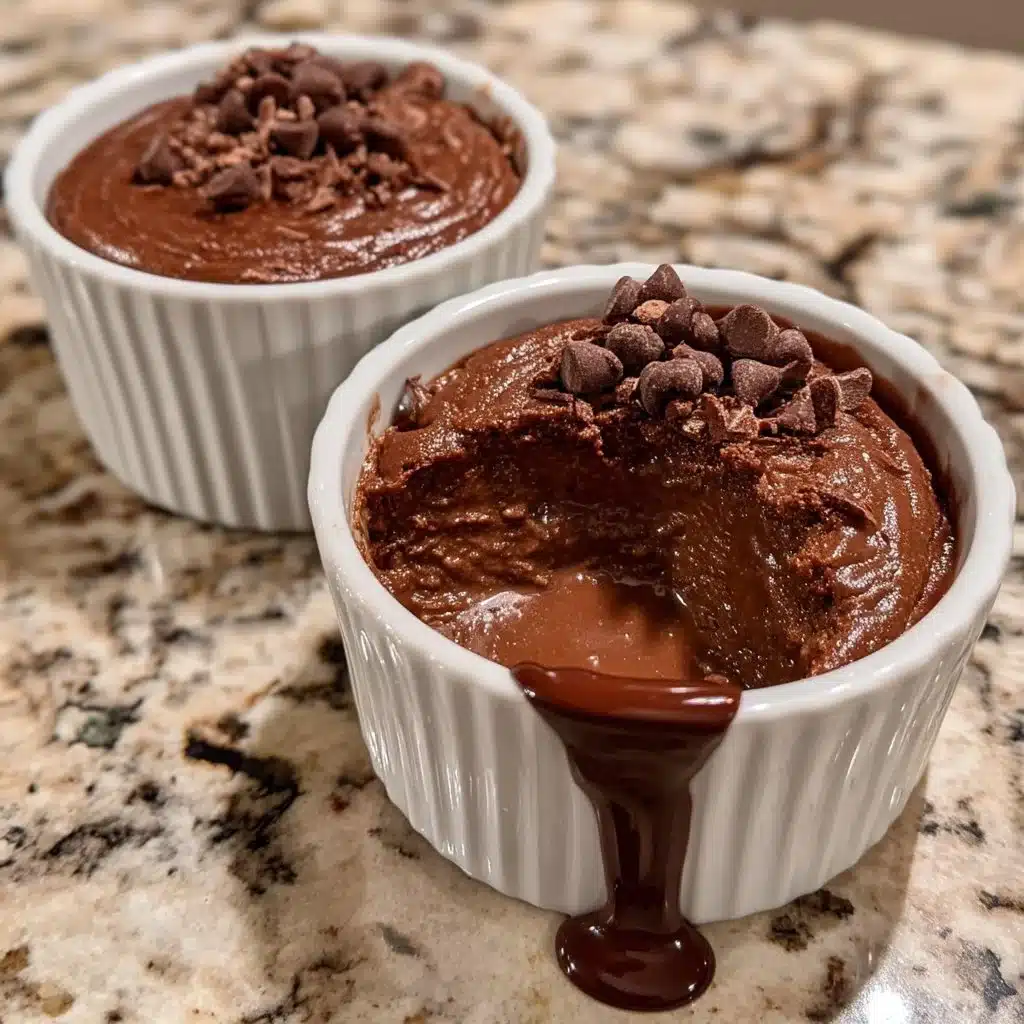
This mousse balances intense chocolate and airy texture. The melted semi-sweet chips give a clean chocolate flavor that pairs with a touch of vanilla and a whisper of sugar. Whipped cream adds silkiness and volume without the need for eggs, gelatin, or complicated tempering. The result tastes decadent but feels light on the palate, so one cup satisfies without overwhelming.
You’ll also love how forgiving the technique proves. Folding melted chocolate into whipped cream tolerates gentle overmixing better than some custard-based mousses, and making it in individual cups simplifies serving and portion control. The recipe needs only a few minutes of active work and a brief chill, so it works great for last-minute company or a weekday treat. Because the components are pantry-friendly, you rarely have to run to the store, and you can scale the recipe up or down easily.
How to prepare Easy Chocolate Mousse Cups
Ingredients
- 1 cup heavy cream
- 1 cup semi-sweet chocolate chips
- 2 tablespoons sugar
- 1 teaspoon vanilla extract
- 1 pinch salt
Instructions
-
Melt the chocolate chips in a microwave-safe bowl in 30-second intervals, stirring after each until smooth.
-
Let the melted chocolate cool slightly.
-
In a separate bowl, whip the heavy cream, sugar, vanilla extract, and salt until soft peaks form.
-
Gradually fold the melted chocolate into the whipped cream until well combined.
-
Spoon the mousse into cups.
-
Refrigerate the mousse for at least 1 hour.
-
Serve chilled, optionally topped with whipped cream or chocolate shavings.
How to serve this dish
Serve these mousse cups straight from the fridge for the best texture contrast: cold, silky mousse against a room-temperature topping. For an elegant finish, pipe a small rosette of whipped cream on top and grate a few curls of chocolate or dust with cocoa powder. For a rustic presentation, spoon the mousse into simple glass jars and add a single raspberry or mint leaf for color.
If you serve them at a gathering, place them on a small tray with tiny dessert spoons so guests can help themselves. For an afternoon pick-me-up, tuck a mousse cup into a bowl with a few toasted almonds or candied orange peel nearby for anyone who likes added crunch or citrus brightness. The cups also travel well for potlucks or picnics if you keep them chilled until serving.
How to store it properly
Store the mousse in airtight containers or keep the cups covered with plastic wrap to prevent fridge odors from transferring. Refrigerate for up to three days; the texture stays pleasantly light on day one and gently firms by day three. Avoid freezing: freezing damages the airy structure and leads to water separation as ice crystals form.
If you plan to make the mousse ahead, finish steps 1–4, then cover and chill for a few hours. Wait to spoon into individual cups until closer to serving so the presentation stays fresh. If you add fragile garnishes like fresh berries or mint, place them on top right before serving rather than during storage.
DishGrub Kitchen Tips
Use good-quality chocolate chips for the best flavor. Semi-sweet chips work well because they balance sugar and cocoa, but you can adjust the chocolate to your taste. Chop a baking bar if you want smoother melting and a richer cocoa flavor.
Cool the melted chocolate enough so it does not deflate the whipped cream when combined. Warm chocolate will make the cream slack, so give it a minute off the heat it should still pour but not be hot. When folding, use a large spatula and work with gentle, wide strokes that lift from the bottom and sweep over the top; you want to preserve as much air as possible.
Whip the cream to soft peaks, not stiff peaks. Soft peaks still hold shape but remain pliable. If you overwhip and the cream looks grainy, you can rescue it by folding in a small splash of fresh cream at low speed until it loosens, then proceed carefully.
Set up mise en place: measure chocolate, sugar, and vanilla before you start. Multi-task by melting the chocolate while you chill your mixing bowl or prepare cups, which saves time and keeps the process smooth.
Recipe variations
Swap chocolate types: use dark chocolate chips for a more intense, less sweet mousse, or use milk chocolate for a creamier, sweeter result. If you prefer a slightly boozy dessert, stir in 1 tablespoon of coffee liqueur or dark rum when you fold the chocolate into the whipped cream; avoid adding alcohol earlier because it can change the texture while whipping.
Add flavor accents: fold in a teaspoon of instant espresso powder dissolved in the warm chocolate for a mocha note, or add a tablespoon of orange liqueur and a little finely grated orange zest for a bright citrus twist. For a lightly spiced version, incorporate a pinch of cinnamon or cayenne into the chocolate.
Make it layered: spoon a layer of crushed cookies or graham cracker crumbs into the bottom of each cup before adding mousse for texture contrast. Top with a smear of raspberry jam for a tart counterpoint. For an inspired pairing and elegant finish, serve alongside chocolate-covered fruit like strawberries for a festival of chocolate and fruit flavors. Try chocolate-covered strawberries as an easy companion.
For a dairy-free option, use a coconut cream that whips well (chilled solid coconut cream) and a dairy-free dark chocolate. Note that coconut will add a distinct flavor, so choose based on preference.
Common questions
Q: Can I make the mousse without a mixer?
A: Yes. You can whisk the cream by hand, but expect a longer workout and slightly less volume. Use a large, chilled mixing bowl and a sturdy whisk. Whisk briskly in a rhythmic, controlled motion with short bursts until soft peaks form. It takes more time than an electric mixer, but it works. If you hand-whip, stop frequently to check texture so you don’t accidentally overwhip.
Q: Why did my mousse become grainy or separate?
A: Graininess usually happens when the chocolate is too hot when you combine it with the cream, or when the chocolate contains stabilizers that affect texture. Let the melted chocolate cool until it’s warm, not hot, before folding. Also fold gently; aggressive mixing breaks down air pockets and can encourage separation. If you used a lower-quality chocolate with additives, try a different chocolate next time.
Q: Can I make this ahead for a party?
A: Yes. You can prepare this mousse up to two days ahead. Store the filled cups in the refrigerator, covered. Add delicate toppings like fresh berries, whipped rosettes, or mint at the last minute. If you plan to transport them, keep them chilled in a cooler or insulated container to maintain texture.
Q: How many servings does this recipe make?
A: This recipe makes about four small mousse cups, depending on cup size. Multiply quantities to scale up for larger groups. The technique stays the same whether you double or triple the batch: keep chocolate warm but not hot, and fold gently to keep the mousse light.
Q: Can I make individual-sized desserts with different flavors from the same batch?
A: Yes. Divide the whipped cream and gently fold in different flavorings into separate bowls: a bite of espresso in one, orange zest in another, or a few tablespoons of jam stirred into a third. Spoon each flavor into its own cup for variety without extra work.
Conclusion
For a quick, satisfying dessert you can assemble in minutes and serve like a pro, this recipe delivers deep chocolate flavor and a silky, airy texture. When you want a tested, simple method that still feels special, consider this mousse a reliable go-to; you can also explore other quick chocolate resources like EASY Chocolate Mousse in 5 Minutes – Kitchen Cents for additional fast ideas and variations.





