
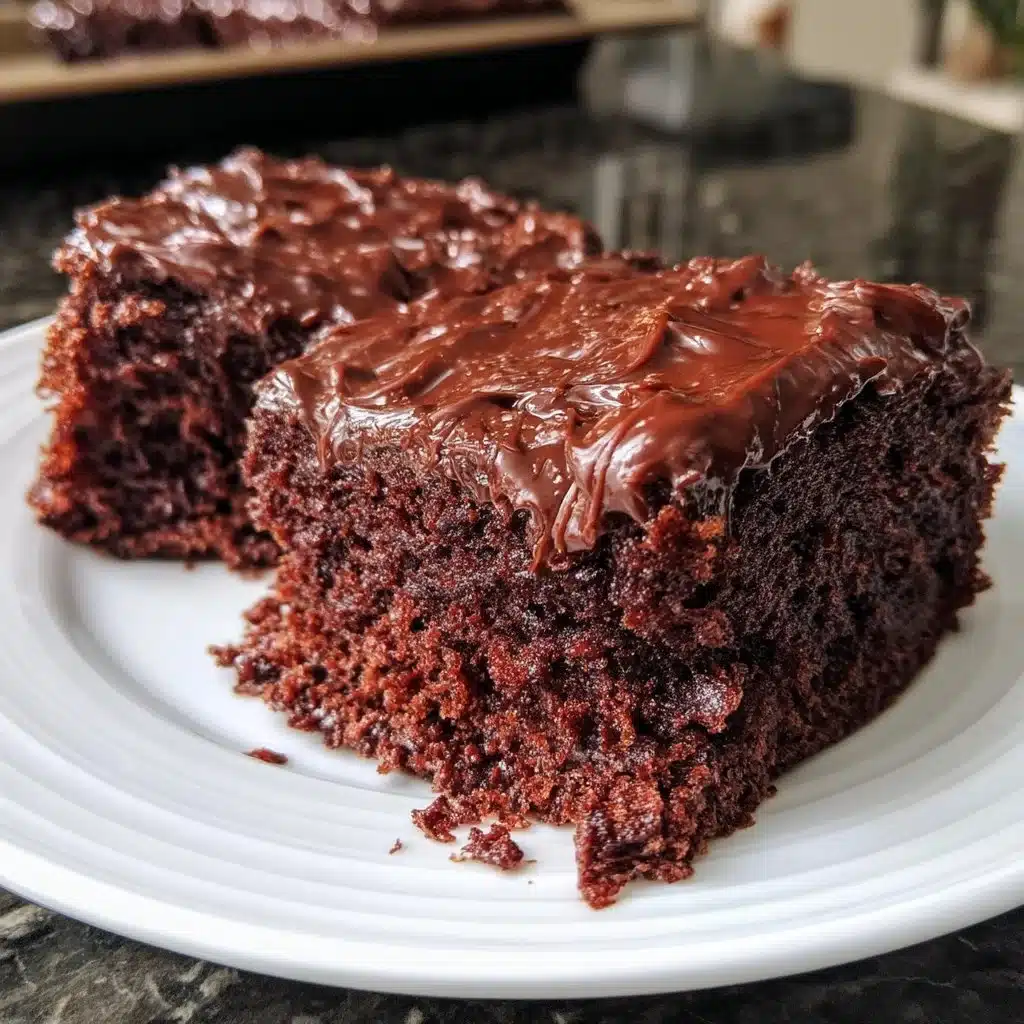
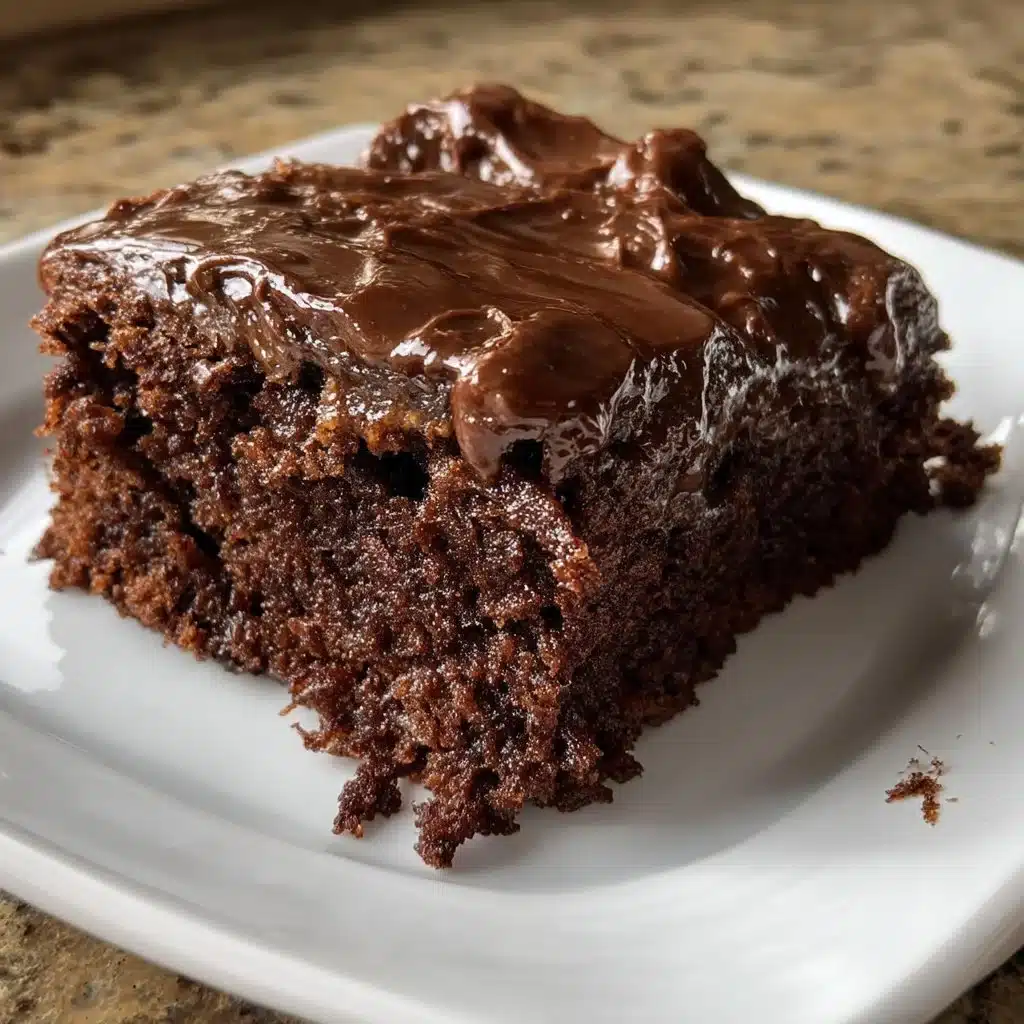
Warm, chocolatey, and built for sharing this sheet cake shows up at potlucks, after-school snacks, and lazy Sunday afternoons with equal ease. It cuts into generous rectangles that travel well, stays moist for days, and begs for a scoop of vanilla ice cream or a smear of chocolate frosting. When I bake this, my kitchen fills with a familiar, cozy smell that always draws someone into the room. Slice it warm for a soft crumb, or let it cool completely to get those clean, satisfying squares everyone seems to fight over.
Comfort food works best when it feels effortless, and that’s exactly what this cake delivers. You don’t need a mixer full of gadgets or a long list of steps just a few pantry staples, one bowl for the dry ingredients, and a little hot water to make the batter thin and glossy. I keep a mental note that this is the cake I make when I want an easy win: it’s forgiving, fast, and reliably delicious. If you’ve ever loved a no-fuss chocolate bar or a school bake sale favorite, this sheet cake will slot right into that memory lane.
At DishGrub we test recipes until they behave the same way in real kitchens as they do in our notes. We favor practical techniques, modest ingredient lists, and results that taste like home. This recipe came from that process we made it in different pans, tweaked baking times, and served it to neighbors to confirm it delights in ordinary circumstances. If you want a taller, fluffier version, try our other tested favorite, our moist chocolate cake, which uses a standard round pan and gives a different presentation while keeping that same chocolate comfort.
Why this recipe stands out
This recipe stands out because it balances simplicity with excellent texture. The dry ingredients create a stable structure while the oil and hot water keep the crumb tender and moist. Baking it on a sheet pan gives a larger surface area so the cake bakes faster and yields more portions, which makes it ideal for feeding a crowd or for slicing into snack-sized pieces for lunchboxes.
You’ll appreciate that the batter mixes up in minutes and that the thin consistency after adding boiling water ensures a glossy, even bake. The recipe’s use of both baking powder and baking soda provides lift and tenderness without getting overly cakey, and using oil rather than butter keeps the cake soft even after several days in the fridge. That combination translates to a reliably pleasing texture that’s forgiving if your oven runs a little hot or you leave it to cool on the counter a bit too long.
How to prepare Easy Chocolate Sheet Cake
This part guides you through the practical steps that keep the baking simple and straightforward. I recommend using a large rimmed baking sheet or a quarter-sheet pan for even baking; if you only have a 9×13 pan, the cake will be thicker and will need a bit more time to finish. Greasing and flouring the pan prevents sticking and makes cutting clean squares easier. Use a metal or glass pan depending on how quickly you want it to brown metal pans give a crisper edge and slightly faster bake time.
Ingredients
- 1 3/4 cups all-purpose flour
- 1 3/4 cups granulated sugar
- 3/4 cup unsweetened cocoa powder
- 1 1/2 teaspoons baking powder
- 1 1/2 teaspoons baking soda
- 1 teaspoon salt
- 2 large eggs
- 1 cup whole milk
- 1/2 cup vegetable oil
- 2 teaspoons vanilla extract
- 1 cup boiling water
Instructions
- Preheat the oven to 350°F (175°C).
- Grease and flour a large rimmed baking sheet.
- Combine the flour, sugar, cocoa powder, baking powder, baking soda, and salt in a large bowl.
- Add the eggs to the dry mix.
- Pour in the milk.
- Add the vegetable oil.
- Add the vanilla extract.
- Beat the mixture on medium speed for 2 minutes until smooth.
- Stir in the boiling water; note that the batter will be thin.
- Pour the batter into the prepared baking sheet and spread it evenly.
- Bake for 30 to 35 minutes.
- Test doneness by inserting a toothpick into the center; it should come out clean.
- Let the cake cool completely before slicing and serving.
Serving ideas
Serve this cake plain for a nostalgic, simple dessert, or dress it up to match the occasion. A dusting of powdered sugar looks pretty for casual gatherings; a glossy chocolate glaze or a generous buttercream turns the sheet into a party centerpiece. For a homey, warm option, serve slices with a scoop of vanilla ice cream and a few toasted pecans. You can also cut small squares and pile them on a dessert platter with fresh berries for color contrast.
If you want to make each serving feel indulgent, spread a thin layer of room-temperature frosting and add a sprinkle of flaky sea salt. For weekday treats, a sliver with coffee or milk keeps things cozy and convenient. Because this cake keeps well, you can prepare it a day ahead and finish it with whipped cream just before guests arrive.
How to keep leftovers
Keep leftover sheet cake moist by wrapping it tight. For room-temperature storage, cover the cooled cake with plastic wrap or slide it into an airtight container; it will stay fresh for two days. For longer storage, refrigerate in an airtight container for up to five days. Before serving refrigerated cake, bring it to room temperature for the best flavor and texture.
To freeze slices, wrap individual pieces in plastic wrap and place them in a freezer bag; they will keep up to three months. Thaw in the refrigerator overnight, then warm briefly in a low oven or microwave to revive a just-baked texture. If you plan to freeze an unfrosted cake, consider wrapping the whole sheet tightly and freezing flat to avoid damage to the crumb.
Recipe tips for success
Use room-temperature eggs and milk so the batter mixes evenly and rises properly. Measure the flour by spooning it into the cup and leveling it off to avoid packing too much flour yields a dry cake. When you add the boiling water, mix gently and only until combined; the thin batter is normal and necessary for the right crumb.
Because ovens vary, check for doneness a few minutes earlier the first time you try this recipe in your oven. A toothpick that comes out clean or with a few moist crumbs means the cake is ready. If you like deeper chocolate flavor, try adding a teaspoon of instant espresso powder to the hot water to intensify the chocolate without making the cake taste like coffee. For a richer twist inspired by bolder desserts, see our tested take on stout-infused treats like the Guinness chocolate cupcakes.
Make it your own
This cake welcomes variations. Stir in a cup of chocolate chips for pockets of melted chocolate, or fold in a half-cup of chopped nuts for crunch. For a fruitier spin, top the cooled cake with a thin layer of raspberry jam before frosting to add bright acidity. If you prefer a lighter frosting, whip heavy cream with a bit of powdered sugar and spread it over the chilled cake right before serving.
To change texture, swap half the all-purpose flour for cake flour for a softer crumb. To make it dairy-free, use a neutral nondairy milk and an oil that you like; the cake will still be moist and tender. You can also turn this into a single-layer celebration cake by baking in a 9×13 pan and adjusting the baking time up by about 5 to 10 minutes.
Frequently asked questions
Q: Can I use cocoa powder labeled Dutch-processed?
A: Yes, you can use Dutch-processed cocoa powder, but the leavening balance may shift slightly. This recipe uses both baking powder and baking soda to accommodate standard natural cocoa. If you substitute with Dutch-processed cocoa, the cake may need a touch more baking powder because Dutch cocoa is less acidic; add an extra 1/4 teaspoon of baking powder to keep the rise and texture consistent.
Q: What if my batter looks too thin after adding boiling water?
A: The batter should look thinner than typical cake batter; that’s intentional. The hot water blooms the cocoa and gives a glossy, loose batter that yields a moist crumb after baking. Mix until combined and pour it into the pan. If you accidentally add too much water, the cake may take longer to bake and could be slightly denser monitor it and test with a toothpick.
Q: How do I prevent the cake from drying out?
A: Prevent drying by not overbaking: start checking at the 28-minute mark. Remove the cake when a toothpick comes out clean with a few moist crumbs. Store the cooled cake wrapped tightly or in an airtight container. Using oil instead of butter also helps maintain moisture for days.
Q: Can I frost this cake while it’s still warm?
A: You can spread a simple glaze over a warm cake and it will set with a shiny finish, but for thicker buttercream or whipped cream, wait until the cake cools completely. Applying heavy frosting to warm cake causes it to melt and slide, making messy slices.
Q: Can I scale this recipe up or down?
A: Yes, scale carefully. If you reduce the recipe for a smaller pan, adjust baking time downward and watch for doneness. If you increase the recipe for a larger sheet pan, add a few minutes to the bake time and check frequently. Maintain the ingredient ratios to preserve texture.
Conclusion
If you’d like to see a step-by-step video demonstration that follows the same easy, moist approach to a chocolate sheet cake, check the helpful video guide at Easy & Moist Chocolate Sheet Cake (video) – Little Sweet Baker.





