
I remember the first time I bit into a charred ear of elote: the smoke hit my nose, the corn popped with juice, and a creamy, tangy coating turned a simple vegetable into a small miracle. That memory still pulls me to the grill every summer. Grilled Mexican street corn works like a party trick — it looks festive, cooks fast, and everyone ends up with sauce on their fingers and smiles on their faces. It invites people to gather close, to pass ears around, to squeeze limes for one another. That’s comfort: food that creates a tiny community around the table.
At DishGrub, we test recipes until they work for real home cooks, not just for food stylists. We choose ingredients you can find at any grocery store, trim unnecessary fuss, and give clear steps so you get excellent results without extra stress. Our goal stays the same: cozy, practical recipes that bring people together. If you need a sweet finish after this smoky, creamy elote, consider serving it alongside our carrot cake with cream cheese frosting for an easy, crowd-pleasing dessert.
Why you’ll love this dish
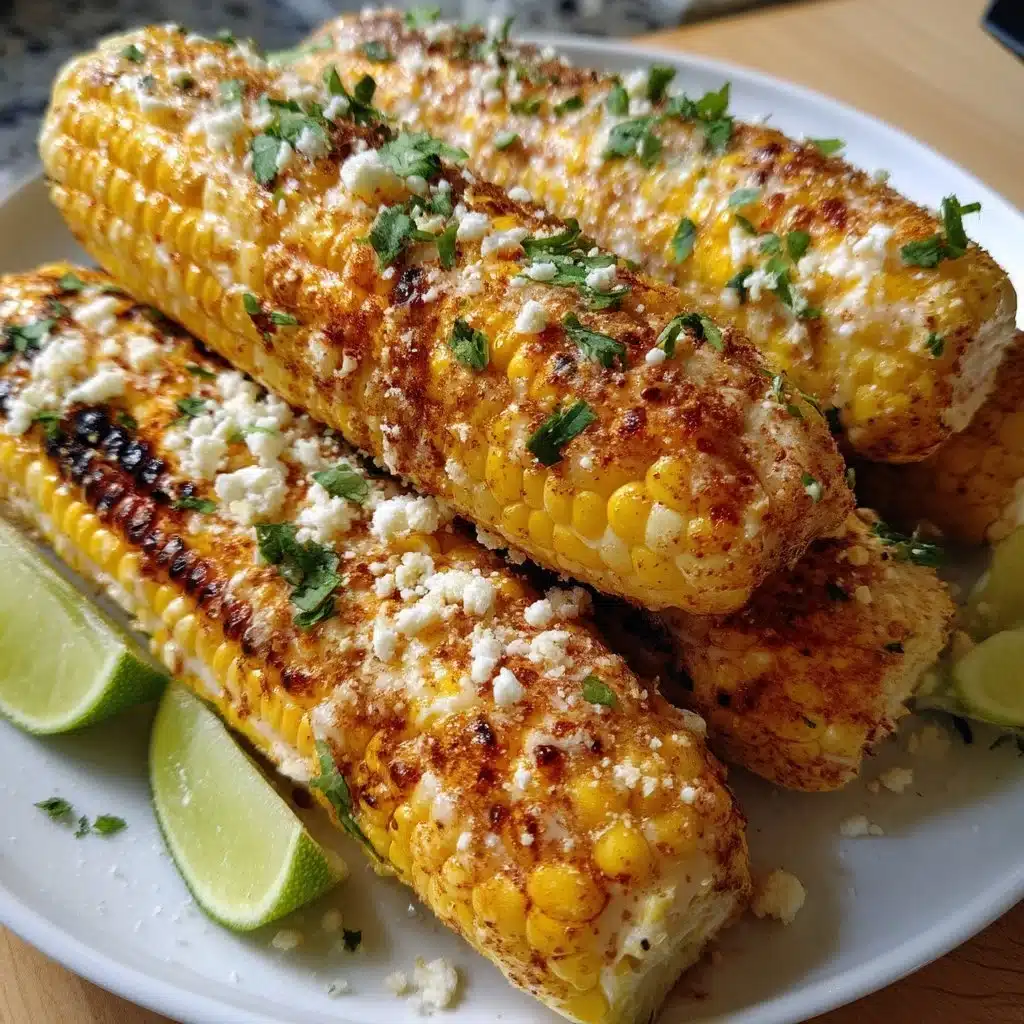
This grilled Mexican street corn combines five textures and flavors in every bite: bright lime, salty Cotija, smoky char, cool creamy sauce, and sweet corn kernels. The grilling caramelizes the natural sugars and adds a little bitter char that balances the richness of the mayonnaise and sour cream mixture. Cotija adds a dry, crumbly saltiness that clings to the sauce. Chili powder and garlic powder bring simple, pantry-friendly seasoning without stealing the show. You will love how quickly it comes together and how many people it feeds happily — it makes an ordinary backyard dinner feel like a fiesta with almost no fuss.
Simple steps for Grilled Mexican Street Corn (Elote) with Cotija
Ingredients
- 4 ears of corn, husked
- 1/2 cup mayonnaise
- 1/2 cup sour cream
- 1 teaspoon chili powder
- 1 teaspoon garlic powder
- 1 teaspoon lime juice
- 1/2 cup Cotija cheese, crumbled
- Chopped fresh cilantro, for garnish
- Lime wedges, for serving
Instructions
-
Preheat your grill to medium-high heat.
-
Grill the corn for about 10 minutes, turning occasionally, until charred.
-
In a bowl, mix together mayonnaise, sour cream, chili powder, garlic powder, and lime juice.
-
Once the corn is grilled, spread the mayonnaise mixture over each ear of corn.
-
Sprinkle with Cotija cheese and garnish with cilantro.
-
Serve with lime wedges on the side.
How to serve this dish
Serve the elote hot from the grill so the sauce melts into the warm kernels and the Cotija sticks well. Offer lime wedges so each guest can add extra brightness. For a casual family meal, place the grilled corn on a large platter with an extra bowl of the mayonnaise mixture and a small bowl of extra Cotija so people can customize their ears. If you host, provide napkins or small plates because the creamy topping encourages fingers-on eating.
For a balanced plate, pair the corn with something simple and protein-forward, like grilled chicken or black bean burgers. And if you want a tried-and-true dessert to finish the meal, try our classic carrot cake with cream cheese frosting; its warm spices and creamy frosting complement the smoky, tangy notes of the corn.
How to keep leftovers
Store any leftover grilled corn in an airtight container in the refrigerator for up to two days. The sauce will lose some of its fresh tang and the corn texture will soften slightly, but it still tastes great reheated. To reheat, unwrap the corn and warm it in a 350°F oven for 8 to 10 minutes, or place it on a skillet over medium heat, turning until heated through. If the Cotija loses some of its texture, sprinkle a little fresh crumbled Cotija and chopped cilantro after reheating to refresh the presentation. Avoid freezing cooked elote; frozen thawed corn becomes mushy and loses the snap you expect from grilled corn.
Recipe tips for success
-
Use fresh corn when you can. Fresh ears with bright yellow kernels taste sweeter and grill better. If corn sits around, its sugars convert and the flavor dulls.
-
Dry the ears before grilling. Pat the corn dry after husking to promote even charring. Moisture steams rather than sears.
-
Keep the grill at medium-high. Too hot and the kernels char only on the surface while staying raw inside; too cool and you won’t get the desirable caramelized flavor.
-
Turn the corn often and watch for color. Rotate every 2 minutes for about 10 minutes total, adjusting time based on how charred you like your corn.
-
Mix the sauce ahead of time. Make the mayonnaise-sour cream mix up to a day ahead to let flavors meld. Add the lime juice just before serving to keep the sauce bright.
-
Grate firm cotija if you can’t find crumbles. Crumbled Cotija sticks to the sauce best, but finely grated or crumbled dry feta can work as a substitute in a pinch.
-
Season the sauce to taste. Chili powder varies in heat; start conservative if you prefer mild spice and add more to your liking.
Make it your own
This recipe acts like a base canvas for flavor experiments. Here are reliable, home-friendly variations:
-
Add heat: Mix a pinch of cayenne or a drizzle of chipotle in adobo into the sauce for smoky heat.
-
Butter swap: Replace half the mayonnaise with melted butter for a richer, classic elote feel.
-
Cheese swap: Use queso fresco for a milder, softer cheese, or finely grated Parmesan for a sharper finish.
-
Street-style bowl: Cut the kernels off the cob after grilling and toss in the sauce, cheese, and cilantro for a portable, fork-friendly salad.
-
Vegetarian protein plate: Serve corn with grilled halloumi, roasted peppers, and herby quinoa for a filling meatless meal.
-
Smoky-sweet glaze: Brush a light honey-lime glaze on the corn during the last minute on the grill for a glossy finish that balances creaminess with a sweet note.
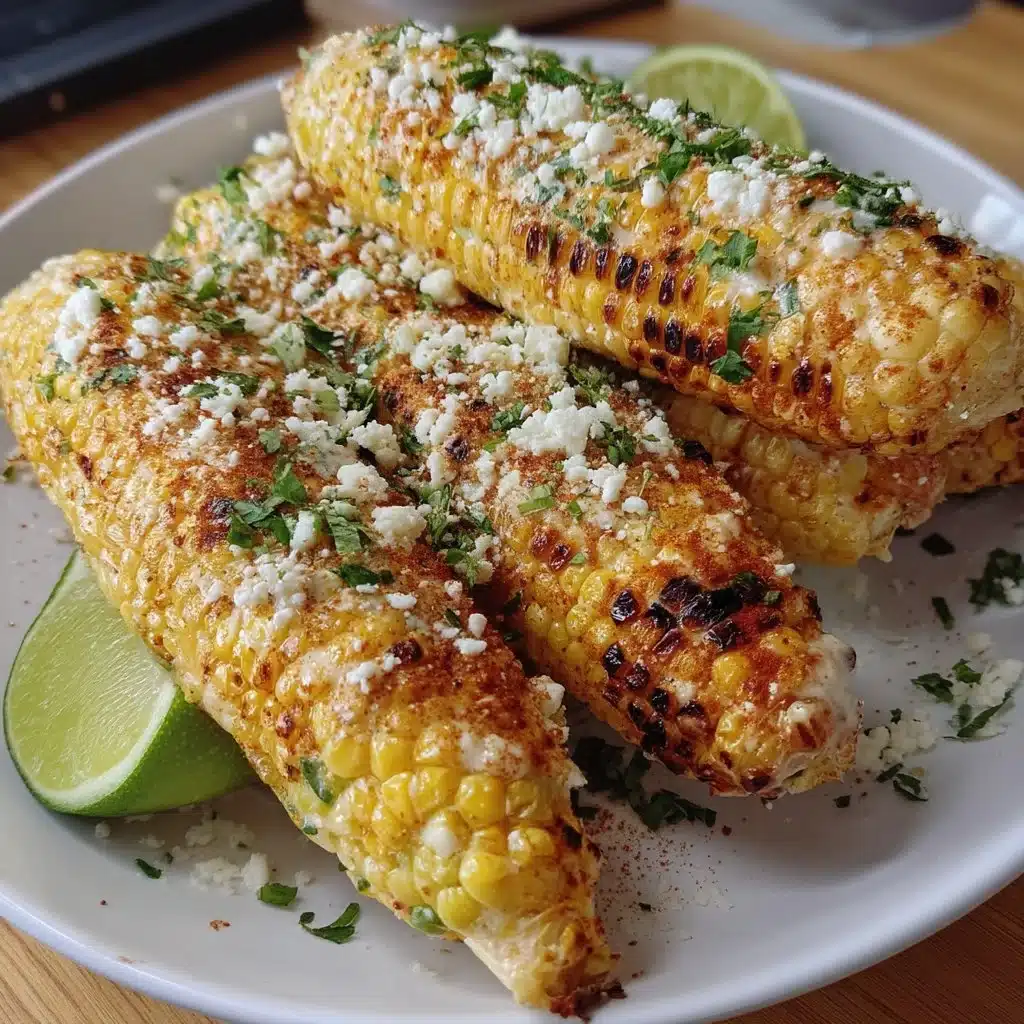
Experiment in small batches so you find the mix you and your family prefer. Keep the core idea — char, creamy sauce, crumble, lime — and let small swaps personalize the flavor.
Frequently asked questions
Q: Can I make the sauce ahead of time?
A: Yes. The mayo-sour cream sauce holds well in the refrigerator for up to 24 hours. Make it, cover it tightly, and chill. Add the lime juice just before spreading it on the corn to keep the flavor bright. When you make it early, the spices have time to bloom, which improves depth. If the sauce stiffens in the fridge, let it sit at room temperature for 10 minutes and stir before using so it spreads easily on hot corn.
Q: What if I don’t have a grill?
A: You can replicate the char on a stovetop or under the broiler. Use a heavy skillet or cast-iron pan over medium-high heat and roll the ears until they blister and darken on all sides, about 8 to 12 minutes. For the broiler, place ears on a foil-lined sheet 4 to 5 inches from the heat, turning every minute or two until you get even charring. Both methods deliver plenty of flavor; just watch closely to avoid burning.
Q: How do I scale this recipe for a crowd?
A: Increase quantities in proportion — keep the mayonnaise and sour cream roughly equal and maintain the chili and garlic powder ratio to taste. Grill in batches so each ear gets good contact with the heat. Keep finished ears warm by placing them in a single layer on a baking sheet in a 200°F oven until ready to serve. Prepare extra sauce and Cotija because people tend to pile them on, and set up a small toppings station with cilantro and lime wedges.
Q: Is there a dairy-free version that still tastes great?
A: Yes. Swap the mayonnaise for a dairy-free mayo and use a plant-based yogurt or cashew cream in place of sour cream. Use a salty dairy-free cheese or crumbled roasted almonds for texture. The lime, chili, and charred corn remain the flavor anchors, so the dish still delivers satisfying contrasts even without traditional dairy.
Q: How do I prevent the sauce from sliding off the corn?
A: Spread the sauce while the corn still feels warm from the grill so the sauce softens into the kernels and adheres better. Pat the corn lightly with paper towel to remove excess grill oil or moisture first. Press the Cotija gently into the sauce right after spreading so it sticks; avoid shaking the ear vigorously afterward.
Conclusion
For a slightly different take and more technique tips, consult this detailed Mexican Street Corn Recipe | The Kitchn which inspired some of the classic elements we use here.





