I remember the first time I made these little trifle cups for a weekend brunch. A handful of friends crowded my kitchen, someone switched on a playlist, and someone else insisted we taste-test each layer as I built them. The graham crumbs offered that cozy, familiar crunch, the creamy cheesecake layer felt indulgent without weighing you down, and the fresh berries brought bright, summer-tasting pops that made everyone smile. We passed the cups around, laughed over shared memories, and I realized a dessert this simple can anchor any casual gathering. In a busy life, food that feels homemade and effortless becomes the kind of comfort people remember.
These trifle cups work for small dinner parties, potlucks, or as a make-ahead dessert for a weeknight when you want something special without fuss. You can assemble them in individual glass cups, mason jars, or a single trifle bowl if you like. They travel well, they look inviting, and they let each guest dive into exactly the mix of crunchy, creamy, and fruity they prefer. The steps stay straightforward, which leaves you more time to set the mood and less time fussing with complex techniques.
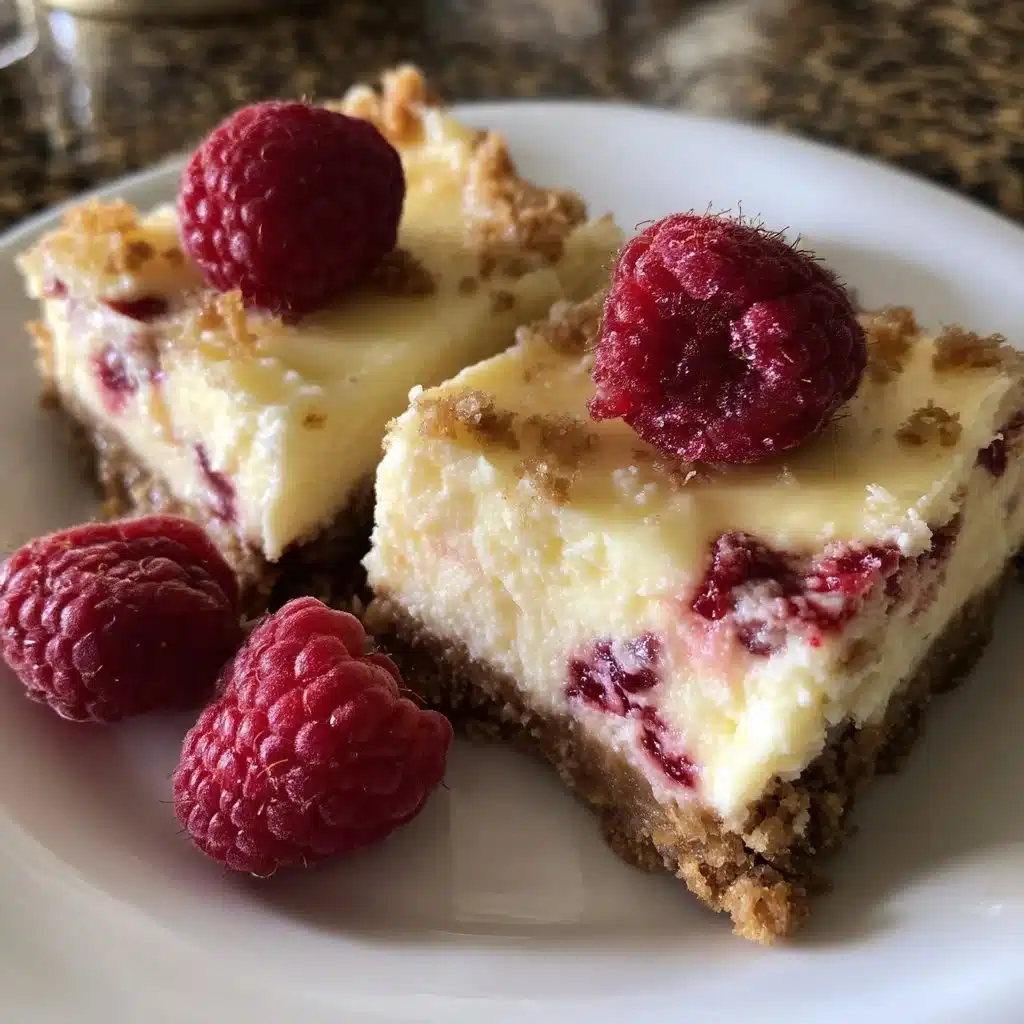
At DishGrub we test recipes until they consistently deliver comfort and simplicity. We develop dishes you can trust to feed a family or impress friends without complicated steps or obscure ingredients. Our goal keeps recipes approachable: clear instructions, few moving parts, and reliable flavor. If you love light and layered desserts, you might also enjoy our take on strawberry cheesecake parfaits for another quick, crowd-pleasing option.
Why you’ll love this dish
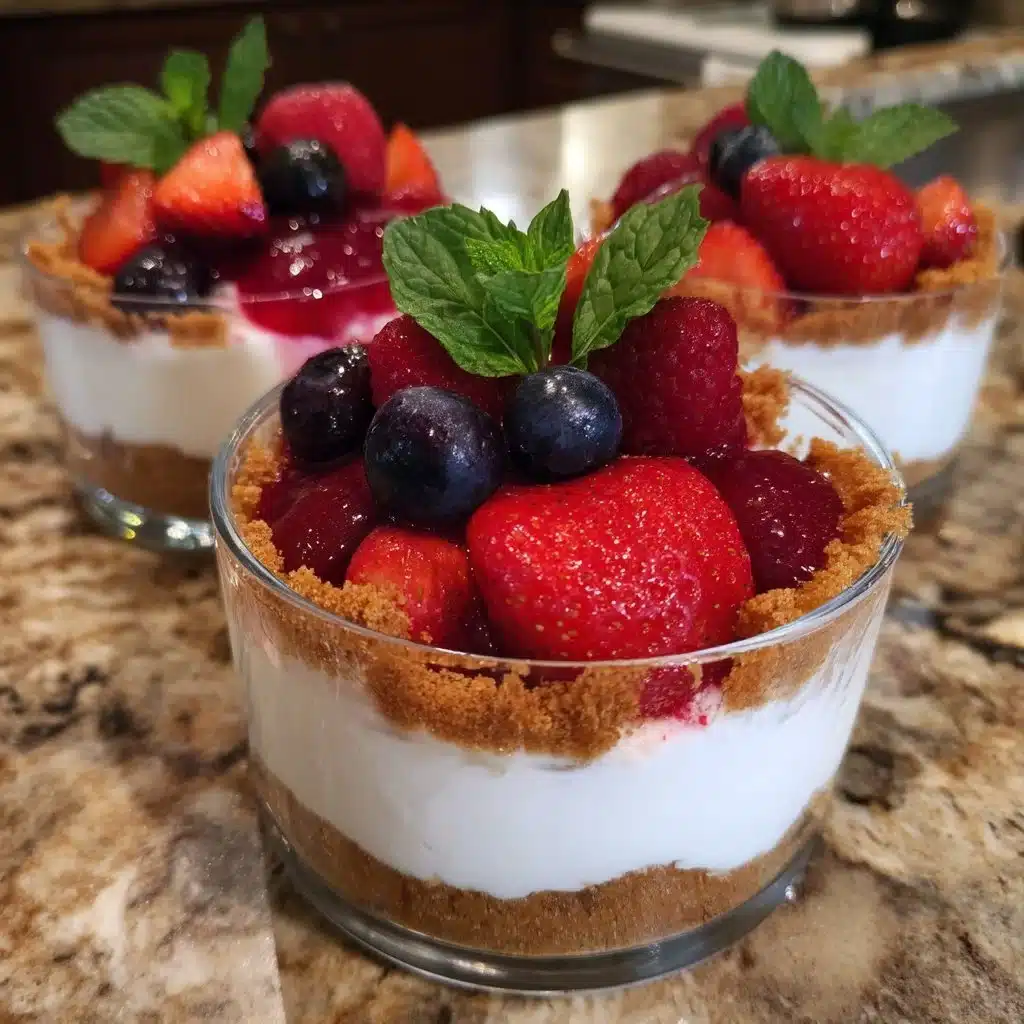
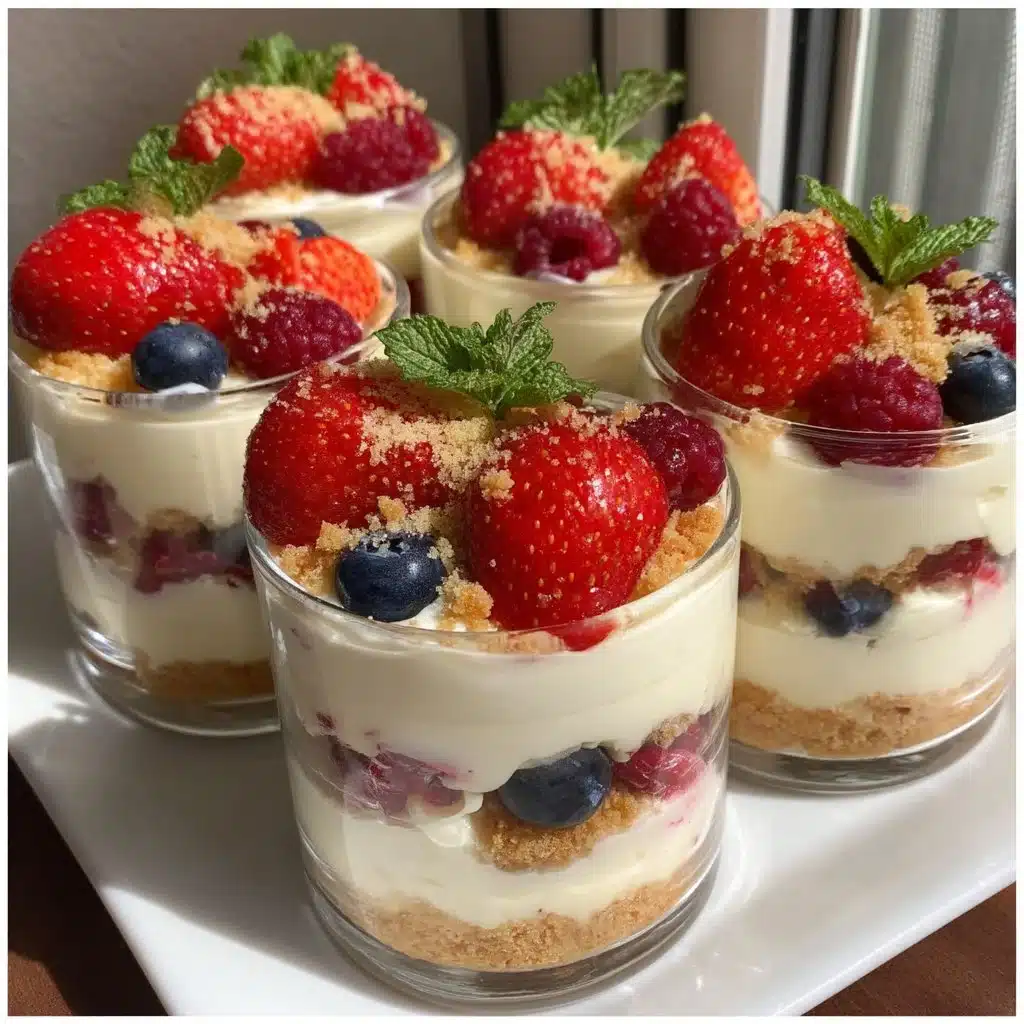
These No-Bake Berry Cheesecake Trifle Cups deliver classic flavors with minimal effort. The graham cracker crumbs recreate that favorite crust texture without pressing or baking. A whipped cream-cheesecake filling gives you the tang of cheesecake without heating the oven or timing a water bath. Fresh berries add natural sweetness, color, and a bright contrast to the creamy layer. The cups portion control nicely and let each person enjoy a complete dessert without any plating required.
You’ll appreciate how fast they come together: most of the work involves whipping and layering. Chill time gives the flavors a chance to meld and the texture to set, so you can assemble ahead and relax when guests arrive. Because the components are adaptable, these trifle cups work year-round: use frozen berries warmed slightly in winter, or feature local summer berries when they’re at peak freshness. They look charming on a dessert table but feel casual enough for weekday treats.
How to prepare No-Bake Berry Cheesecake Trifle Cups
Ingredients
- 8 ounces cream cheese, softened
- 1/2 cup powdered sugar
- 1 cup heavy cream
- 1 teaspoon vanilla extract
- 2 cups mixed berries (strawberries, blueberries, raspberries)
- 1 package of graham cracker crumbs
- Mint leaves for garnish (optional)
Instructions
-
Beat the cream cheese and powdered sugar together until smooth.
-
Whip the heavy cream with vanilla extract until stiff peaks form.
-
Fold the whipped cream into the cream cheese mixture until combined.
-
Spoon a layer of graham cracker crumbs into the bottom of each serving cup.
-
Add a layer of the cheesecake mixture over the crumbs.
-
Scatter a layer of mixed berries over the cheesecake layer.
-
Repeat layers until the cups are full, ending with berries on top.
-
Garnish with mint leaves if desired.
-
Chill in the refrigerator for at least 2 hours before serving.
Serving ideas
Serve the trifle cups chilled straight from the fridge for the cleanest texture and flavor. For a celebration, float a few whole berries and a sprig of mint on top just before serving to keep the presentation fresh. If you assemble the cups several hours ahead, cover them loosely with plastic wrap so steam doesn’t collect and soften the crumbs.
Offer a small spoon with each cup so everyone can enjoy every layer in one bite. For a more decadent touch, drizzle a little warmed berry compote or a spoonful of lemon curd on top moments before serving. Keep the portions modest if you plan a multi-course meal—the cups satisfy a sweet craving without overwhelming the palate.
How to store it properly
Store assembled trifle cups in the refrigerator, covered, for up to 48 hours. Use airtight containers or wrap each cup with plastic wrap to prevent the whipped layer from absorbing fridge odors. If you store in a single trifle bowl, press a piece of plastic wrap directly onto the surface of the top layer before sealing with a lid or foil.
If you need to prepare components in advance, make the cheesecake filling and graham crumbs up to 2 days ahead. Keep the whipped cream in a separate airtight container and combine just before assembling for the freshest texture. Fresh berries will last 2–3 days in the fridge; wash them only just before assembling to prevent added moisture.
Freeze assembled cups? I don’t recommend it. The whipped layer and berries change texture after freezing and thawing, and the crumbs can become soggy. If you must freeze, store the cheesecake filling separately; thaw and re-whip the cream before folding in.
Recipe tips for success
Work with room-temperature cream cheese so it blends smoothly and you avoid lumps in the cheesecake layer. Use a stand mixer or hand mixer to beat the cream cheese and powdered sugar until creamy before adding the whipped cream. Whip the heavy cream to stiff peaks—soft peaks won’t hold the structure when folded into the cream cheese.
Fold gently to keep the mixture light and airy. Overmixing will deflate the whipped cream and make the texture dense. Measure graham crumbs by scoop-and-level; if the crumbs pack tightly, they can dominate the cup, so aim for a thin base layer and add more only if you want extra crunch.
If your berries release a lot of juice, pat them dry on paper towels before layering to reduce sogginess. For a flavor boost, stir a teaspoon of lemon zest into the cheesecake filling or add a tablespoon of lemon juice to the whipped cream before whipping.
You can read more about layered parfait techniques in our strawberry cheesecake parfaits guide for helpful visuals and presentation tips.
Make it your own
Swap the graham crumbs for crushed shortbread cookies or toasted panko mixed with butter for a more buttery crunch. Try a flavored cream cheese: mascarpone works beautifully for a richer mouthfeel, or use a light cream cheese for fewer calories. Add a layer of fruit preserves—raspberry or blueberry—between the cheesecake and berry layers for an extra sweet jammy note.
For a boozy twist, macerate the berries with a tablespoon of liqueur such as Grand Marnier or Amaretto for 15–20 minutes before layering. For a kid-friendly version, skip the alcohol and toss berries in a touch of orange juice and sugar to bring out their sweetness. You can also fold cocoa powder into half the cheesecake mixture and layer chocolate and berry for a black forest-style cup.
If you want to make it gluten-free, substitute gluten-free graham crackers or use almond flour mixed with a bit of melted butter. Try seasonal berries: peaches in late summer or a mix of berries with stone fruit creates lovely variation.
Common questions
How long can I keep assembled trifle cups in the refrigerator?
You can store assembled cups in the refrigerator for up to 48 hours in airtight containers. After that time the graham crumbs may soften and the whipped texture can start to break down. For the best texture, assemble on the same day as serving or the evening before.
Can I use frozen berries?
Yes, you can use frozen berries if fresh aren’t available. Thaw them in a colander over a bowl to catch juices, then pat them dry with paper towels. If the berries release a lot of liquid, toss them in a tablespoon of cornstarch or a bit of sugar and let them macerate for 10–15 minutes to thicken the juices before layering.
How do I prevent the cheesecake layer from becoming grainy or lumpy?
Start with softened cream cheese and beat it on medium speed until completely smooth before adding powdered sugar. Make sure the powdered sugar is sifted if it looks lumpy. Whip the heavy cream separately to stiff peaks and fold gently so you don’t overwork the mixture. If you follow those steps, the cheesecake layer will stay silky.
Can I make this ahead for a party?
Absolutely. Make the cheesecake filling and keep it refrigerated up to two days ahead. Prepare berries and crumbs separately and assemble a few hours before serving. If you need to assemble a full 48 hours ahead, consider keeping a thin layer of crumbs on top rather than the cheesecake so the top looks fresh when guests arrive.
What if I don’t have individual cups?
Transfer the layers into a trifle bowl and layer as you would in individual cups. Use a thicker base of crumbs and aim for even layers so guests can scoop through all the components. Keep servings chilled and labeled so guests know you made a no-bake cheesecake trifle.
Conclusion
For a no-fuss dessert that still feels special, the No-Bake Berry Cheesecake Trifle Cups hit every note: easy assembly, make-ahead convenience, and that classic cheesecake flavor without the oven. If you want to compare a slightly different spin or get more inspiration, check out this well-tested No-Bake Berry Cheesecake Trifle recipe for ideas you can borrow or adapt.