
There’s something about corn on the cob that feels like summer’s simplest promise: steam rising, butter melting, and everyone reaching for a husk at once. I remember backyard cookouts where the grill’s sizzle joined the conversation and the kids raced through plates trying to keep up with the next helping. That easy joy belongs to foil-wrapped corn too. You trade a bit of char for buttery, tender kernels that stay warm longer and make cleanup a breeze. This method fits into weeknight dinners, picnic spreads, or lazy weekend barbecues. It delivers consistent results whether you cook for two or ten, and it pairs with so many mains that you can treat it as an everyday staple.
At DishGrub we test recipes until they make sense for busy home cooks. We keep things cozy and practical: straightforward steps, reliable techniques, and flavor-first ideas that don’t require a pantry overhaul. Our goal stays the same—we help you make food that feeds the people around your table with minimal fuss and maximum flavor. Try pairing this corn with a light protein or a hearty soup; it works particularly well with grilled chicken and bright salads. For a quick balanced meal, pair it with our grilled chicken quinoa salad that brings protein and texture to the plate.
I wrote this version so you can trust the timing, adjust seasonings to taste, and cook confidently whether you fire up a gas grill, propane smoker, or charcoal pit. I include small tips for turning, testing doneness, and storing leftovers so nothing gets wasted. Keep your foil close at hand, and remember butter and salt work wonders, but this recipe also welcomes garlic compound butter, lime and chile, or a sprinkle of cotija for more personality. When you want comfort without fuss, this foil method gives you tender kernels and easy cleanup every time.
Why this recipe stands out
This foil-wrapped approach shines because it locks in moisture while still letting the grill impart flavor. The butter melts into the kernels, keeping them juicy, and the foil creates a gentle steam that prevents kernels from drying out or getting overly charred. You get the best of both worlds: that warm, grilled aroma without the fuss of turning bare cobs constantly to avoid scorching.
The method works for cooks of any skill level. Beginners appreciate the hands-off nature—wrap and grill—while seasoned grillers like the consistency. You can cook several ears at once by wrapping them in individual packets or combining two or three in a larger packet for a family meal. The timing stays predictable, so you can plan mains or sides around the 15–20 minute window.
Finally, foil packets simplify transport and serving. You can move hot corn from grill to table in its packet, keeping it warm and steaming for guests. That makes it perfect for potlucks or tailgates where you want tasty food without constant babysitting.
How to prepare Grilled Corn on the Cob in Foil
Before you start, lay out your workspace: clean ears of corn, softened butter, a pinch of salt, and sheets of heavy-duty foil. Preheating the grill makes a big difference—steady medium heat cooks through the kernels without burning them. Peel back the husks and remove silk to allow butter and salt to make direct contact with the kernels; you won’t miss the husk when you taste the tender, evenly cooked corn.
If you like, prep a few flavor add-ins now—minced garlic, chopped herbs, a squeeze of lime, or smoked paprika. You can place these on the corn along with the butter before sealing the packet. Keep a pair of tongs and a kitchen mitt nearby to turn the packets safely while they cook. Once the grill reaches medium, place the packets on the grate and set a timer so you don’t get distracted—the 15–20 minute range yields tender, well-cooked corn every time.
Ingredients
- Fresh corn on the cob
- Butter
- Salt
- Foil
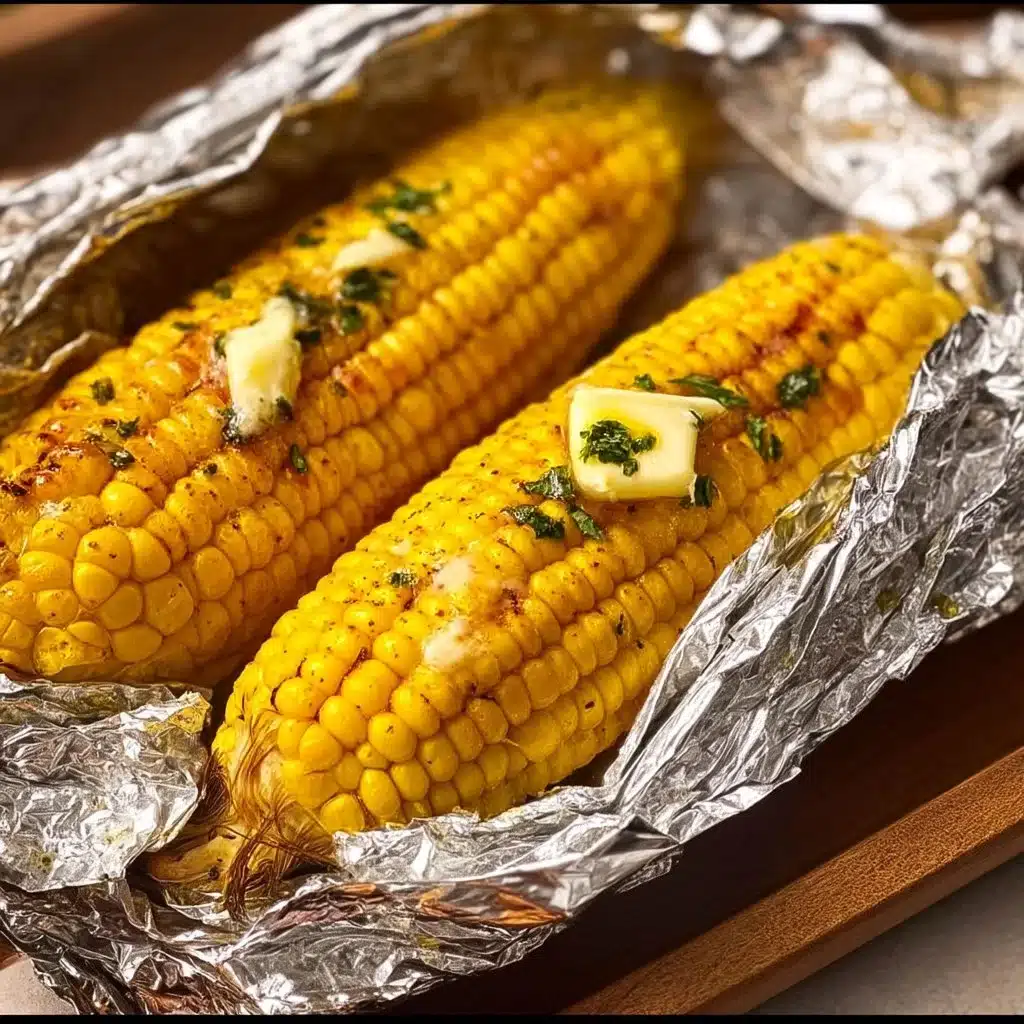
Instructions
- Preheat the grill to medium heat.
- Prepare the corn by peeling back the husks and removing the silk.
- Place the corn on a piece of foil, add a pat of butter, and sprinkle with salt.
- Wrap the foil tightly around the corn to create a sealed packet.
- Place the foil-wrapped corn on the grill.
- Grill for about 15-20 minutes, turning occasionally.
- Carefully unwrap the foil and enjoy your grilled corn with additional butter and salt if desired.
Serving ideas
Serve foil-grilled corn straight from the packet or unwrap it and place ears on a platter for sharing. For a classic combo, brush the warm cobs with extra melted butter and sprinkle with flaky sea salt. For more adventurous plates, top with crumbled cotija, chopped cilantro, and a squeeze of lime for a Mexican street-corn vibe without the messy mayo.
Pair the corn with grilled proteins—steak, pork chops, or burger plates—or add it to a summer picnic spread alongside a bright salad. It also complements lighter weeknight meals; try it with soup or a grain bowl. For something cozy, cut the kernels off the cob and stir them into a warm risotto or a skillet of sautéed greens. If you want a comforting soup pairing, this corn brightens each spoonful of our seasonal Spring minestrone soup to make a satisfying meal.
How to keep leftovers
Cool leftover corn at room temperature no longer than two hours, then wrap the ears in plastic or place them in an airtight container. Refrigerate for up to four days. To reheat, unwrap the corn and place it on a sheet of foil with a little extra butter, then warm on the grill over medium heat for 5–7 minutes, turning once. You can also microwave a wrapped ear for 30–60 seconds on high, or warm cut kernels in a skillet with a splash of water and butter for 2–3 minutes until heated through.
If you plan to freeze, cut the kernels off the cob and flash-freeze them on a baking sheet before transferring to a freezer bag. Frozen corn keeps best for up to six months and works well in soups, casseroles, and stews.
DishGrub Kitchen Tips
Always buy corn that smells fresh and whose husks look green and tight. Test for sweetness by squeezing a kernel; it should feel plump. Soften butter ahead of time so it melts quickly and evenly over the kernels. Use heavy-duty foil to prevent tearing and to hold steam; you can double-wrap if you plan to stack packets near hot coals.
Turn packets occasionally to ensure even cooking on gas grills with hot spots. Use a meat thermometer near the thickest part if you want to be precise; kernels should feel tender when pierced with a fork. When you open the foil after cooking, open away from your face to avoid a burst of hot steam. Serve with small ramekins of butter, salt, and any garnishes so guests can finish their corn exactly how they like.
Make it your own
Customize toppings to fit your meal or mood. For a garlic-herb version, mix softened butter with minced garlic and chopped parsley before spreading on the corn. For smoky-sweet flavor, brush with a mixture of melted butter and smoked paprika. Add grated Parmesan and cracked pepper after grilling for an Italian twist. If you like heat, sprinkle cayenne or a bit of chili-lime seasoning over the buttered cobs.
Try compound butters: combine butter with lime zest and chopped cilantro, or with chipotle and a little honey for sweet-heat balance. If you want a low-fat option, brush cobs with olive oil and finish with lemon and fresh herbs. The foil method welcomes any flavor brightener because the steam helps infuse the corn while keeping it tender.
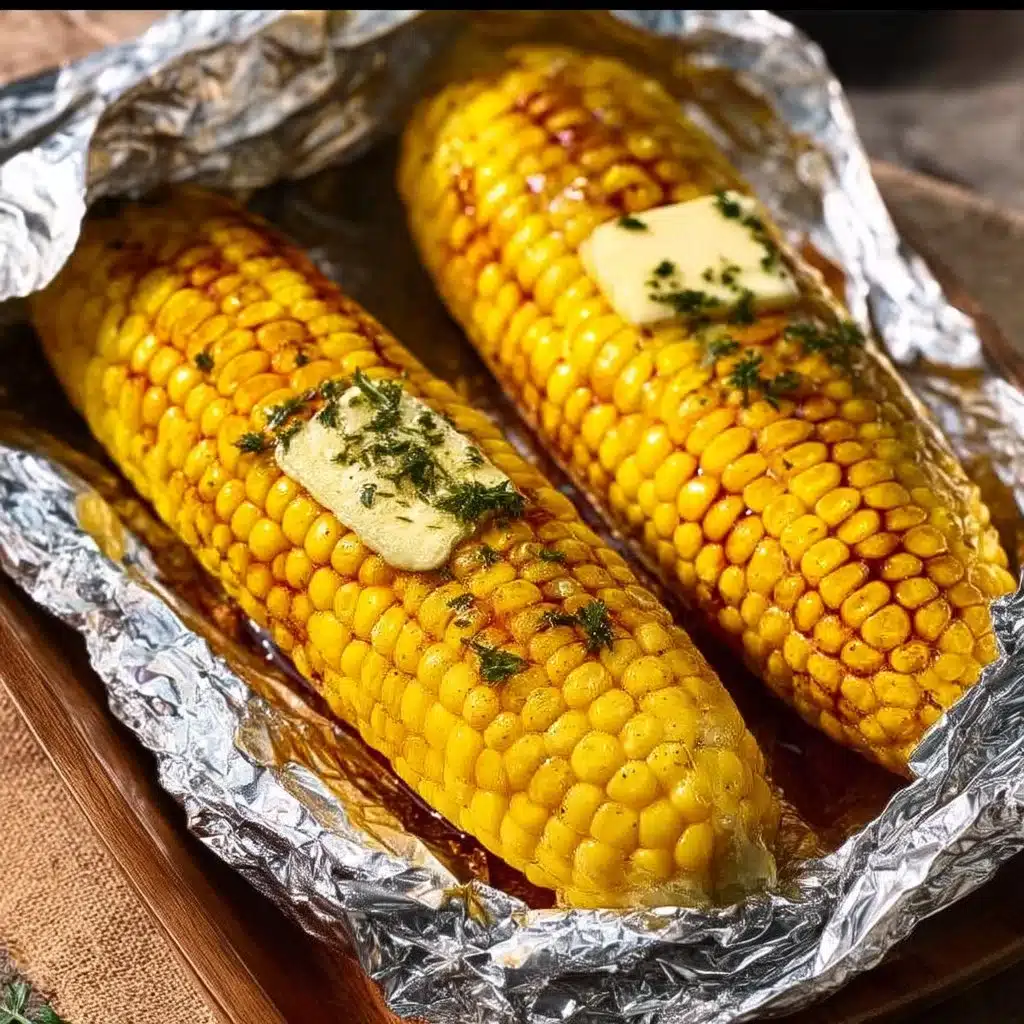
Common questions
Q: Can I leave the husks on instead of using foil?
A: You can grill corn with husks on, but results differ. Husks create a drier steam and can impart a subtle smoky flavor; however, they also complicate cleanup and make the butter less effective at flavoring kernels. Foil lets butter and salt touch the corn directly, giving richer taste. If you prefer husks for charred notes, soak them in water first to reduce burning and peel back slightly after grilling to add butter.
Q: How do I know when the corn is done?
A: Test doneness by piercing a kernel with a fork; it should feel tender and juicy but not mushy. Most grills cook foil-wrapped ears in 15–20 minutes over medium heat. If kernels still taste starchy or are hard near the tip, rotate the packets and cook for a few more minutes. Avoid overcooking—corn becomes mealy if it cooks too long.
Q: Can I add flavorings directly in the foil packet, and will they affect cooking time?
A: Yes—add flavorings like garlic, herbs, spices, or a squeeze of lemon inside the packet. Small additions won’t significantly change the cooking time. Wet ingredients, like a drizzle of oil or a splash of lime juice, help steam but avoid excess liquid that could make the packet soggy. If you add dense items like chopped potatoes or thick slices of onion, those will need more time, so either pre-cook them or wrap them separately.
Q: Will foil packets work on a gas grill and a charcoal grill?
A: Yes. Gas grills offer steady medium heat and easy temperature control, while charcoal gives a deeper smoky flavor. Keep the packets away from direct flames and check them periodically. If you use charcoal, place packets on a cooler part of the grate to avoid flare-ups.
Q: Can I scale this recipe for a crowd?
A: Scale easily. Wrap each ear individually or group two to three per packet, depending on foil size. Monitor packet placement so the grill cooks everything evenly; move packets around if some areas run hotter. For large gatherings, cook in batches and keep finished corn warm in a low oven set to about 200°F, still wrapped in foil.
Conclusion
If you want a reliable, hands-off way to serve crowd-pleasing corn, this foil method delivers tender kernels and easy cleanup every time, while leaving room for flavor creativity. For a garlic-butter twist and a tested variation that many cooks love, try this garlic butter foil method to inspire your next cookout.





