
I still remember the first time I carried a warm blackberry pie out of a tiny, overused oven and set it on the table while my parents cheered like I’d just solved a mystery. The crust had a few imperfections—crimped edges that didn’t match and one small patch where the sugar had bubbled over—but the room smelled like late summer and safe places. We sliced it thick, piled it high with vanilla ice cream, and passed plates around until the kitchen looked like a small, delicious battlefield. That memory lives in every pie I make: the slightly sticky hands from testing the filling, the careful patching of a crust, the way people quiet down the second the fork hits the plate. Blackberry pie feels like a small, edible reunion; it invites conversation and calm in equal parts.
I write recipes that create those moments. This blackberry pie recipe keeps the method simple so anyone can reproduce those comforting results at home. You won’t need a long ingredient list or complicated techniques—just a few pantry staples, ripe or frozen berries, and a reliable crust. I lean into texture rather than fuss: a filling that thickens cleanly and a crust that browns without burning. If you enjoy one-pan comfort dishes, you’ll find the same cozy spirit in our chicken pot pie guidance; our classic chicken pot pie walks cooks through a similarly reassuring process for hearty weeknight meals. Expect clear steps, practical tips for common problems, and swaps for what you already have on hand.
At DishGrub, we test recipes until they feel inevitable. We aim for dishes that fit weeknight schedules and Sunday afternoons with equal grace. Our test kitchen chooses ingredients and timings with real kitchens in mind: variable oven temps, different flour brands, and the occasional uneven pie dish. We write instructions that stop you from guessing, and we offer small fixes—like how to revive a soft crust or rescue a runny filling—so you don’t waste time or ingredients. That’s why this pie keeps both the crust crisp and the filling jammy without hours of work. It’s comfort food made simple: approachable, forgiving, and reliably delicious.
Why this recipe stands out
This recipe balances simplicity with classic pie-making techniques so home bakers can get a reliable blackberry filling and a golden crust without overcomplicating steps. The cornstarch thickens the filling cleanly and quickly, which means you avoid the gummy texture that too much flour or over-reduced fillings can create. Lemon juice brightens the berries and keeps the sweetness from becoming cloying, while a touch of vanilla rounds out the fruit flavor. The baking temperature starts high to set the crust and then maintains heat long enough for the filling to bubble—an important signal that the cornstarch has activated and the filling will set as it cools.
How to prepare Blackberry Pie
This method uses everyday techniques that deliver consistent results: toss, fill, cover, and bake. If you use frozen berries, there’s no need to thaw completely; they maintain shape and release less water when mixed directly with sugar and cornstarch. A homemade crust gives the flakiest finish, but store-bought works fine when you need speed. If you want a lattice top for a prettier look, prepare the strips before you fill the pie so assembly goes quickly. For even browning, rotate the pie halfway through the bake if your oven has hot spots.
Ingredients
- 2 cups fresh or frozen blackberries
- 1 cup granulated sugar
- 2 tablespoons cornstarch
- 1 tablespoon lemon juice
- 1 teaspoon vanilla extract
- 1/4 teaspoon salt
- 1 homemade pie crust (or store-bought)
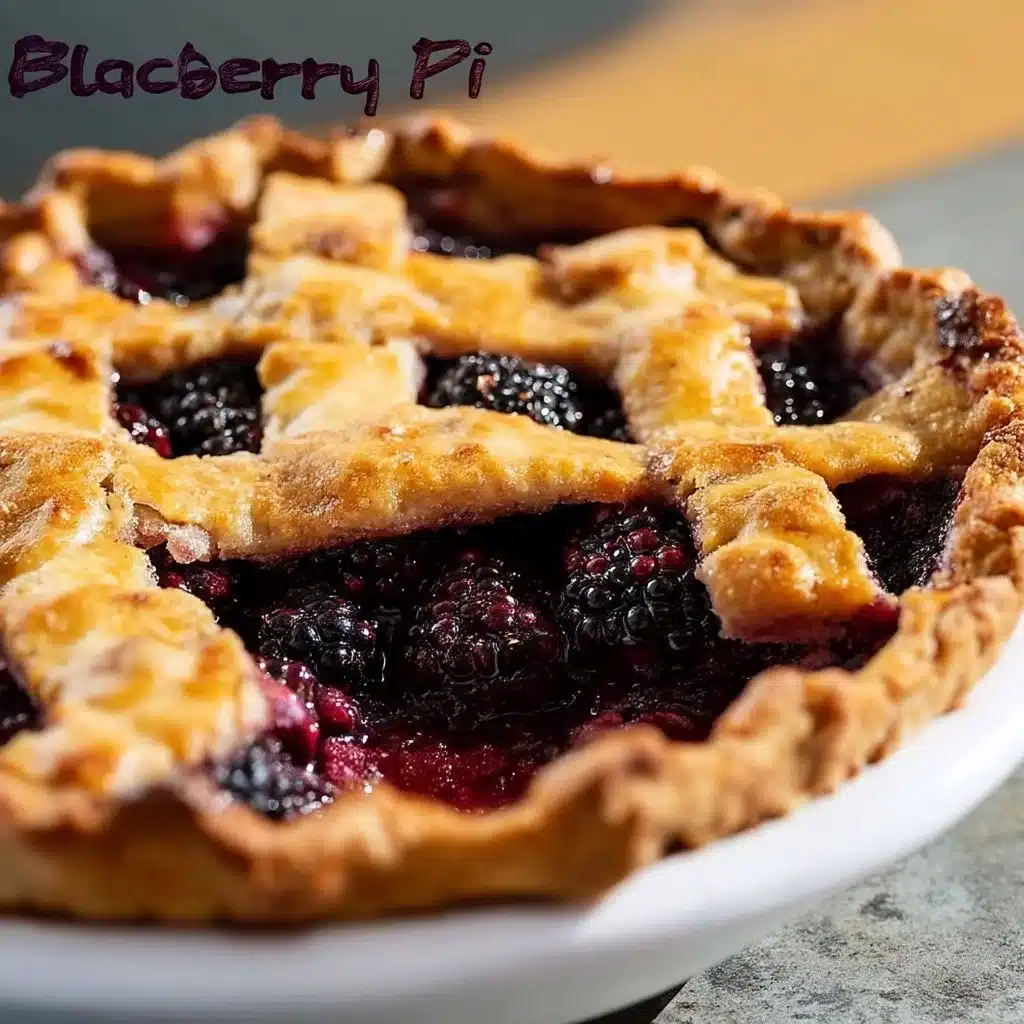
Instructions
- Preheat the oven to 425°F (220°C).
- In a medium bowl, combine blackberries, sugar, cornstarch, lemon juice, vanilla extract, and salt.
- Pour the blackberry mixture into the pie crust.
- Cover with another pie crust or a lattice crust if desired.
- Bake for 45-50 minutes, or until the crust is golden brown and the filling is bubbly.
- Allow to cool before serving.
How to serve this dish
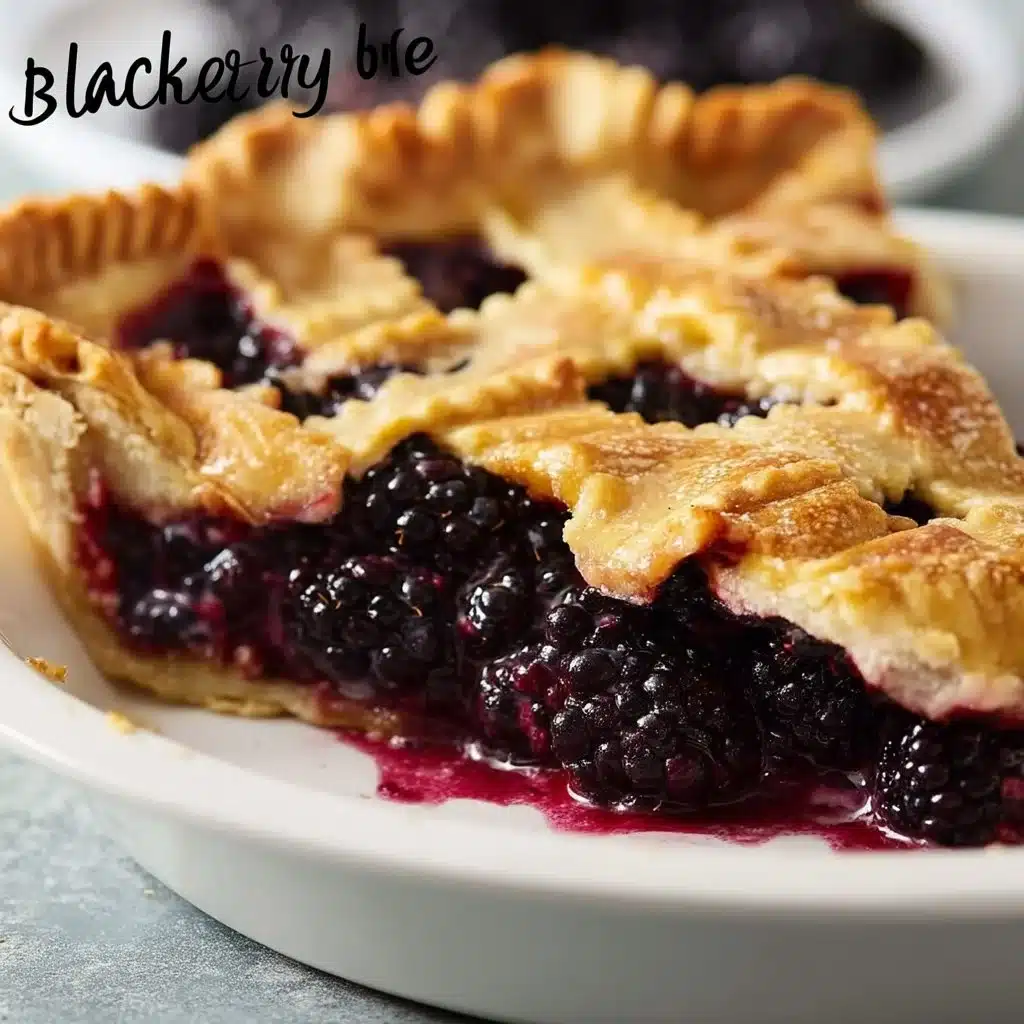
Serve slices slightly warm so the filling still feels luscious but won’t run all over the plate. A scoop of vanilla ice cream is the classic counterpoint—the cold cream contrasts beautifully with the warm, jammy fruit. If you prefer something lighter, a dollop of plain Greek yogurt or a spoonful of whipped cream brightened with a little lemon zest both work well. For a deli-style presentation, dust the top with a little powdered sugar just before serving to make the slice look bakery-ready. If you plan to bake ahead, warm individual slices in a 325°F oven for 8–10 minutes before serving to restore that just-baked feeling.
How to store it properly
Cool the pie completely on a wire rack before covering to prevent soggy crust from trapped steam. You can store the whole pie or cut slices in an airtight container at room temperature for up to two days in a cool kitchen. For longer storage, refrigerate for up to four days; bring slices to room temperature or briefly warm in a low oven before serving to revive the texture. If you need to freeze, wrap the pie tightly in plastic wrap and a layer of foil and freeze for up to three months. Thaw overnight in the refrigerator and reheat in a 325°F oven for 15–20 minutes to refresh the crust and filling.
DishGrub Kitchen Tips
Use firm blackberries when possible; overripe berries release more juice and can make a runny filling. When you measure sugar, be gentle—packing sugar into the cup increases the overall sweetness and affects the syrup’s consistency. For a cleaner slice, let the pie cool for at least two hours—this gives the cornstarch time to set. If the edges of your crust brown too quickly, cover them with a strip of aluminum foil or an adjustable pie shield about halfway through baking. If you like slightly firmer filling, add an extra half teaspoon of cornstarch. This set of small, practical tweaks matches the kind of guidance we give across savory pastries as well; our classic chicken pot pie article shows similar techniques for balancing moisture and thickness in hearty fillings.
Make it your own
Turn this pie into a mixed-berry celebration by swapping half the blackberries for raspberries or blueberries. Add a splash of bourbon or a teaspoon of almond extract for a subtle flavor lift. If you prefer a less sweet dessert, reduce the granulated sugar to three-quarters cup and add a tablespoon of honey to keep a rounded mouthfeel. For a gluten-free option, use a store-bought gluten-free crust or make one from almond flour and butter—the texture shifts, but the flavor remains satisfying. If you want the filling to have more texture, fold in a quarter cup of chopped fresh strawberries or a tablespoon of finely grated orange zest before filling the crust.
Common questions
How do I prevent a soggy bottom crust?
A soggy bottom happens when filling releases too much moisture or when the oven temperature stays too low. Start with a hot oven to set the bottom crust quickly. If you consistently get soggy bottoms, prebake the bottom crust for 8–10 minutes (blind-bake) and cool it before adding the filling. You can also sprinkle a thin layer of fine breadcrumbs or a tablespoon of cornstarch on the crust before adding the filling; both absorb excess moisture and help maintain crispness.
Can I use frozen blackberries?
Yes. Use frozen blackberries straight from the freezer—do not fully thaw them. Toss them with the sugar and cornstarch while still cold; this reduces bleeding and excess liquid. Frozen berries sometimes need an extra 5–10 minutes in the oven to get the filling bubbly, so watch for that visual cue rather than relying only on the timer.
How will I know when the pie is done?
The best indicator is that the filling bubbles actively through vents or the edge of a lattice top. That bubbling shows the cornstarch has activated and the interior reached a temperature that will set as it cools. The crust should be a uniform golden brown. If the edges brown before the filling bubbles, shield the edges with foil and continue baking until you see the filling bubble.
Can I make this ahead for a party?
Yes. Bake the pie up to two days in advance and store it at room temperature if your kitchen stays cool, or refrigerate for longer. Reheat slices in a 325°F oven for 10–15 minutes before serving. If you want to assemble the pie and bake it the next day, refrigerate it uncovered so the crust doesn’t soften; then bake from chilled, adding a few extra minutes to the bake time.
What if my filling becomes too thick or gummy?
That usually happens when you overuse thickening starch or reduce the juices too aggressively. If your filling thickens too much before baking, stir in a tablespoon of water or lemon juice to loosen it, then proceed. For future batches, halve the cornstarch amount and test the bake; you can always thicken the filling slightly on the stove with a slurry if needed.
Conclusion
For a straightforward recipe that delivers the same warm, nostalgic payoff as a long Sunday baking session, this blackberry pie hits the mark. If you want to explore another classic, reliable dessert method, check out the detailed approach in Blackberry Pie – Simply Recipes for additional tips and variations.





