
Comfort food brings people together in a way that nothing else does.
A simple dessert can flip an ordinary night into a celebration and make strangers feel like family.
When I think of late-night chats and laughter-filled kitchens, I think of something cold, sweet, and easy to share.
At DishGrub we test recipes until they feel foolproof and friendly. We keep techniques simple, so home cooks can focus on the moments that matter: cutting a slice, passing a plate, watching someone’s face light up. This recipe for ice cream cakes and pops started as a way to rescue leftover birthday cake and a few half-finished pints of ice cream. It quickly became our go-to crowd-pleaser because it lets you use what’s in the freezer and the pantry, and it scales up without fuss. We balance convenience with a few smart steps so textures stay creamy and shapes hold, and we always offer a few mix-and-match ideas so you can make it your own. If you enjoy riffing on classic desserts, you might also like a tried-and-true cake we bake often in the DishGrub test kitchen: carrot cake with cream cheese frosting, which shares the same cozy, celebratory spirit and straightforward technique.
Why you’ll love this dish
This recipe makes party desserts feel effortless. You can build an ice cream cake with no special pans, no baking if you use store cake, and almost no cleanup. Ice cream softens just enough to spread, then firms up in the freezer so that neat slices hold together. Cake pops let you turn scraps into bite-sized treats with little more than frosting and melted chocolate. Kids love the dipping and decorating; adults love that you can use good-quality ice cream without turning the oven back on.
The structure gives contrast: dense cake layers or crumbs meet smooth, creamy ice cream and pops of crunchy chocolate or sprinkles. You control sweetness and add-ins, so the dessert never tastes one-note. Make layered ice cream cakes for birthdays and summer barbecues, and keep a batch of pops in the freezer for quick after-dinner treats. These recipes save extra cake and half-pints from languishing in your freezer and transform them into something festive and sharable.
Simple steps for DIY Ice Cream Cakes & Pops
Follow a few simple steps and a day in advance to make sure everything sets perfectly. You don’t need special tools—just a loaf pan or round cake pan for cakes and a baking sheet plus sticks for pops. Plan to work quickly during assembly so the ice cream doesn’t get too soft; keep the deep freeze ready and chill pans or trays ahead of time. If you like, line your pans with plastic wrap for easy unmolding and cleaner sides.
Ingredients
- Ice cream (various flavors)
- Cake (store-bought or homemade)
- Whipped cream
- Chocolate or caramel sauce
- Sprinkles
- Fruit (optional)
- Cake pops sticks (for pops)
Instructions
- Layer your favorite flavors of ice cream in a cake pan, alternating with layers of cake.
- Freeze the assembled cake until it firms up, at least 4 hours or overnight.
- Top the frozen cake with whipped cream and your choice of toppings like chocolate sauce and sprinkles.
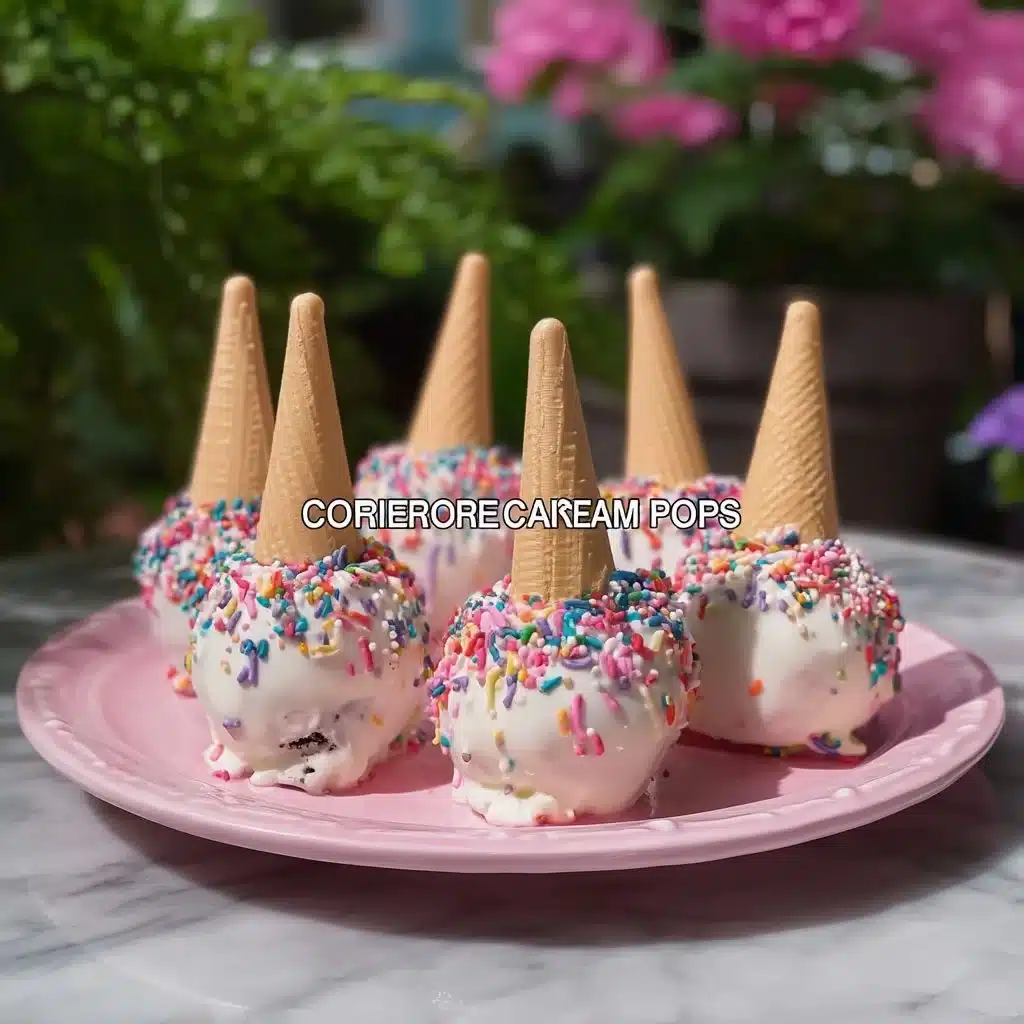
- Crumble leftover cake and mix the crumbs with a small amount of frosting to bind the crumbs together.
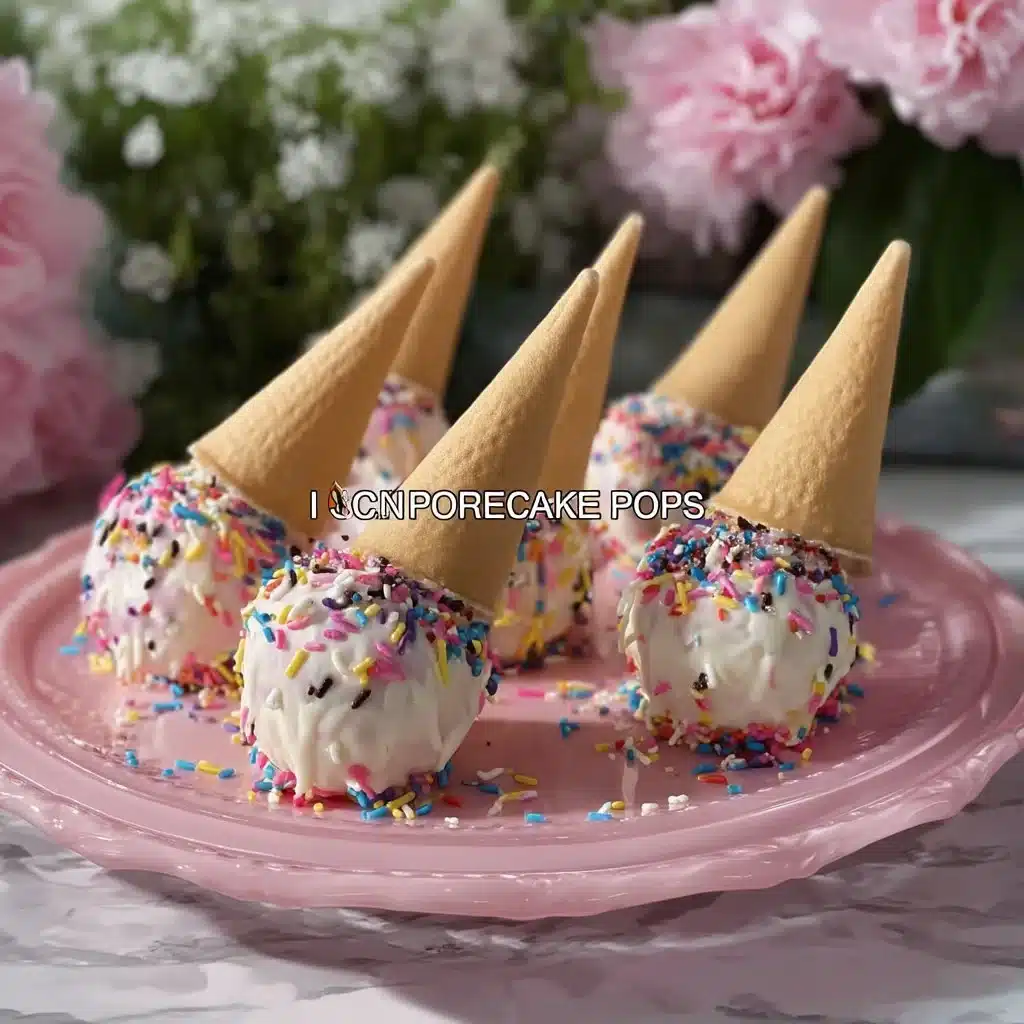
- Roll the crumb mixture into balls and insert cake pop sticks.
- Dip each pop in melted chocolate, then decorate with sprinkles.
- Freeze the pops until solid, then serve and enjoy.
Serving ideas
Serve slices of ice cream cake straight from the freezer; let them sit at room temperature for 3 to 5 minutes so a fork slides through easily. Plate each slice with a drizzle of warm chocolate or caramel sauce and a dollop of whipped cream for contrast. If you include fruit, keep it separate until serving so it stays fresh—sliced strawberries or banana coins work nicely with vanilla or chocolate ice cream.
For parties, arrange cake pops upright in a decorated jar or foam block covered in foil so guests can grab them easily. Offer a small station with extra sauces, crushed nuts, and sprinkles so people can personalize toppings. Pair these desserts with strong coffee, herbal tea, or a sparkling wine for adults.
How to store it properly
Wrap leftover ice cream cake tightly with plastic wrap or place it in an airtight container to prevent freezer burn and flavor transfer. Store cake pops in a single layer on a baking sheet covered loosely, or stand them upright in a container that keeps them from touching. Keep the freezer at 0°F (-18°C) or colder; this temperature preserves texture and prevents the ice cream from melting and refreezing, which causes iciness.
Label and date your desserts. Ice cream cake and cake pops stay best for up to two weeks if properly wrapped; after that, flavors can dull and textures can degrade. When you plan to store them longer, flash-freeze cake pops until solid, then move them to a sealed bag or container to reduce exposure to air.
DishGrub Kitchen Tips
Work cold and fast. Soften ice cream just enough to spread—about 5 to 10 minutes on the counter depending on your kitchen temperature. Chill pans or line them with plastic wrap so the ice cream doesn’t stick and unmolds cleanly. If you plan to use leftover cake, keep a small bowl of frosting handy to bind crumbs for pops; a tablespoon of frosting per cup of crumbs usually does the trick.
Use contrasting textures. A thin layer of crushed graham crackers or cookie crumbs between ice cream layers adds a pleasing crunch. Warm sauces make a nice contrast to the cold cake—heat chocolate or caramel gently before serving. If you want practice recipes for the cake side of things, try our well-tested carrot cake for flavor ideas and technique at carrot cake with cream cheese frosting.
Make it your own
Substitute flavors and add-ins to match the occasion. Swap in espresso or salted caramel ice cream for an adult twist. Fold cookie pieces, chopped nuts, or crushed candy bars into softened ice cream before layering. For a lighter version, use frozen yogurt or a sorbet layer to cut richness. For elegant presentations, use a round springform pan and pipe whipped cream rosettes around the edges right before serving.
To theme a party, pick matching sauces and toppings: red and pink sprinkles for a Valentine’s treat, crushed pretzels and salted caramel for a game-day crowd, or mixed berries and lemon zest for a summer picnic. If you bake a cake specifically for this, slightly underbake it by a minute so it stays moist when frozen; this helps cake layers slice neatly after a stint in the freezer.
Frequently asked questions
Q: How long should I let the ice cream soften before assembling a cake?
A: Let ice cream sit at room temperature for roughly 5 to 10 minutes, depending on the kitchen ambient temperature and the brand’s hardness. You want it scoopable and spreadable but not melted. If it becomes too soft, return it to the freezer for a few minutes to firm back up before proceeding so layers stay neat and don’t mix.
Q: Can I assemble the cake in advance and travel with it?
A: Yes. Freeze the cake solid, then wrap it tightly in plastic wrap and place it in a sturdy container for transport. Keep it in a cooler with ice packs, and move it to a freezer upon arrival. Plan to serve within a few hours if you are using insulated transport without active freezing, and keep cold packs ready to avoid partial thawing that can ruin texture.
Q: What’s the best way to dip cake pops so they look smooth and glossy?
A: Use high-quality melting chocolate or candy melts and thin them slightly with a teaspoon of vegetable oil or coconut oil for a smoother dip. Chill the pops before dipping so they don’t fall off the sticks, and tap off excess coating while holding the stick vertically to avoid drips pooling at the bottom. Work quickly and return them to the freezer to set. If the coating thickens as you work, gently warm it in short bursts in a microwave or over a double boiler.
Q: Can I use pieces of frosted cake for the pops?
A: Yes. Scrape off excess thick frosting if it overwhelms the crumb, but a little buttercream helps bind crumbs and keeps pops moist. Adjust the amount of frosting so the mixture holds together when you roll it into balls—too much frosting makes the mixture greasy, too little makes it dry.
Q: How do I prevent freezer burn on the cake?
A: Wrap tightly in plastic wrap, then add a layer of aluminum foil or place in an airtight container. Remove as much air as possible, and store at a consistent 0°F (-18°C). Avoid repeatedly thawing and refreezing the cake, which causes ice crystals to form and damages texture.
Conclusion
For a compact tutorial and visual ideas for making ice cream cake pops, check out the Gunny Sack’s Ice Cream Cake Pops guide, which complements these simple steps with photos and creative decorating suggestions.





