
I still remember the first time I served these no-bake Oreo cheesecake cups at a small family get-together. The kitchen smelled like chocolate and vanilla, the kids orbited the counter, and everyone kept reaching for just one more spoonful before dinner. Little desserts like this have a way of bringing people close without much fuss: a creamy, tangy cheesecake layer balanced on a crunch of crushed Oreos, topped with a cloud of whipped cream. You can assemble these cups in just one bowl and a few minutes, then let the fridge do the rest while you set the table or chat with friends. They taste decadent but feel inviting, the kind of dessert you serve when you want comfort without turning your whole evening into a baking marathon.
Comfort food lives in small rituals—scooping, sharing, and savoring—and these cheesecake cups fit right into that space. They work for weeknight endings, last-minute guests, and potlucks where you want to show up with something homemade that looks special. I also like that you can make them ahead and tuck them into the fridge, freeing you to focus on conversation and connection. For a playful pairing or a snack swap, try serving them alongside a rich, salty bite like peanut butter treats; I pair simple sweets with sturdy flavors all the time and sometimes lean on tried recipes like our homemade peanut butter cups recipe for a complementary contrast.
At DishGrub, we test recipes until they work in real kitchens—where counters get cluttered and time runs short. We write for home cooks who want big comfort with less complexity, offering practical swaps, clear timing, and tips that avoid surprises. These Oreo no-bake cheesecake cups follow that promise: minimal ingredients, no oven, and easy steps that still deliver on flavor and presentation. You don’t need special tools, and you get a dessert that looks like you spent more time on it than you did. That makes it perfect for busy weeknights, casual dinner parties, or a sweet surprise after school.
Why this recipe works
This recipe succeeds because it balances texture and flavor while staying incredibly simple. The crushed Oreo base gives each spoonful a crunchy, chocolatey anchor that keeps the creamy cheesecake from feeling heavy. The whipped cream in the filling lightens the dense cream cheese, so you get the rich tang of cheesecake with a mousse-like lift. Powdered sugar smooths into the cream cheese without grittiness, and a splash of vanilla ties the flavors together.
No-bake desserts succeed when they rely on cooling time rather than complicated technique, and chilling lets the layers settle so you slice—or spoon—cleanly. This recipe transfers easily into jars, small bowls, or disposable cups, which means it scales for parties or trims for individual treats. You will appreciate how quick the assembly goes, how forgiving the folding technique feels, and how much happier guests are when something homemade lands on the table without you having to babysit an oven.
How to prepare Oreo No-Bake Cheesecake Cups
These cups come together in a few simple steps: crush the cookies, whip the filling, fold, and chill. You do not need special equipment beyond a mixer and a rolling pin or heavy spoon. Prepare the Oreos first so crumbs don’t get wet from the filling, and give the cups at least an hour to set. If you want to prep ahead, assemble everything and keep it chilled for up to a day—add the final whipped cream and fresh crumbs before serving for the best texture.
Ingredients
- 1 8 oz block of cream cheese, softened
- 1 8 oz Cool Whip or whipped topping
- 2/3 cup powdered sugar
- 1 teaspoon vanilla extract
- 24–26 Oreo cookies (more as desired)
Instructions
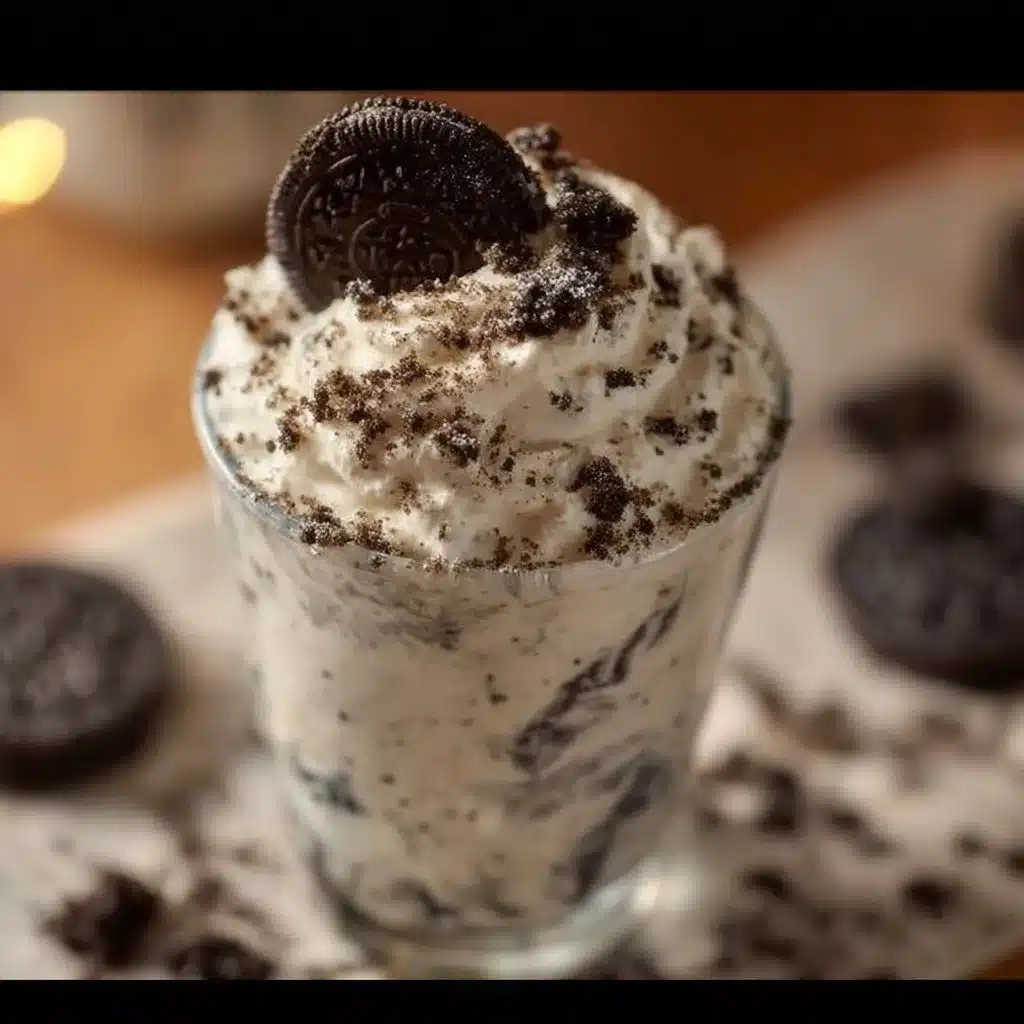
- Place the Oreos in a plastic bag and seal the bag; using a rolling pin or a sturdy wooden spoon, crush the Oreos until they form mostly fine crumbs with a few small chunks.
- Spoon 1 1/2 to 2 tablespoons of the crushed Oreos into the bottom of each of six small dessert dishes (each dish should hold about 3/4 to 1 cup); set the dishes aside.
- Using a hand mixer or stand mixer, beat the softened cream cheese and powdered sugar until creamy and smooth; add the vanilla and beat just until combined.
- Gently fold the Cool Whip into the cream cheese mixture until the color and texture are uniform; fold in the remaining crushed Oreos.
- Divide the cheesecake filling evenly among the prepared dishes and gently press the filling onto the Oreo base so it adheres.
- Chill the cups in the refrigerator for about 1 hour or until set and ready to serve.
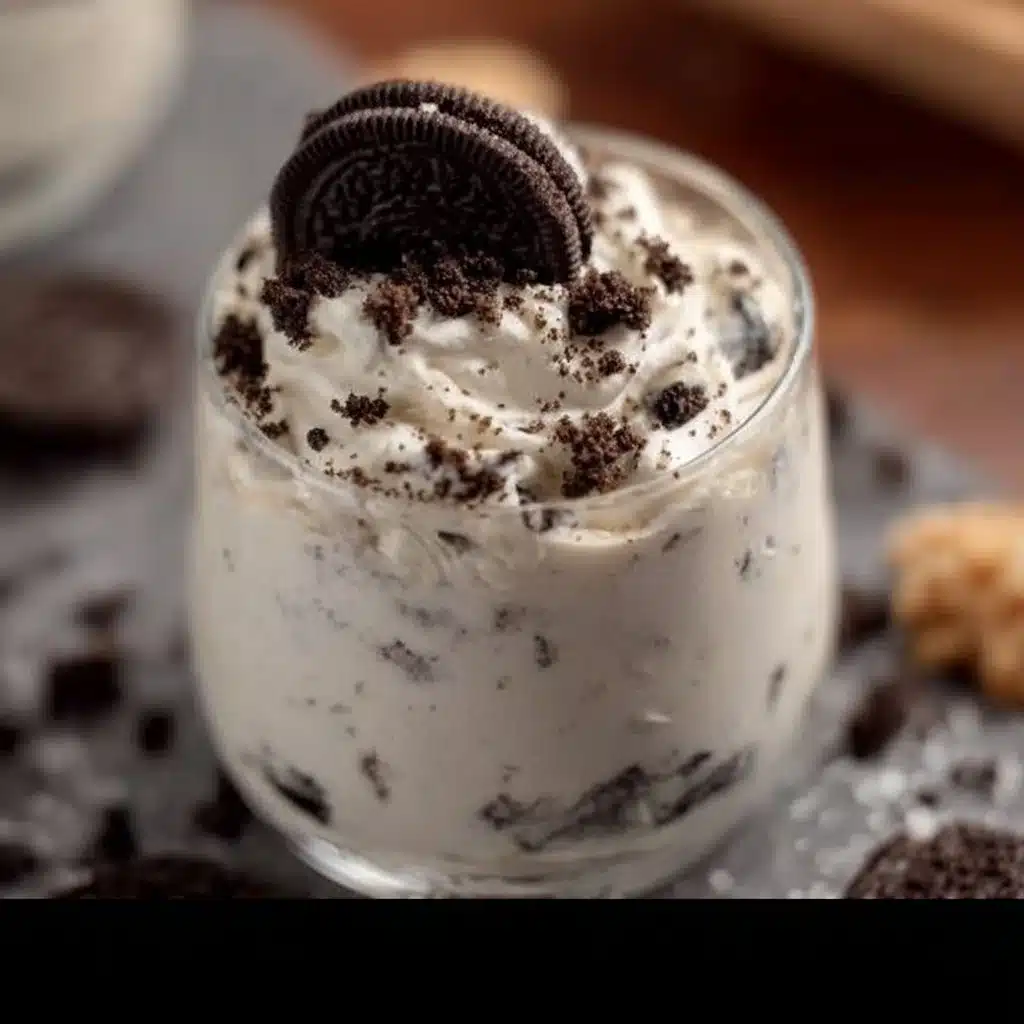
- Top each cup with a dollop of whipped cream and a sprinkle of crushed Oreos before serving.
Serving ideas
Serve these Oreo cheesecake cups as a simple after-dinner dessert or bring them to a potluck in a shallow tray to free hands for mingling. For a layered look, pipe the cheesecake filling with a large pastry bag into the cups. Garnish with mini chocolate chips, a drizzle of hot fudge warmed slightly, or a sprinkle of sea salt to highlight the chocolate. A few fresh raspberries brighten the richness and offer a tart counterpoint that makes each spoonful feel more sophisticated.
If you serve a crowd, set up a mini-fixings station: extra crushed Oreos, whipped cream, chocolate shavings, and chopped nuts let guests customize their cups. For a kid-friendly presentation, add a whole mini Oreo or a fun paper flag tucked into the top. These cups pair well with a cup of dark coffee or a cold glass of milk for an easy, crowd-pleasing combo.
How to store it properly
Store assembled cups in the refrigerator, covered tightly with plastic wrap or with airtight lids if you use jars. They stay best for up to 3 days; after that, the Oreo base softens and the texture changes. If you plan to keep them longer, freeze the cups without the final whipped cream topping: they last in the freezer for up to 1 month wrapped well. Thaw them overnight in the refrigerator and add fresh whipped cream and crumbs right before serving for best results.
When transporting, pack the cups in a shallow box lined with a damp towel under the container to keep them from shifting. Keep them cool during travel with an ice pack for short trips to maintain texture and safety.
DishGrub Kitchen Tips
Softening the cream cheese at room temperature makes the mixture smooth and prevents lumps. If you forget to soften it, microwave the block in 5- to 8-second bursts, turning between bursts, until it gives a little under pressure—do not melt. Use room-temperature vanilla extract for even mixing.
Fold the Cool Whip in gently with a rubber spatula to keep the filling airy. Overmixing will deflate the whipped topping and make the filling dense. For cleaner presentation, tamp the Oreo crumbs into the bottom of the cups with the back of a teaspoon to form a compact base before adding the filling. If you want a slightly sturdier base, mix a tablespoon of melted butter with the crumbs before pressing.
If you want ideas for pairing sweet, creamy desserts with other homemade treats, try balancing a platter with something peanut-forward; our homemade peanut butter cups create a delightful contrast to these cheesecake cups.
Make it your own
You can easily change the cookie base to match what you have on hand: chocolate wafers, Biscoff for a spiced twist, or graham crackers for a classic cheesecake vibe. Fold in different mix-ins—mini chocolate chips, chopped Oreos, or toffee bits—to change texture and flavor. For a mint-chocolate version, use mint Oreos and a drop of peppermint extract in the filling, but add it sparingly to avoid overpowering the cream cheese.
For a lighter version, swap half the Cool Whip for plain Greek yogurt sweetened with a bit of honey, but expect a tangier flavor and a looser texture. For an adult-friendly option, drizzle a tablespoon of coffee liqueur over the crumb layer before filling the cups to give them depth and a subtle boozy note.
Frequently asked questions
Q: Can I use regular whipped cream instead of Cool Whip?
A: Yes, you can use stabilized whipped cream or freshly whipped cream, but fresh whipped cream loses volume faster than Cool Whip. If you use fresh cream, beat it to soft peaks and fold it in gently. Chill the assembled cups as soon as possible and serve within a day for the best texture.
Q: How do I prevent the Oreo base from becoming soggy?
A: Press the crumbs firmly into the bottom of the cups to compact them, and avoid adding any liquid directly to the crumbs. Chilling the cups helps the crumbs set against the filling; serve within a few days to keep the base with the best crunch. If you need a firmer crust, mix a small amount of melted butter into the crumbs before pressing them down.
Q: Can I double or halve the recipe easily?
A: Yes. This recipe scales up or down without changing technique. For more servings, place the mixture in a large bowl and fold gently; for fewer servings, use smaller jars. Keep the ratio of ingredients the same and taste the filling before chilling if you adjust quantities significantly.
Q: Will these cups be too sweet?
A: The powdered sugar and Oreos add sweetness, but the tang of the cream cheese balances it. If you prefer less sweetness, reduce the powdered sugar to 1/2 cup and taste before adding more. Using a slightly tangier or lower-fat cream cheese can also cut sweetness while keeping the texture intact.
Q: Can I make these ahead for a party?
A: Yes, assemble the cups a day ahead and keep them refrigerated. Add the fresh whipped cream and final crumbs right before serving to keep the topping light and the crumbs crisp.
Conclusion
For a foolproof no-bake option that feels special without demanding oven time, this Oreo cheesecake cup recipe checks all the boxes: fast, flexible, and crowd-pleasing. If you want another no-bake variation with a similar approach and straightforward steps, try the No Bake OREO Cheesecake Cups – Best Friends For Frosting for additional inspiration and presentation ideas.





