
There is something about the slow, steady heat of an oven that feels like a warm hand on a chilly evening. Ribs roasted low and slow invite people to gather, pass plates, and talk a little longer than they meant to. You don’t need a smoker or a long list of ingredients to get that fall-off-the-bone tenderness; you need patience, simple seasoning, and a reliable method that fits right into a busy weeknight or a relaxed weekend.
Make these ribs when you want food that feeds more than hunger — it feeds memories. The scent of smoked paprika and garlic filling the kitchen, the gentle hiss as foil comes off, the sticky brush of barbecue sauce at the end: those little rituals become part of the meal. Serve with a crunchy slaw, a tray of roasted potatoes, or a creamy mac and cheese for a plate full of contrasts. When kids and grown-ups alike lick their fingers and reach for seconds, you’ll know you made the right call.
We develop recipes at DishGrub with real kitchens in mind. Every recipe here goes through practical testing so home cooks get consistent results without fuss. We aim for cozy, approachable dishes that suit weeknights, potlucks, and lazy Sunday dinners. Our goal is warm flavors, clear steps, and a few smart shortcuts so you spend more time enjoying the company at your table and less time worrying about technique. If you like simple, satisfying dinners that still feel special, try our baked honey garlic chicken thighs for another fuss-free family favorite.
Why this recipe works
This oven-baked method turns baby back ribs tender through low, even heat without the need for a grill or smoker. Wrapping the ribs tightly in foil traps steam and renders connective tissue slowly, producing meat that pulls away from the bone with the lightest tug. A short final uncovered bake with barbecue sauce creates glossy caramelization without burning the sugars. Seasoning keeps the flavor straightforward — garlic, onion, and smoked paprika build a savory backbone that complements any sauce you choose. Because the cooking time uses mostly unattended oven time, this recipe fits into busy schedules while delivering that slow-cooked satisfaction.
How to prepare Easy Oven Baked Ribs
Ingredients
- 2 racks of baby back ribs
- 1 cup of barbecue sauce
- 1 teaspoon garlic powder
- 1 teaspoon onion powder
- 1 teaspoon smoked paprika
- Salt and pepper to taste
Instructions
-
Preheat the oven to 300°F (150°C).
-
Remove the membrane from the back of the ribs.
-
Season the ribs with salt, pepper, garlic powder, onion powder, and smoked paprika.
-
Place the ribs on a baking sheet lined with aluminum foil.
-
Cover the ribs tightly with another layer of foil.
-
Bake for 2.5 to 3 hours, until tender.
-
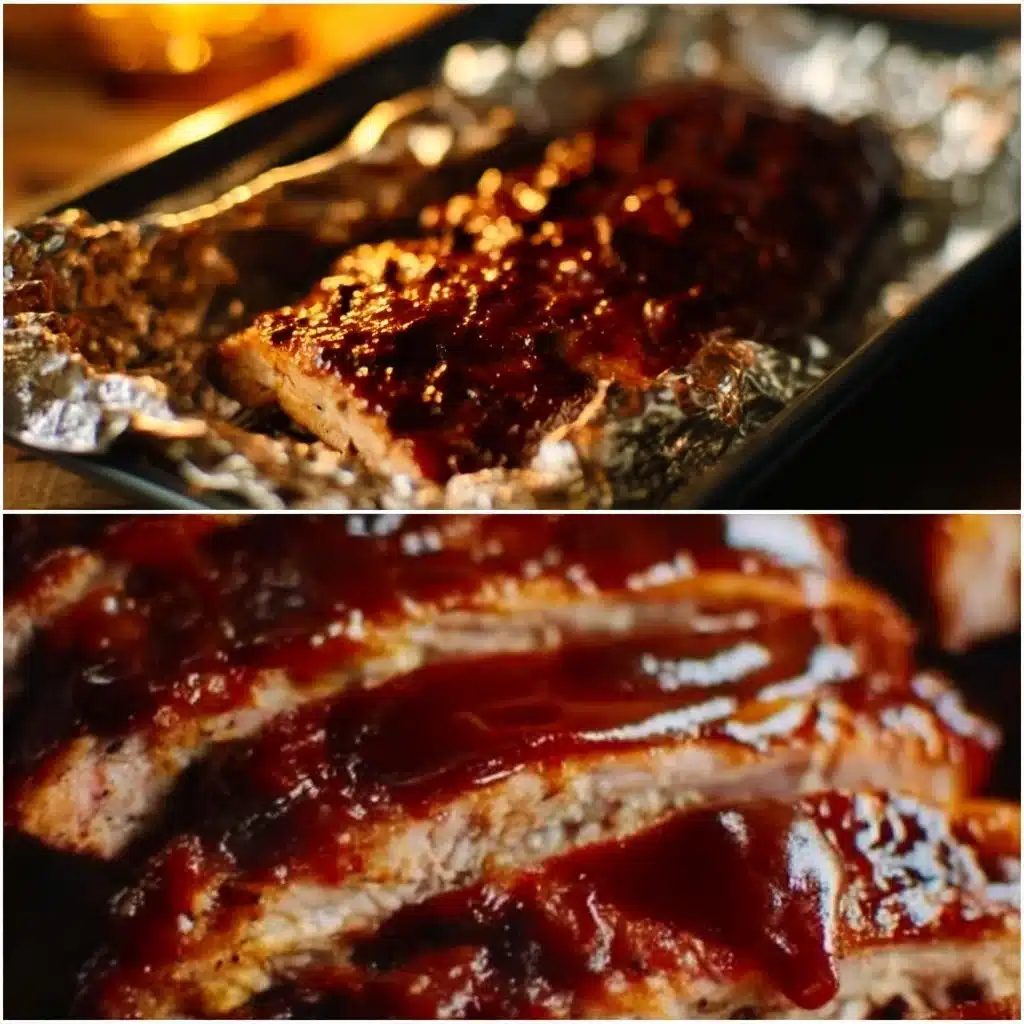
Remove the top layer of foil, brush the ribs with barbecue sauce, and bake for an additional 30 minutes.
-
Serve and enjoy!
Serving ideas
Serve these ribs with sides that balance texture and comfort. A crisp vinegar-based coleslaw adds brightness and cuts through the richness. Creamy mashed potatoes or a tray of roasted baby potatoes make the meal hearty and satisfying. If you want a classic pairing, warm cornbread or grilled corn on the cob keeps the plate nostalgic and family-friendly. For an easy weeknight plate, pair with a store-bought slaw and a scoop of frozen mac and cheese reheated on the stove or oven; for a more homey combo, try our baked mac and cheese as a crowd-pleasing side in the oven while the ribs finish glazing.
Storage tips
Cool leftovers to room temperature within two hours and place them in an airtight container or wrap tightly in foil. Refrigerate for up to four days. To reheat, warm ribs in a 300°F oven wrapped in foil until heated through, about 20–30 minutes depending on portion size; this preserves moisture better than microwave reheating. For longer storage, freeze cooled ribs in a freezer-safe container or vacuum-seal bags for up to three months. Thaw in the refrigerator overnight before reheating, and allow the ribs to come closer to room temperature before placing them back in the oven for even reheating.
DishGrub Kitchen Tips
Trim and prep with confidence: Removing the membrane on the bone side helps seasonings penetrate and improves tenderness. Use a paper towel to grip the membrane and pull — it comes off in one piece most of the time. Tent tightly: When you seal the ribs with foil, crimp the edges well to trap steam; that’s the secret to consistent tenderness. Watch the sauce stage: Brush on the barbecue sauce only in the last 30 minutes to avoid overcooking the sugars. If you like a slightly sticky, charred finish, switch the oven to broil for the last 2–3 minutes but stand by the oven — sugars can burn fast. For a shortcut to sides, heat our baked mac and cheese alongside the ribs so both come out warm and comforting together.
Recipe variations
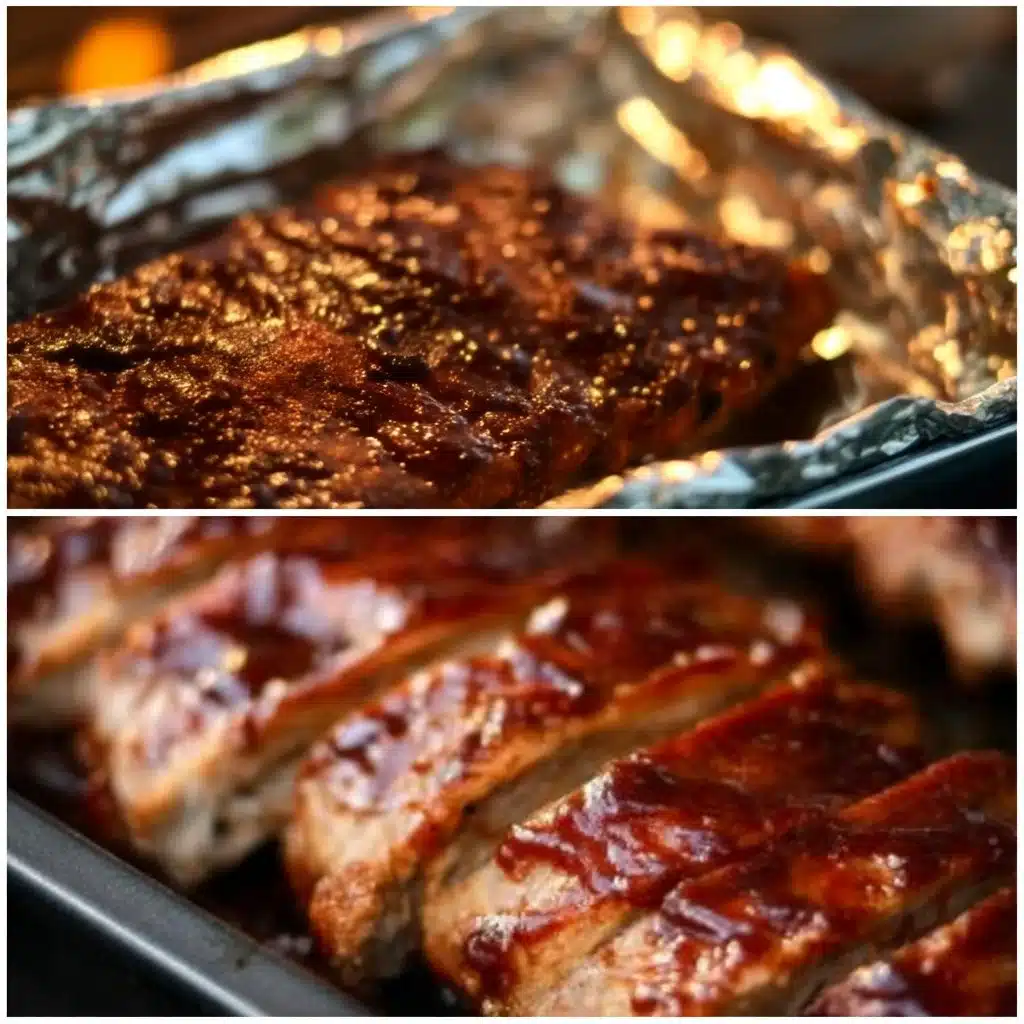
Switch up the flavor profile depending on what you have on hand. For a sweet-and-spicy version, mix half a cup of your barbecue sauce with two tablespoons of honey and a teaspoon of hot sauce, then brush on at the end. For a smoky, dry-rub approach, double the smoked paprika, add a teaspoon of chili powder and a tablespoon of brown sugar to the rub, omit the sauce, and finish with a quick broil for color. If you prefer tangy ribs, add a tablespoon of apple cider vinegar to the sauce before glazing. You can also cut racks into individual portions before cooking if you want quicker, single-rib reheats later.
Common questions
Q: How do I know when the ribs are done?
A: Look for tenderness and a slight pullback from the bone ends. The meat should feel soft when you press it and should begin to pull away from the bone by about an eighth to a quarter inch. A fork or toothpick should slide into the meat with little resistance. You don’t need a thermometer for ribs; texture matters more than an exact internal temperature. If you prefer, you can check that the connective tissue breaks down by testing a small area — if it separates easily, they are done.
Q: Can I use a different type of ribs?
A: Yes. St. Louis-style spare ribs and baby back ribs both work, but adjust cooking time. Spare ribs have more fat and connective tissue, so they often need 30 to 45 extra minutes at the same temperature to reach the same tenderness. If you use country-style ribs (which are meatier and sometimes sold boneless), monitor them earlier — they can cook faster and may dry out if overbaked.
Q: Can I prep these ribs ahead of time?
A: Absolutely. You can apply the dry seasoning and wrap the ribs tightly in foil, refrigerate overnight, and bake the next day. This makes weeknight cooking much simpler. If you plan to prep days ahead, store in the refrigerator up to 48 hours before baking. For longer prep, fully cook, cool, and refrigerate; then reheat and add fresh sauce before serving.
Q: How do I reheat leftover ribs without drying them out?
A: Reheat in a low oven around 300°F wrapped in foil with a splash of water or a teaspoon of apple juice to create steam; heat until warmed through, usually 20–30 minutes. Avoid high heat or microwaving without covering, because that dries the meat. For a quick finish, unwrap and brush with sauce, then give the ribs a few minutes under the broiler to caramelize the glaze.
Conclusion
If you want a reliable, no-fuss way to get tender, flavorful ribs at home, this oven-baked method delivers every time. For another tested take on fall-off-the-bone ribs with tips on sauce and timing, see the detailed inspiration in this Easy Fall Off the Bone Oven Baked Ribs Recipe – Inspired Taste.





