
There are few smells that feel as much like home as warm chocolate chip cookies straight from the oven. I still remember the first batch I baked as a teenager, balancing a cookie sheet on the oven door while my family crowded into the kitchen, laughing at small talk and tiny accidentsspilled flour, a missed timer, a scorched corner that still tasted like victory. Those imperfect cookies tasted like togetherness more than like any single ingredient. Over time I learned that comfort cooking often means simple techniques, reliable pantry staples, and recipes you can return to again and again, the kind that fold easily into busy weeknights or slow Sunday afternoons.
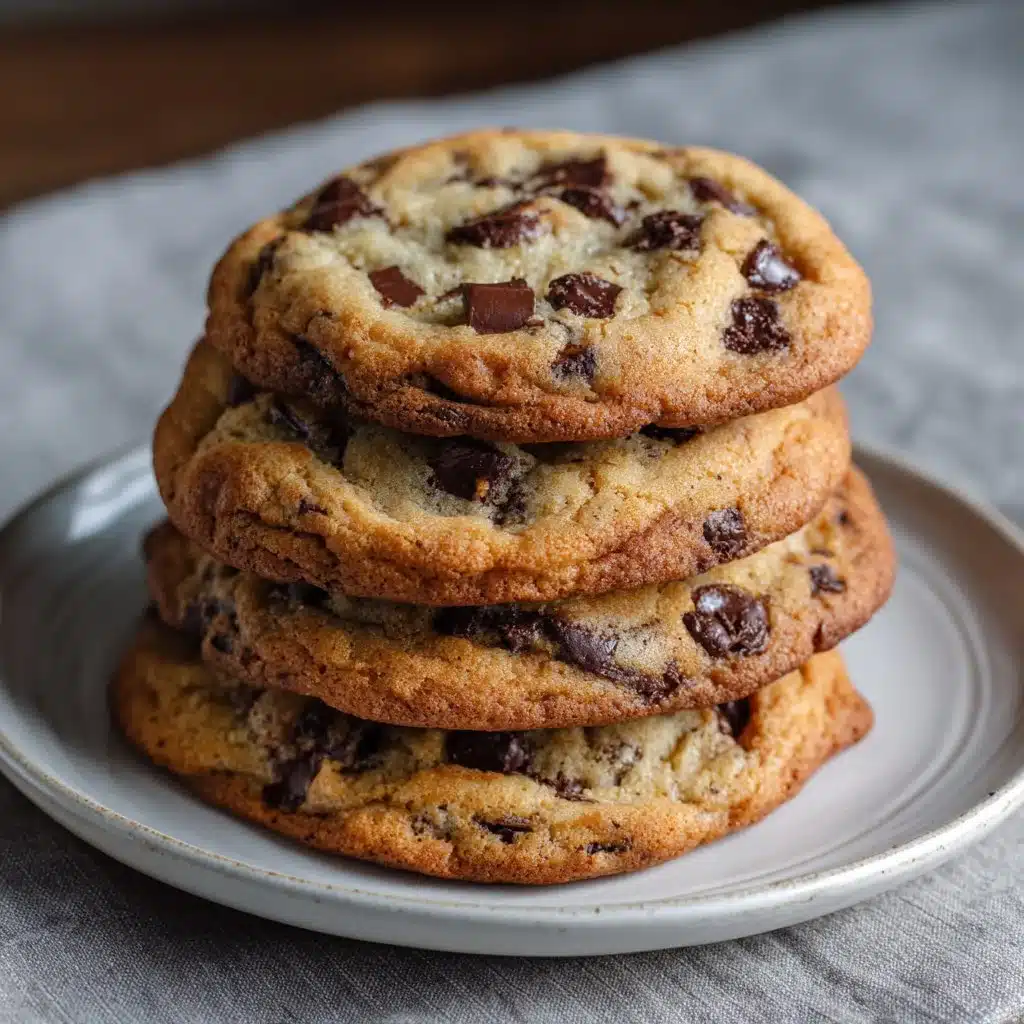
Making cookies rarely demands perfection. You get more joy from the ritualmeasuring, creaming butter and sugar until it looks like soft clouds, sneaking a chocolate chip while nobody’s lookingthan from chasing some impossible ideal. This classic chocolate chip recipe gives you that ritual with forgiving steps and dependable results. It makes a batch that stays soft in the middle and develops golden, chewy edges that break in the right way. It asks for everyday ingredients and returns them as something that feels celebratory whether you plate a stack for unexpected guests or tuck the cookies into school lunch bags.
DishGrub started with the idea that comfort food should be achievable for home cooks who value time, flavor, and a few reliable tricks. We test each recipe until it performs consistently in real kitchens, not laboratory settings. Our aim is cozy food that won’t stress you out: clear ingredient lists, straightforward steps, and tips that prevent common pitfalls. We write for people who want food that comforts and connectsmeals that bring family and friends together, or that soothe after a long day. This chocolate chip cookie method exemplifies that approach: simple, forgiving, and universally loved.
Why this recipe works
This recipe balances structure and tenderness. The combination of granulated and brown sugar gives the cookies a slightly crisp edge and a soft, chewy center. Brown sugar adds moisture and caramel notes because it contains molasses, which helps the cookies stay soft as they cool. Creaming the butter and sugars creates pockets of air that expand during baking and contribute to a light texture.
The ratio of flour to fat and eggs keeps the cookies from spreading too thin while still allowing them to puff and settle into that classic domed shape. A single teaspoon of baking soda acts as a gentle leavening agent and helps the cookies brown evenly. Semi-sweet chocolate chips give a balanced sweetness that pairs well with the caramel undertones. This particular method emphasizes not overmixing once you add the dry ingredients, which preserves tenderness and prevents gluten from developing too much.
Small technique choiceslike chilling dough for a short time if your kitchen is warm, or spacing scoops two inches apartcontrol spread and create evenly baked cookies. The recipe’s baking window of 9 to 11 minutes gives you flexibility depending on how you like your cookies: pull them at the shorter end for a softer center, or wait until the edges turn golden for a chewier bite. These elements come together to produce cookies that taste homemade and nostalgic with little fuss.
Your guide to making Classic Chocolate Chip Cookies
This guide keeps the steps practical and clear so you can focus on the fun parts: creaming, folding, and tasting. Start by assembling ingredients and setting your oven so hot spots don’t ruin a batch. Use room-temperature eggs and butter; they blend faster and more evenly with the sugars. Measure flour by spooning it into the cup and leveling with a knife, or weigh it for the most precision.
If you want consistent cookie size, use a small ice cream scoop or a tablespoon measure; uniform dough balls bake more evenly. Line baking sheets with parchment paper to prevent sticking and to keep cleanup minimal. When the cookies come out, let them rest two minutes on the sheet so edges set, then move them to a wire rack to cool fully and keep texture perfect. Bake in the middle rack and rotate pans halfway if your oven runs unevenly. Most importantly, taste a warm cookielife is short, and the best gauge is your smile.
Ingredients
- 2 ¼ cups all-purpose flour
- 1 teaspoon baking soda
- 1 teaspoon salt
- 1 cup unsalted butter, softened
- ¾ cup granulated sugar
- ¾ cup packed brown sugar
- 1 teaspoon vanilla extract
- 2 large eggs
- 2 cups semi-sweet chocolate chips
Instructions
- Preheat your oven to 375°F (190°C).
- In a medium bowl, whisk together the flour, baking soda, and salt and set the bowl aside.
- In a large mixing bowl, cream the softened butter, granulated sugar, brown sugar, and vanilla extract until the mixture looks light and fluffy.
- Beat in the eggs one at a time and mix well after each addition.
- Gradually add the dry ingredients to the wet ingredients and mix until just combined.
- Fold in the chocolate chips using a spatula or wooden spoon.
- Drop rounded tablespoons of dough onto ungreased baking sheets spaced about two inches apart.
- Bake for nine to eleven minutes or until the edges turn golden brown.
- Allow cookies to cool on the baking sheets for two minutes before transferring them to wire racks to cool completely.
Serving ideas
Serve these cookies warm with a glass of cold milk for a timeless pairing that always delights. For a dessert plate, warm individual cookies in a 300°F oven for five minutes and top with a scoop of vanilla ice cream to create an easy, nostalgic a la mode. Offer a small bowl of flaky sea salt so guests can sprinkle a pinch on top for a sophisticated salty-sweet contrast.
Turn cookies into a building block for other treats: sandwich two cookies with chocolate ganache, peanut butter, or marshmallow fluff to make hand-held desserts. Crumble cooled cookies over yogurt or ice cream for texture and flavor. For gatherings, display cookies on a tiered platter alongside fresh fruit and coffee for a cozy self-serve dessert station that invites casual conversation.
Storage tips
Store cooled cookies in an airtight container at room temperature for up to five days and they will retain chewiness. Place a slice of bread or a few apple slices in the container to keep cookies softthe bread or apple releases moisture that the cookies will absorb. Avoid refrigerating cookies; cold air dries them out and changes texture.
For longer storage, freeze unbaked dough balls on a tray until firm, then transfer them to a resealable freezer bag for up to three months. Bake from frozen and add an extra minute or two to the baking time. You can also freeze fully baked cookies between layers of parchment paper in an airtight container for up to two months; thaw at room temperature before serving.
DishGrub Kitchen Tips
Use room-temperature butter and eggs for even creaming and a consistent dough. If you’re short on time, microwave the butter in 5-second bursts until just softeneddo not melt it. When measuring flour, spoon it into the measuring cup and level with a knife or use a kitchen scale for more reliable results.
If your kitchen runs hot and the dough becomes greasy, chill the scooped dough for 20 to 30 minutes to firm it up and control spread. Rotate pans halfway through baking if your oven has hot spots. If you prefer thicker cookies, bake slightly larger scoops and reduce the oven temperature by 10°F to prevent over-browning. Lastly, resist the urge to overmix after adding flour; stop as soon as the dry streaks disappear to keep cookies tender.
Recipe variations
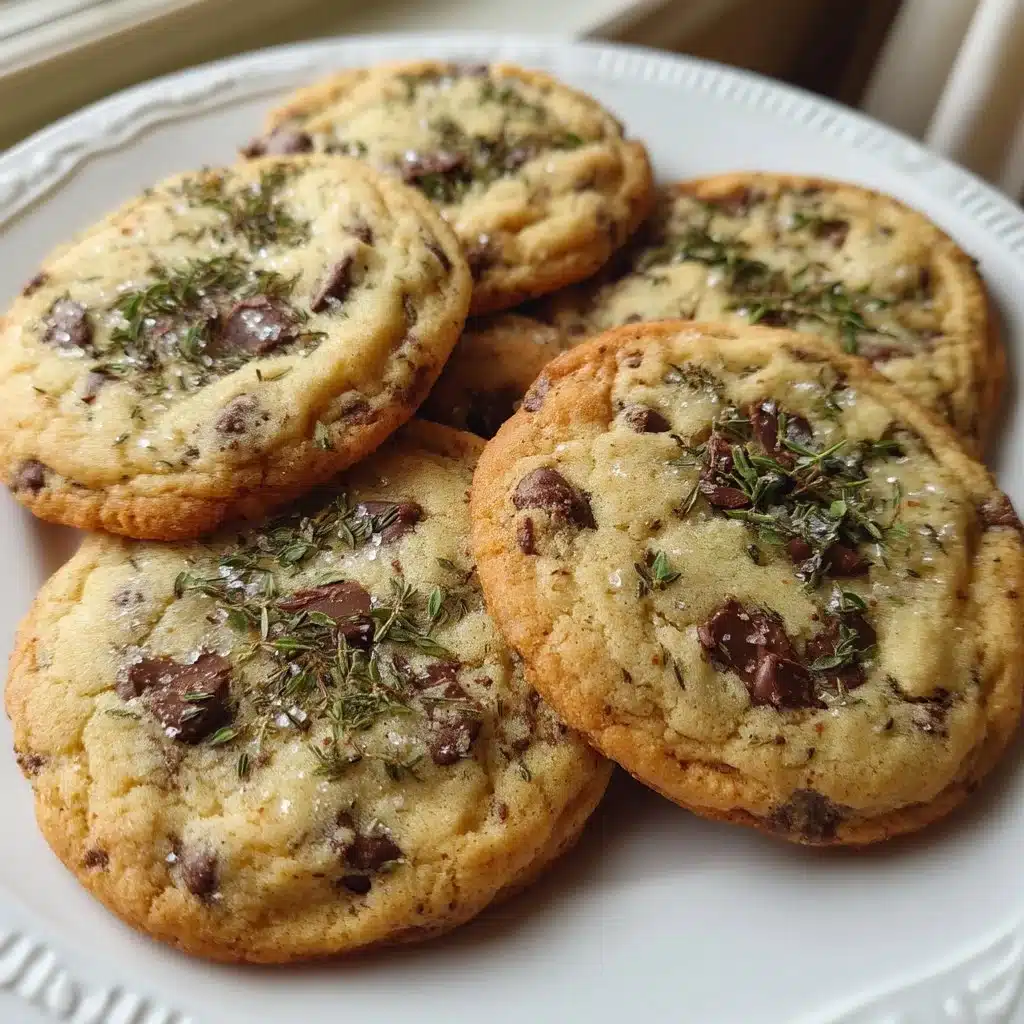
Swap chocolate chips for milk chocolate, dark chocolate, or white chocolate chips for different sweetness and richness. Fold in a half cup of chopped toasted nuts or shredded coconut for crunch and flavor depth. For a more complex caramel flavor, replace half the brown sugar with dark brown sugar.
Add a teaspoon of instant espresso powder to the dry ingredients for a subtle mocha note that enhances chocolate. For a chewier cookie, replace one tablespoon of flour with one tablespoon of cornstarch. For a softer, almost cake-like cookie, add an extra egg yolk and reduce the sugar by a tablespoon. If you want to make these gluten-free, substitute a one-to-one gluten-free flour blend and add a quarter teaspoon of xanthan gum if your blend lacks it.
Common questions
Q: Can I use melted butter instead of softened butter?
A: Using melted butter changes the texture and spread of the cookies. Melted butter tends to make cookies thinner and chewier because it releases fat more evenly in the dough. If you prefer thicker cookies with a tender crumb, use softened but not melted butter and cream it with the sugars until the mixture becomes light and somewhat fluffy.
Q: How do I prevent my cookies from spreading too much?
A: Ensure your butter is not overly soft or melted before creaming. If your dough looks glossy or greasy, chill it for 20 to 30 minutes before scooping. Use parchment paper or silicone mats and space dough balls about two inches apart. If your oven runs hot, lower the temperature by 10°F and watch the first batch closely to adjust timing.
Q: Why do my cookies sometimes come out cakey?
A: Cakey cookies usually result from using too much flour, overmixing after you add the dry ingredients, or using more baking soda than the recipe calls for. Spoon and level flour into cups rather than scooping directly from the bag, and stop mixing as soon as the dough comes together. Also check that you use the correct leavening amountone teaspoon of baking soda in this recipe gives a balanced rise without creating a cake-like interior.
Q: Can I make the dough ahead of time?
A: Yes. You can refrigerate the dough for up to 72 hours if you cover it tightly; chilling enhances flavor and prevents excessive spread. For longer storage, portion the dough into balls, freeze them on a tray until firm, then transfer to a sealed bag. Bake frozen dough straight from the freezer and add a minute or two to the baking time.
Q: What’s the best way to get even-sized cookies?
A: Use a small ice cream scoop or a tablespoon to portion dough for consistent sizing. Press the scoop into the dough and level it off with the edge of the bowl before releasing onto the sheet. Evenly sized cookies bake at the same rate, so you don’t have to chase different browning times across the pan.
Conclusion
If you want another tried-and-true version to compare techniques or flavor tweaks, check out The Best Chocolate Chip Cookie Recipe Ever – JoyFoodSunshine for helpful variations and inspiration.
Print
Classic Chocolate Chip Cookies
- Total Time: 26 minutes
- Yield: 24 cookies
- Diet: Vegetarian
Description
A classic recipe for warm chocolate chip cookies with a soft center and chewy edges, perfect for any occasion.
Ingredients
- 2 ¼ cups all-purpose flour
- 1 teaspoon baking soda
- 1 teaspoon salt
- 1 cup unsalted butter, softened
- ¾ cup granulated sugar
- ¾ cup packed brown sugar
- 1 teaspoon vanilla extract
- 2 large eggs
- 2 cups semi-sweet chocolate chips
Instructions
- Preheat your oven to 375°F (190°C).
- In a medium bowl, whisk together the flour, baking soda, and salt and set the bowl aside.
- In a large mixing bowl, cream the softened butter, granulated sugar, brown sugar, and vanilla extract until the mixture looks light and fluffy.
- Beat in the eggs one at a time and mix well after each addition.
- Gradually add the dry ingredients to the wet ingredients and mix until just combined.
- Fold in the chocolate chips using a spatula or wooden spoon.
- Drop rounded tablespoons of dough onto ungreased baking sheets spaced about two inches apart.
- Bake for nine to eleven minutes or until the edges turn golden brown.
- Allow cookies to cool on the baking sheets for two minutes before transferring them to wire racks to cool completely.
Notes
For chewy cookies, do not overmix after adding the dry ingredients. Store in an airtight container for up to five days.
- Prep Time: 15 minutes
- Cook Time: 11 minutes
- Category: Dessert
- Method: Baking
- Cuisine: American





