
Comfort food tastes like home, and sometimes home means pulling a warm tray of cupcakes from the oven while the house fills with a smell that makes everyone slow down. These green velvet cupcakes hit that sweet spot between cozy and a little bit festive they feel indulgent but stay uncomplicated, the kind of treat you can whip up for school bake sales, a low-key holiday, or an afternoon coffee break. I like recipes that invite company: a quick batch of cupcakes encourages conversation, a shared plate, and a moment of togetherness that feels intentional without a long to-do list.
At DishGrub we test recipes until they work well in real kitchens, not just in test labs. We focus on accessible ingredients, straightforward steps, and tips that save time and prevent mistakes. That means you won’t need special equipment or obscure items to make these cupcakes turn out tender, evenly risen, and vibrantly green. If you enjoy velvet-style cakes, you might also like our take on classic red velvet; we tested that recipe for texture and flavor at home, and readers love it too: red velvet cupcakes. We aim to help busy home cooks make comforting food feel effortless and satisfying.
These green velvet cupcakes borrow structure from familiar chocolate and red velvet recipes, but they lean into a softer crumb and a bright color that makes them feel playful. You can keep them simple with a dusting of powdered sugar, or frost them for a party-worthy finish. The recipe walks you through mixing, baking, and a few easy adjustments so you can get consistent results even if you don’t bake every day. Read on for why this version stands out and how to make it in your own kitchen.
Why this recipe stands out
This green velvet cupcake recipe balances familiar techniques with small tweaks that deliver consistent results. It uses vegetable oil and buttermilk to create a moist crumb that holds up well to frosting or filling. The vinegar reacts with the baking soda to give an extra lift, which helps the cupcakes rise evenly and keeps them light rather than dense. I include both oil and eggs so the texture stays tender while the structure remains stable.
You won’t need special tools or complex steps. The dry ingredients go together quickly, and you combine wet and dry just until they’re incorporated that prevents overmixing, which causes toughness. The cocoa powder adds a subtle chocolate note that deepens the flavor without turning the cake into a brownie. The green color comes from food coloring; you can adjust intensity to match a season or theme. Overall, the recipe yields cupcakes that slice clean, frost beautifully, and taste like a slightly chocolatey, classic velvet cake just with a cheerful green twist.
How to prepare Easy Green Velvet Cupcakes
This recipe focuses on simple, repeatable actions so you can get cupcakes into the oven with confidence. Measure ingredients ahead of time to streamline the process. Use room-temperature eggs and buttermilk so the batter emulsifies smoothly. When you mix wet into dry, stir gently until the streaks disappear; small flour pockets are better than an overworked batter. Divide batter evenly among liners for uniform baking; a simple scoop with a measuring cup or an ice cream scoop does the trick.
If you want to frost later, cool cupcakes completely so the frosting holds its shape. For a quick finish, sprinkle with cocoa or powdered sugar. If you plan to fill the cupcakes, poke a small cone-shaped hole with a paring knife or use a cupcake corer once the cakes are fully cooled. These steps keep the process approachable and reduce last-minute stress so you spend less time troubleshooting and more time enjoying warm cupcakes with friends or family.
Ingredients
- 1 1/2 cups all-purpose flour
- 1 cup granulated sugar
- 1/2 cup unsweetened cocoa powder
- 1 teaspoon baking soda
- 1/2 teaspoon salt
- 1 cup vegetable oil
- 1 cup buttermilk
- 2 large eggs
- 1 tablespoon white vinegar
- 1 teaspoon vanilla extract
- Green food coloring
Instructions
-
Preheat oven to 350°F (175°C) and line a cupcake pan with paper liners.
-
In a large bowl, sift together flour, sugar, cocoa powder, baking soda, and salt.
-
In another bowl, mix oil, buttermilk, eggs, vinegar, and vanilla. Add green food coloring to reach desired color.
-
Pour the wet ingredients into the dry ingredients and mix until just combined.
-
Divide the batter evenly among the cupcake liners.
-
Bake for 18-20 minutes or until a toothpick comes out clean.
-
Let cool and enjoy!
Serving ideas
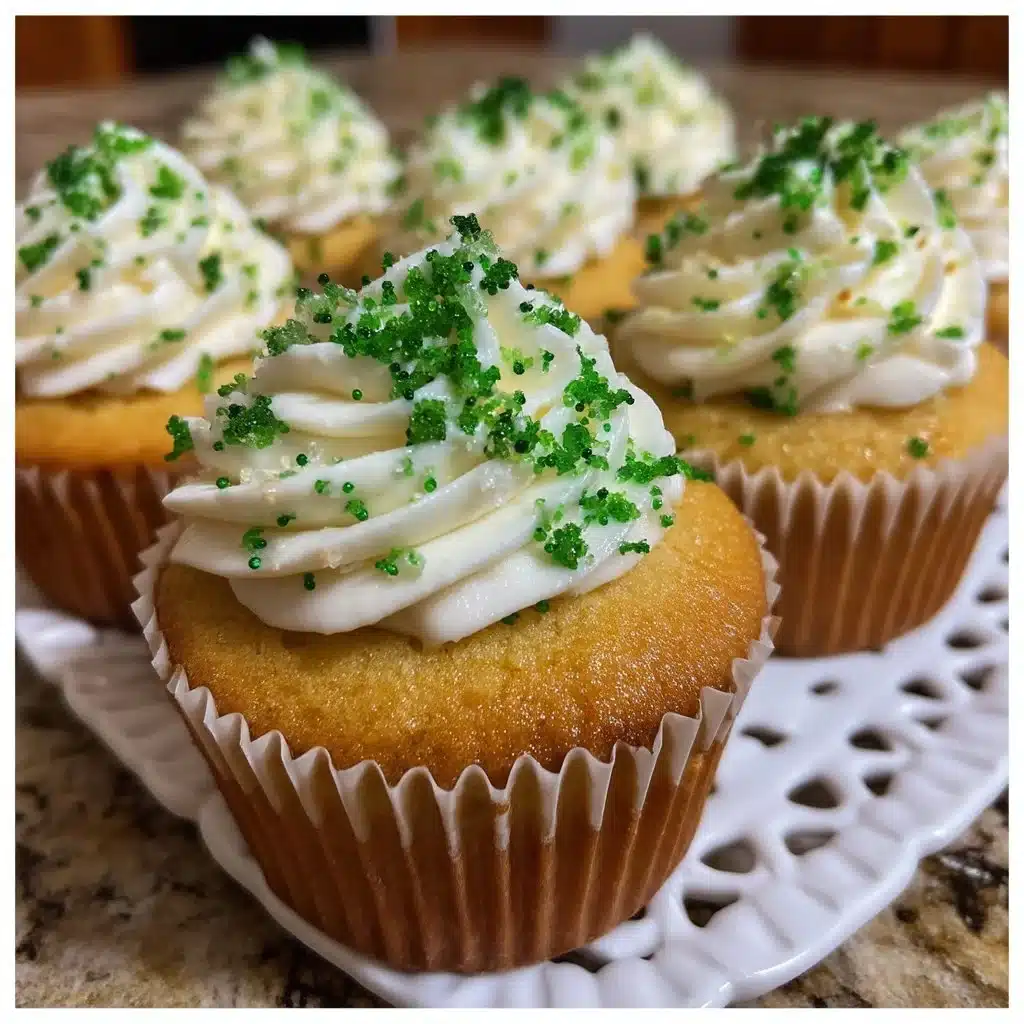
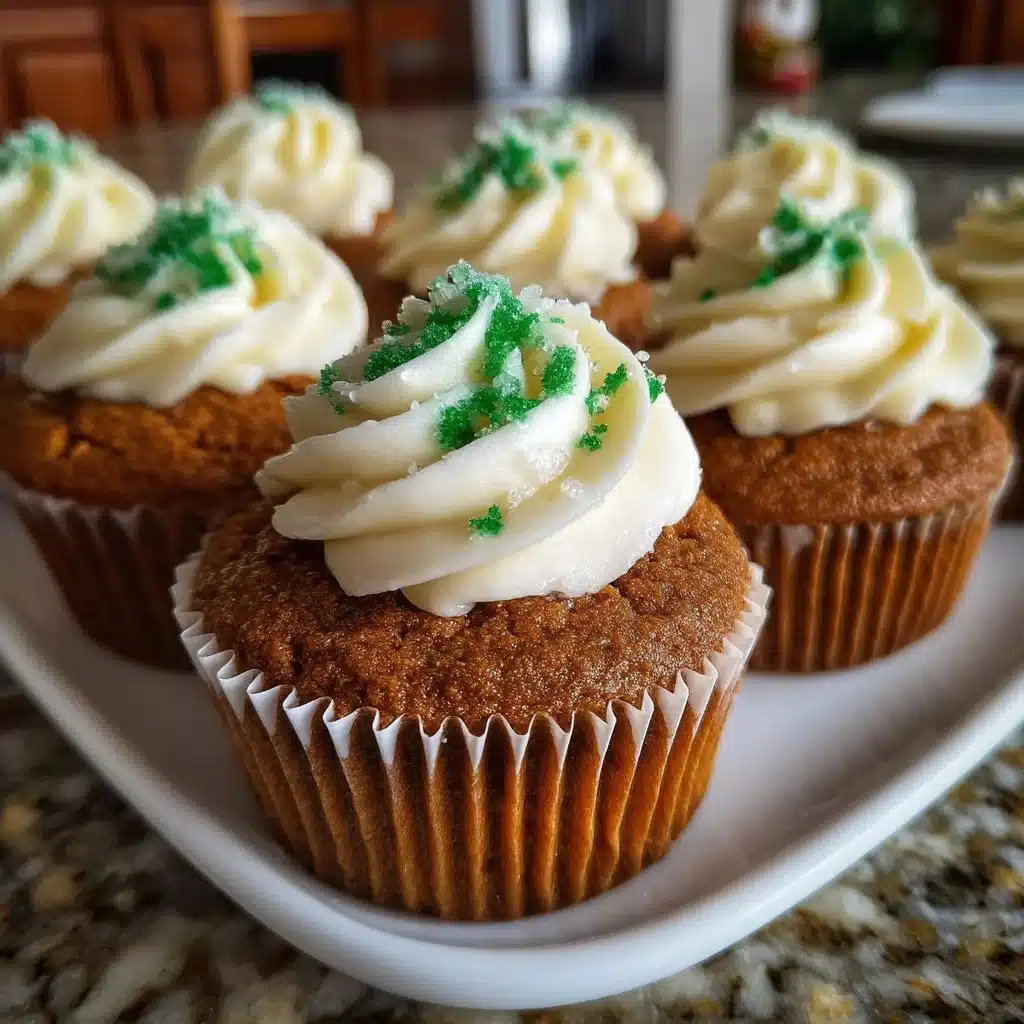
Serve these cupcakes slightly warm or at room temperature, depending on whether you frost them. For a low-effort presentation, dust the tops with powdered sugar or sift a little cocoa powder through a fine strainer for a gentle chocolate haze. For celebrations, pipe a vanilla cream cheese frosting with a star tip to give each cupcake a classic swirl. You can also pair the cupcakes with a light whipped cream flavored with a touch of citrus zest to balance the sweetness.
For gatherings, arrange cupcakes on a tiered stand and alternate frosted and unfrosted ones so guests can choose. Add fresh berries or sprigs of mint for color contrast. If you want to make them into a dessert platter, include small bowls of sprinkles, chopped nuts, and caramel sauce so people can top their cupcakes to taste.
Storage tips
Store cooled cupcakes in an airtight container at room temperature for up to two days. If you frost them with a cream cheese or dairy-based frosting, refrigerate and consume within three to four days. When you refrigerate, let chilled cupcakes sit at room temperature about 30 minutes before serving so the frosting softens and the crumb regains moisture.
For longer storage, freeze unfrosted cupcakes on a baking sheet until firm, then transfer them to a freezer-safe bag or container for up to two months. Thaw in the refrigerator overnight and bring to room temperature before frosting. If you freeze frosted cupcakes, flash-freeze them uncovered, then wrap each cupcake in plastic wrap and place in an airtight container to prevent freezer burn; thaw slowly to preserve frosting texture.
DishGrub Kitchen Tips
Measure flour correctly by spooning it into the measuring cup and leveling with a straight edge; scooping directly can pack too much flour and dry out the cupcakes. Use fresh baking soda for reliable rise if it has been open for a long time, test a little with vinegar to see if it fizzes.
When you add the green food coloring, start with a few drops and mix thoroughly before deciding whether to add more; gel coloring gives brighter results with less product. If you want brighter, more consistent green without using too much food coloring, add a tiny pinch of lemon juice to react slightly with the cocoa and enhance color vibrancy.
For a balanced breakfast-and-dessert pairing, these cupcakes work surprisingly well with a bright, green smoothie; try a chilled glass of fruit and greens alongside a cupcake to mix indulgence with something light: detox green smoothie.
Recipe variations
Make them mini: Use a mini-muffin pan and reduce baking time to about 10-12 minutes. These make great bite-sized party treats.
Add a swirl: Mix 1/2 cup softened cream cheese with 1/4 cup sugar and a teaspoon of vanilla, then spoon a dollop into each cupcake before baking for a cream cheese center.
Chocolate lovers: Increase the cocoa to 3/4 cup and add 1/2 cup mini chocolate chips for pockets of melted chocolate in every bite. Reduce sugar by 2 tablespoons if you prefer less sweetness.
Mint twist: Add 1/2 teaspoon peppermint extract to the wet ingredients and top with a mint-infused buttercream for a holiday-ready flavor.
Cocoa-less velvet: If you want a true velvet (no cocoa), omit the cocoa and increase flour by two tablespoons; add a teaspoon of white vinegar and a teaspoon of lemon juice to brighten flavor and color.
Common questions
How much food coloring should I use to get a vibrant green?
Start with a few drops of liquid color or a small dab of gel color and stir the batter fully; gel color gives a more intense shade with less product. If you want a bright, saturated green, use gel coloring and add it sparingly until you reach the desired hue. Too much liquid coloring can thin the batter, so prefer gel when possible.
Can I substitute yogurt or milk for the buttermilk?
Yes. For 1 cup of buttermilk, combine 1 cup milk or plain yogurt with 1 tablespoon white vinegar or lemon juice and let it sit for five minutes to mimic buttermilk acidity. That acidity helps react with baking soda for lift and tender crumb. Plain yogurt works well but thin it with a little milk if it’s very thick so the batter mixes smoothly.
Will these cupcakes be very chocolatey because they use cocoa powder?
They have a subtle chocolate undertone thanks to the half cup of unsweetened cocoa powder, but they remain more velvet-like than chocolate-heavy. If you prefer a stronger chocolate flavor, increase the cocoa to three-quarters of a cup and reduce the flour by the same amount to keep texture balanced. If you want a true vanilla-style velvet, omit cocoa and adjust flour as noted in variations.
Can I make the batter ahead of time?
You can mix the dry and wet ingredients separately and combine them just before baking for best rise. Fully mixed batter sits best for up to an hour in the refrigerator; beyond that, the leavening reaction can weaken, so bake sooner for top rise and tender texture.
How do I keep cupcakes from doming too much?
Avoid overfilling liners fill them about two-thirds full. Bake at the correct temperature and don’t open the oven door during the early minutes of baking. If domes form, level them with a serrated knife once cooled and top with frosting for a neat presentation.
Conclusion
If you want more inspiration and a slightly different take on green velvet treats, this guide pairs well with the ideas and photos on Green Velvet Cake And Cupcakes – Love From The Oven, which offers variations and staging tips to help you present these cupcakes for any occasion.





