
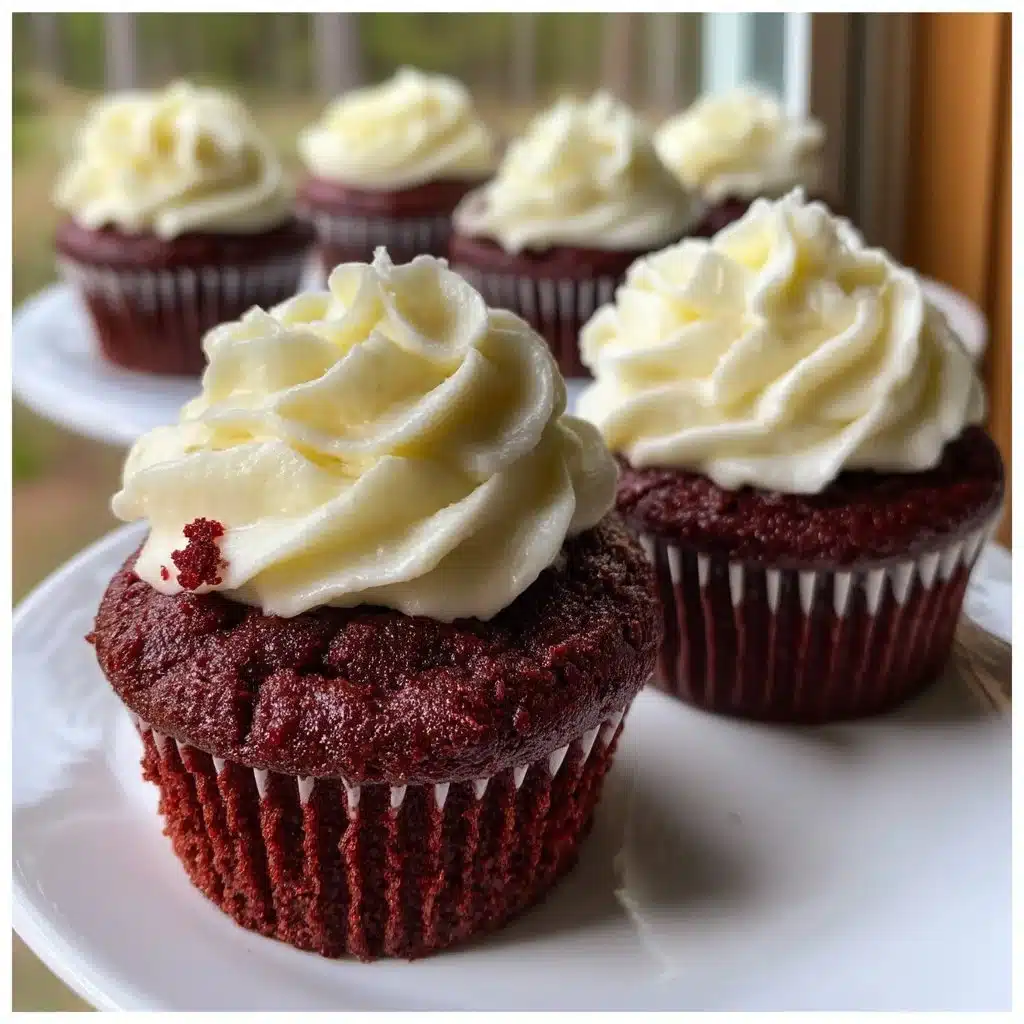
I remember the first time I made red velvet cupcakes for a neighborhood potluck. I pulled a tray of glossy, crimson little cakes from the oven, and a hush fell over the kitchen as the smell of vanilla butter and cocoa threaded through the room. Friends leaned in, laughter paused, and for a brief moment the cupcakes turned a simple gathering into something that felt ceremonial. That’s the power of comfort food: it anchors conversations, tucks an ordinary Tuesday into a memory, and delivers a warm, familiar pleasure with every bite. Red velvet carries that feeling it looks festive, tastes slightly tangy and chocolatey, and carries a nostalgia that somehow makes frosting taste like home.
Comfort and togetherness are at the heart of this recipe. These cupcakes bake quickly, stack neatly on a platter, and invite sharing. They don’t require fancy equipment or technique, but they reward a little care: proper measuring, room-temperature ingredients, and a gentle hand when you combine the batter. I like to keep a simple cream cheese frosting nearby, letting kids drizzle and swirl while grown-ups chat. These small ritualsmixing the batter, filling liners, shaving a ribbon of vanilla over the frostinggive the everyday a gentle lift.
DishGrub tests every recipe with busy home cooks in mind. We simplify steps, cut unnecessary fuss, and make sure each recipe works in a standard U.S. kitchen. We test variations so you can swap ingredients without starting from scratch. Our focus is comfort food made simple: reliable results, short ingredient lists, and techniques that fit a weeknight schedule or a weekend bake-a-thon. This red velvet cupcake formula gives you consistent crumb, true red color without excess work, and a tender texture that pairs beautifully with classic cream cheese frosting. Whether you bake for a crowd or just for a cozy night in, these cupcakes stand up to travel, stack well, and keep their charm even the next day.
Why this recipe works
This recipe builds a tender crumb and vibrant color with straightforward ingredients you probably already have. The blend of a touch of cocoa powder and baking soda brightens the red from the food coloring while contributing a subtle chocolate note. Using oil instead of butter keeps the cupcakes moist day after day because oil stays liquid at room temperature, preserving softness.
Buttermilk and white vinegar combine to give the cakes a mild tang and activate the baking soda, which helps the cupcakes rise predictably. Room-temperature eggs and buttermilk incorporate more evenly, preventing overmixing and keeping the crumb delicate. The amounts here strike a balance between quick prep and foolproof texture so you get soft, evenly risen cupcakes without a complex technique.
How to prepare Red Velvet Cupcakes
Treat this like two bowls and a stopwatch: dry ingredients in one, wet in the other, then fold together. Preheat, line your pan, and measure carefullyespecially the flour. Spoon and level the flour rather than scooping it to avoid dense batter. When you fold the wet and dry mixtures together, stop once the batter looks even; a few small streaks are fine. Overmixing develops gluten and makes cupcakes tough.
Fill liners about two-thirds full so they rise into domes instead of spilling over. Keep an eye on bake time because ovens vary; start checking at 18 minutes if your oven runs hot. Cool the cupcakes completely before frosting to prevent the topping from melting. If you want a silky cream cheese frosting, chill the butter and cream cheese slightly before whipping; that gives you structure while letting you get a smooth texture.
Ingredients
- 1 1/2 cups all-purpose flour
- 1 cup sugar
- 1 teaspoon baking soda
- 1 teaspoon cocoa powder
- 1 teaspoon salt
- 1 cup vegetable oil
- 1 cup buttermilk, room temperature
- 2 large eggs, room temperature
- 2 tablespoons red food coloring
- 1 teaspoon vanilla extract
- 1 teaspoon white vinegar
Instructions
- Preheat oven to 350°F (175°C) and line a cupcake pan with liners.
- In a bowl, mix together flour, sugar, baking soda, cocoa powder, and salt.
- In another bowl, combine oil, buttermilk, eggs, food coloring, vanilla, and vinegar.
- Gradually add the dry ingredients to the wet ingredients and mix until combined.
- Fill each cupcake liner about 2/3 full with batter.
- Bake for 20-25 minutes or until a toothpick comes out clean.
- Let cool before frosting.
Serving ideas
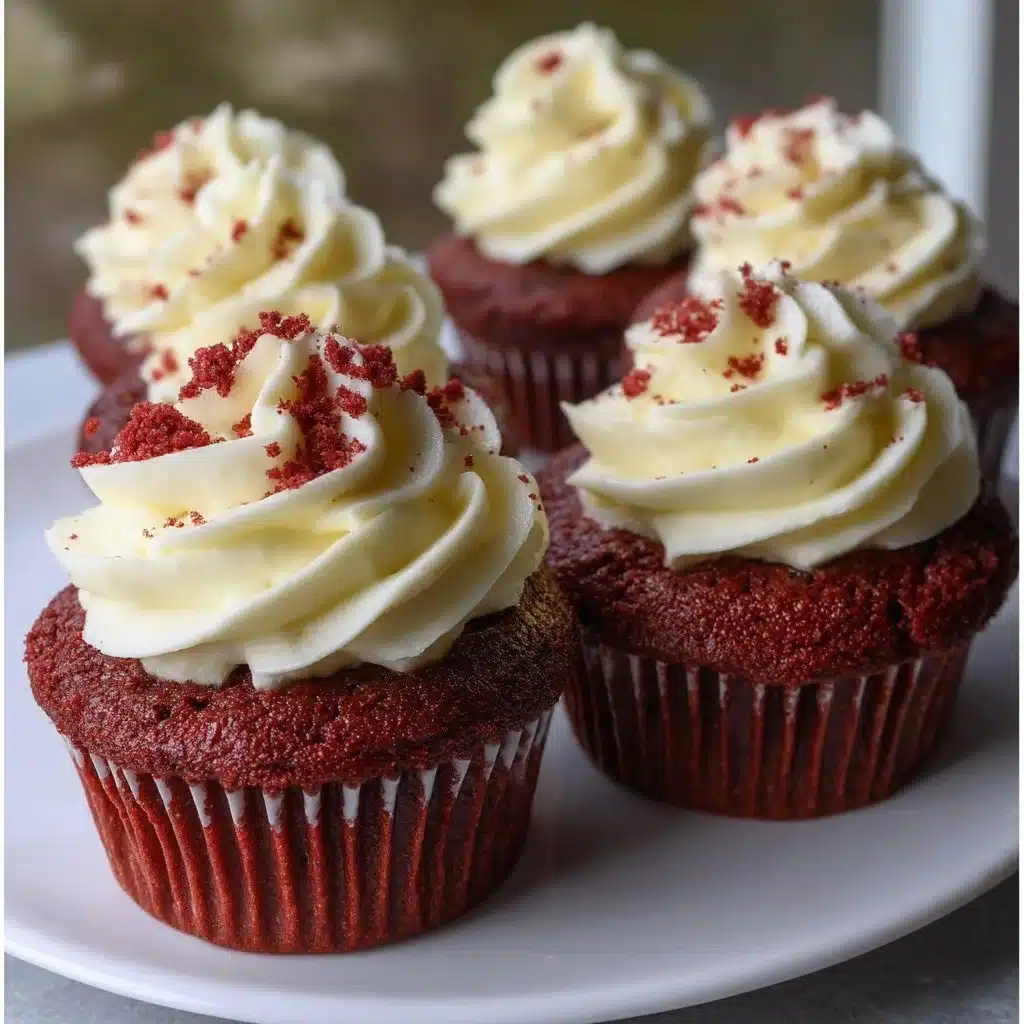
Serve these cupcakes slightly chilled or at room temperature, depending on the frosting. A smooth cream cheese frosting plays perfectly against the tang of the cake; pipe or spread it on generously. For a simple finish, dust with a little cocoa or sprinkle with chopped toasted pecans. You can also top with a small piece of milk chocolate or a few fresh berries to add brightness.
For gatherings, arrange cupcakes on a tiered stand to highlight their color. Pair them with a strong coffee, a milky hot chocolate, or an herbal tea. If you serve them for a party, plan on two per person for dessert-loving guests; these cupcakes travel well in a single layer in a shallow box lined with parchment.
Storage tips
Store unfrosted cupcakes at room temperature in an airtight container for up to two days; the oil keeps them soft. Once frosted with cream cheese frosting, refrigerate in a covered container for up to four days because the frosting contains dairy. Bring chilled cupcakes to room temperature for 30 minutes before serving to soften the cake and bring out flavor.
For longer storage, freeze unfrosted cupcakes in a single layer on a baking sheet until firm, then transfer to a freezer-safe bag for up to three months. Thaw overnight in the refrigerator, then come to room temperature before frosting. If you freeze frosted cupcakes, flash-freeze until solid, then wrap individually; thaw in the fridge and bring to room temperature before serving to avoid condensation on the frosting.
DishGrub Kitchen Tips
Measure flour correctly: spoon it into the measuring cup and level with a knife. Avoid compacting the flour to keep cupcakes tender. Keep eggs and buttermilk at room temperature; they emulsify better and produce an even batter. If you forget to take eggs out, place them in a bowl of warm water for 5–10 minutes.
Use a standard ice cream scoop or measuring cup to portion batter uniformly; that ensures even bake times across the tray. Rotate the pan halfway through baking if your oven heats unevenly. Use good-quality food coloring for consistent color; gel colorings pack more pigment, so you can often use less. Finally, cool cupcakes on a rack so air circulates and avoids soggy bottoms.
Recipe variations
Cocoa swap: Increase the cocoa to 2 teaspoons for a richer chocolate hint without changing texture. But adjust the red food coloring slightly if you want the same vibrancy.
Lower-sugar option: Replace half the sugar with a granular sugar substitute labeled cup-for-cup; expect a subtle change in texture and sweetness. Keep an eye on browning and bake a couple minutes less if needed.
Frosting ideas: Classic cream cheese is traditional, but you can use mascarpone frosting for a silkier finish or a browned-butter buttercream for a sophisticated note. For a dairy-free version, use a stable vegan cream cheese and vegan butter.
Mini cupcakes: Use a mini muffin tin and bake for 10–12 minutes for bite-sized treats perfect for parties.
Spice twist: Add 1/2 teaspoon cinnamon or a pinch of nutmeg for fall-friendly warmth without overpowering the red velvet character.
Common questions
Q: Can I use regular milk instead of buttermilk?
A: Regular milk will work in a pinch, but it won’t have the same tang or reactive acidity for the baking soda. To mimic buttermilk quickly, add 1 tablespoon of lemon juice or white vinegar to a cup measure, then fill with milk to the 1-cup line, stir, and let sit five minutes. This homemade buttermilk gives you the acidity the recipe needs to rise and develop that subtle tang.
Q: How much red food coloring should I use if I only have gel or liquid?
A: Gel food coloring contains more pigment per drop than liquid, so use about half the amount of gel. The recipe calls for 2 tablespoons of liquid red food coloring; if you use gel, start with 1 tablespoon, then add more a teaspoon at a time until you reach the color you want. Remember that bake color can change slightly during cooking, and a deeper batter usually bakes to a slightly brighter cake.
Q: Why did my cupcakes sink in the middle?
A: Cupcakes can sink if you opened the oven early, overfilled liners, underbaked, or overmixed batter. Avoid opening the oven during the first 15 minutes of bake time. Fill liners about two-thirds full to allow proper rise. Mix until the ingredients just combineovermixing develops gluten and traps excess air that collapses. Finally, check your oven temperature with an oven thermometer; an incorrect temperature can cause underbaking and sinking.
Q: Can I make the batter ahead of time?
A: You can make the batter and keep it refrigerated for up to 24 hours, but expect a slightly less lofty rise. If you refrigerate, give the batter a gentle stir before scooping and add a minute or two to the bake time. For best texture, bake immediately after mixing.
Q: How do I prevent cream cheese frosting from becoming runny?
A: Keep cream cheese and butter chilled but slightly softened before whipping. Beat butter first until creamy, then add the cream cheese and gradually add powdered sugar. If the frosting gets too soft, chill it for 15–20 minutes, then re-whip briefly. Stabilizers like a teaspoon of cornstarch or a tablespoon of cream cheese powder can also help for warmer environments or when transporting frosted cupcakes.
Conclusion
For more step-by-step inspiration and a trusted alternative method, check out Sally’s Red Velvet Cupcakes recipe, which offers detailed photos and tips that complement this simple, reliable home-baker approach.
Print
Red Velvet Cupcakes
- Total Time: 40 minutes
- Yield: 12 servings
- Diet: Vegetarian
Description
Deliciously moist and vibrant red velvet cupcakes with a subtle tang and classic cream cheese frosting.
Ingredients
- 1 1/2 cups all-purpose flour
- 1 cup sugar
- 1 teaspoon baking soda
- 1 teaspoon cocoa powder
- 1 teaspoon salt
- 1 cup vegetable oil
- 1 cup buttermilk, room temperature
- 2 large eggs, room temperature
- 2 tablespoons red food coloring
- 1 teaspoon vanilla extract
- 1 teaspoon white vinegar
Instructions
- Preheat oven to 350°F (175°C) and line a cupcake pan with liners.
- In a bowl, mix together flour, sugar, baking soda, cocoa powder, and salt.
- In another bowl, combine oil, buttermilk, eggs, food coloring, vanilla, and vinegar.
- Gradually add the dry ingredients to the wet ingredients and mix until combined.
- Fill each cupcake liner about 2/3 full with batter.
- Bake for 20-25 minutes or until a toothpick comes out clean.
- Let cool before frosting.
Notes
Serve these cupcakes slightly chilled or at room temperature. For gatherings, arrange on a tiered stand.
- Prep Time: 15 minutes
- Cook Time: 25 minutes
- Category: Dessert
- Method: Baking
- Cuisine: American





