
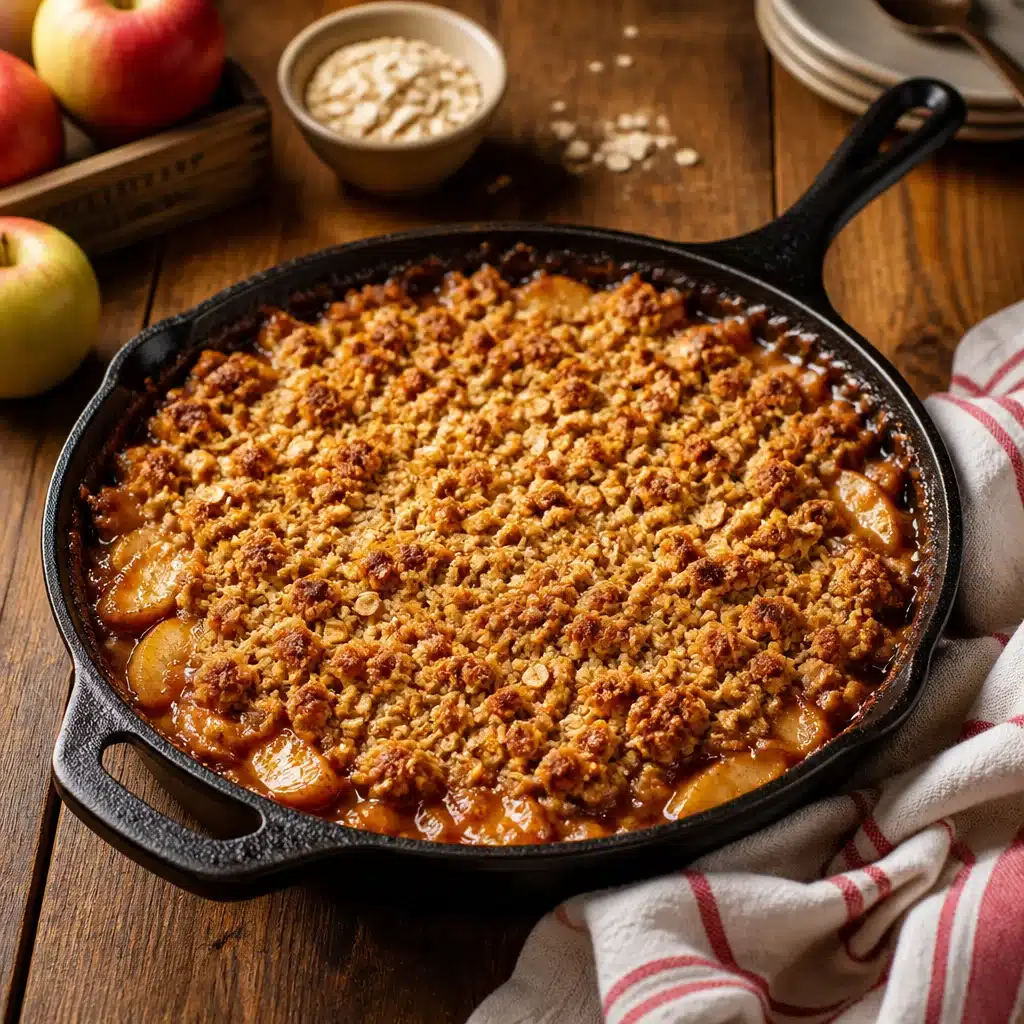
Old-Fashioned Cast Iron Apple Crisp is my go to dessert for those nights when you want something sweet but you do not want a whole baking project taking over your kitchen. You know the feeling, you have apples sitting on the counter getting a little too soft, and everyone keeps asking what is for dessert. This is when I grab my cast iron skillet and let the oven do the work. The house starts smelling like cinnamon and warm butter, and suddenly everyone is hovering nearby like they were invited. If you have never baked a crisp in cast iron, you are in for a seriously cozy treat.
Easy to Make
I love this recipe because it is basically mix, layer, bake, and then try not to burn your mouth taking the first bite. There is nothing fussy here. You do not need a mixer, you do not need special tools, and you do not need perfect apples. Just solid, simple comfort food.
What you will need
- Cast iron skillet (10 or 12 inch is perfect)
- Mixing bowl
- Cutting board and knife
- Measuring cups and spoons
Here is how I make my Old-Fashioned Cast Iron Apple Crisp in a way that never lets me down:
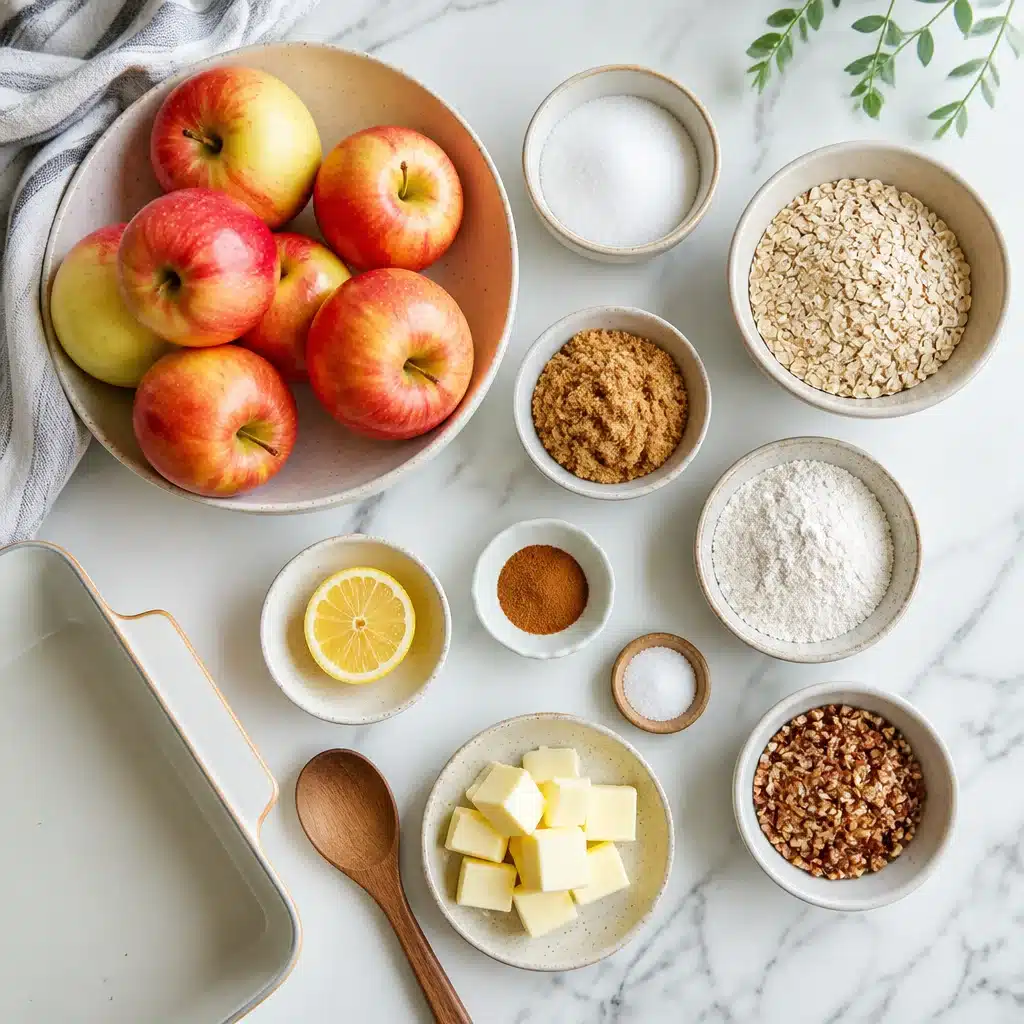
- Apples: Peel if you want, but I often leave the skins on for less work. Slice about 6 to 7 medium apples.
- Apple filling mix: Toss apples with 2 to 3 tablespoons sugar, 1 tablespoon flour (or cornstarch), 1 to 2 teaspoons cinnamon, pinch of salt, and a splash of lemon juice.
- Crisp topping: Mix 3/4 cup oats, 1/2 cup flour, 1/2 cup brown sugar, 1 teaspoon cinnamon, pinch of salt, then cut in 6 tablespoons cold butter until crumbly. If you like nuts, add a handful of chopped pecans or walnuts.
- Assemble: Butter your skillet lightly. Add the apples. Sprinkle topping evenly all over.
- Bake: 350 F for about 40 to 50 minutes, until bubbly and golden on top.
If you want a quick comparison to a more classic version, I also like this one and I have borrowed a couple little ideas from it over time: classic apple crisp. It is always nice to see how different people tweak the same cozy dessert.
The Best Apples to Use
This is the part people overthink, so let me make it easy. You want apples that do not turn into applesauce the second they get hot. A mix of apples is even better because you get a little sweet, a little tart, and more flavor overall.
My favorite apple picks
Here is what I reach for when I am making Old-Fashioned Cast Iron Apple Crisp:
Granny Smith for tartness and structure. Honeycrisp for sweet crunch and great flavor. Pink Lady for that sweet tart balance. Fuji if you like it on the sweeter side.
If you are using super soft apples, just slice them a little thicker and do not overbake. Also, lemon juice is not only for flavor. It helps the apples keep a brighter taste instead of turning flat and overly sweet.
One more apple related thing, if you are in a Honeycrisp mood and want something fresh to go with dessert later, this salad is honestly such a fun side option: Honeycrisp apple feta salad. I have done crisp for dessert and that salad for lunch the next day and felt very pleased with myself.
Benefits of Baking with a Cast Iron
I know some people think cast iron is only for steaks or cornbread, but it is weirdly perfect for fruit crisps. The skillet holds heat like a champ, so the apples bubble evenly and the topping gets that golden edge that makes people pick at the corners first.
Here is why I keep using cast iron for this dessert:
Even heat means fewer burnt spots and fewer soggy spots. Better browning gives you a topping that actually tastes toasted. Less cleanup</b because it is one pan from oven to table. And yes, it looks cute when you set it down to serve.
One big safety note from my own experience. The handle stays hot forever. I have grabbed it without thinking and instantly regretted it. Now I leave an oven mitt on the handle while it cools so nobody in my house learns the hard way.
“I brought this skillet apple crisp to a family dinner and everyone asked for the recipe before dessert was even finished. The topping was crisp, the apples were jammy, and it stayed warm forever in the cast iron.”
Tips and Tricks
This is the stuff I wish someone told me the first time I made it. Old-Fashioned Cast Iron Apple Crisp is forgiving, but these little details make it extra good.
Cut apples evenly so they cook at the same pace. Use cold butter for the topping so it bakes up crumbly, not greasy. Do not skip salt</b because it keeps the sweetness from tasting one note. Let it rest</b for 10 to 15 minutes after baking so the juices thicken a bit.
If your topping is browning fast but the apples are not bubbly yet, loosely cover the skillet with foil for the last 10 minutes. And if you like a thicker filling, add an extra teaspoon of flour or cornstarch when you toss the apples.
Also, if you want a breakfast vibe with the same flavors, try these: apple cinnamon baked oats. I make them when I want the cozy apple thing without committing to dessert.
Serve This With:
This is where the magic happens, because Old-Fashioned Cast Iron Apple Crisp is great on its own, but it becomes unforgettable with the right topping. I am a big fan of keeping it simple and letting the warm crisp do most of the talking.
Here are my favorites:
Vanilla ice cream and do not be shy about the scoop size. Whipped cream if you want something lighter. Caramel sauce for maximum cozy. Plain Greek yogurt</b if you are eating it in the morning and calling it brunch.
If you are serving a crowd, bake it, set it on a trivet, and put a little toppings bar next to it. People love choosing their own adventure, and it takes pressure off you to make it look perfect.
Common Questions
Do I have to peel the apples?
Nope. If you like a softer texture, peel them. If you want less work and a little more texture, leave the skins on.
Can I make it ahead of time?
Yes. Bake it, cool it, then cover and keep it on the counter for a few hours or refrigerate overnight. Rewarm in the oven at 325 F until heated through.
Why is my topping not crispy?
Usually it is too much butter or the butter was too warm. Next time, use cold butter and make sure your topping looks like crumbs before it goes on.
Can I use quick oats instead of old fashioned oats?
You can, but the texture is a little softer. Old fashioned oats give the best crisp bite.
How do I store leftovers?
Cover and refrigerate for up to 4 days. Reheat in the oven or toaster oven if you want the topping to perk back up.
A sweet ending and a warm skillet
If you want a dessert that feels like home, Old-Fashioned Cast Iron Apple Crisp is the one I would bet on every time. It is simple, it is forgiving, and it makes your kitchen smell like you really have your life together. If you want to compare notes, I liked reading Cast Iron Apple Crisp – Smack Of Flavor too, because it is always fun seeing another cast iron fan talk crisp. Bake it once, scoop it while it is still warm, and do not stress about making it look fancy. Just grab a spoon and enjoy it.
Print
Old-Fashioned Cast Iron Apple Crisp
- Total Time: 65 minutes
- Yield: 8 servings
- Diet: Vegetarian
Description
A simple and comforting apple crisp baked in a cast iron skillet, filled with warm spices and topped with a crunchy oat mixture.
Ingredients
- 6 to 7 medium apples, sliced
- 2 to 3 tablespoons sugar
- 1 tablespoon flour (or cornstarch)
- 1 to 2 teaspoons cinnamon
- Pinch of salt
- Splash of lemon juice
- 3/4 cup oats
- 1/2 cup flour
- 1/2 cup brown sugar
- 1 teaspoon cinnamon
- Pinch of salt
- 6 tablespoons cold butter, cut in
- Optional: chopped pecans or walnuts
Instructions
- Preheat your oven to 350°F (175°C).
- Slice the apples and toss them with sugar, flour, cinnamon, salt, and lemon juice.
- Mix the oats, flour, brown sugar, cinnamon, and salt in a bowl, then cut in cold butter until crumbly.
- Butter the cast iron skillet lightly and layer in the apples.
- Sprinkle the topping evenly over the apples.
- Bake for 40 to 50 minutes until bubbly and golden on top.
Notes
Let the crisp rest for 10 to 15 minutes after baking to allow the juices to thicken.
- Prep Time: 15 minutes
- Cook Time: 50 minutes
- Category: Dessert
- Method: Baking
- Cuisine: American





