
I still remember the first time I pulled a bubbling pan of apple crisp from the oven and the whole house seemed to breathe a little easier. The smell of cinnamon and baked apples drifted down the hallway and drew everyone to the kitchen like it always did: kids with flour on their hands, a neighbor who dropped by with a vase, my partner trading the mail for a fork. Apple crisp does that it turns ordinary afternoons into small celebrations. It never needed to be fancy. A well-thumbed baking dish, a simple oat topping, and apples that softened into sweet, fragrant pillows: that combination has never failed to feel like a warm hug on a plate.
I make this version when I want dessert that comforts without fuss. I often bake it after a long day of errands, when apples on the counter threaten to go soft and I want something that rewards the effort of slicing and stirring. The sugar and lemon coax out each apple’s flavor while the butter and brown sugar toast into golden, crackly bits that you can’t stop picking at. Sometimes I slice the apples a little thicker for bite, sometimes thinner for quicker tenderness. Either way, the house fills with memories of school plays and late-night reading, of late autumn porch conversations and bright summer mornings when our pantry suddenly smelled like fall.
This recipe works on repeat. It travels from weekday dessert to holiday centerpiece with barely a tweak. It also adapts easily for what you have on hand: swap spices, add nuts, or toss in some dried fruit. I like to serve it right from the baking dish so everyone can dig in while it’s hot, and a scoop of good vanilla ice cream makes the contrast of warm and cold almost uncanny. If you’re looking for another tried-and-true comfort bake to keep on rotation, my kitchen friends often recommend pairing desserts; for a cozy afternoon spread, try our Classic Banana Bread alongside a warm slice of crisp.
DishGrub tests every recipe until it feels easy and reliable. We focus on recipes that fit busy lives without sacrificing flavor minimal prep, everyday ingredients, and results that feed a family or a small crowd. This apple crisp uses pantry staples and simple technique so you can move from cutting board to oven in under 15 minutes of hands-on time. We’ll walk you through the steps and offer tips for topping texture, apple choices, and reheating so you get excellent results every time.
Why this recipe stands out
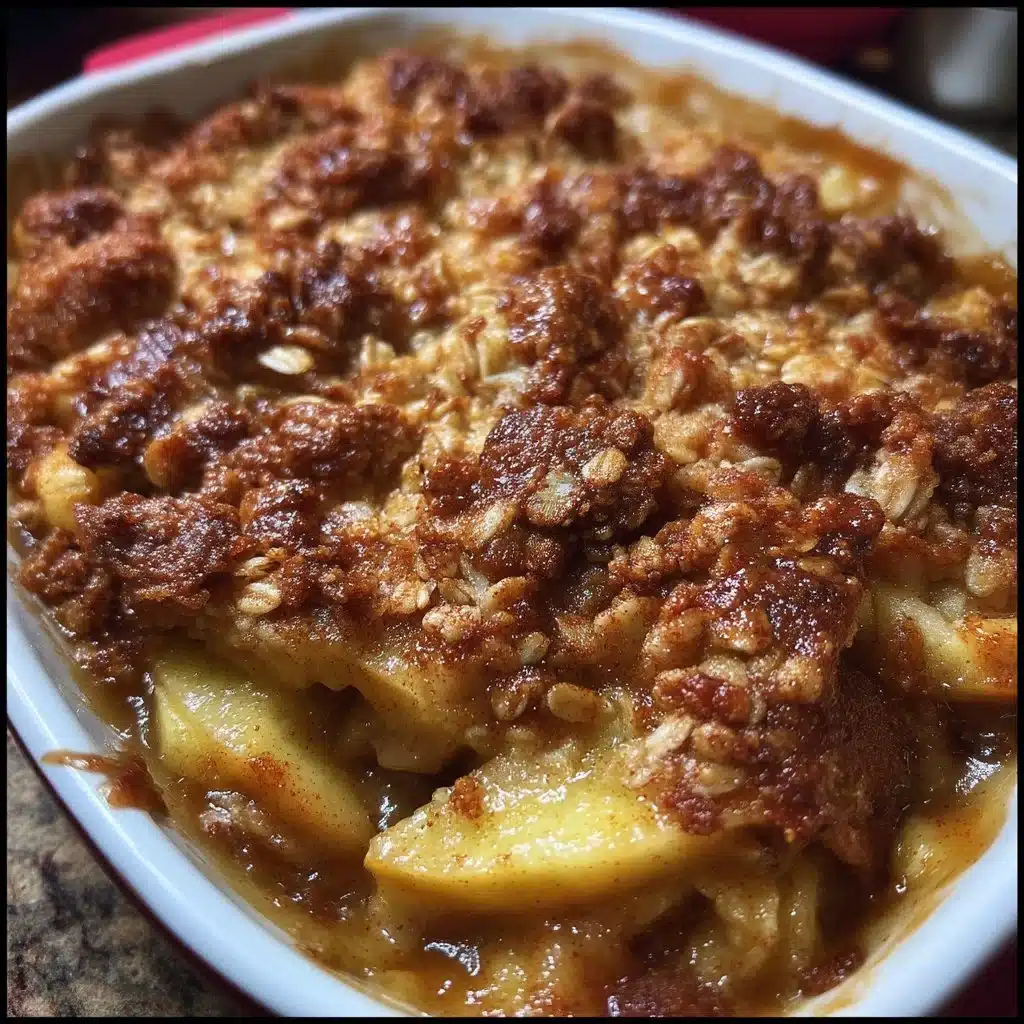
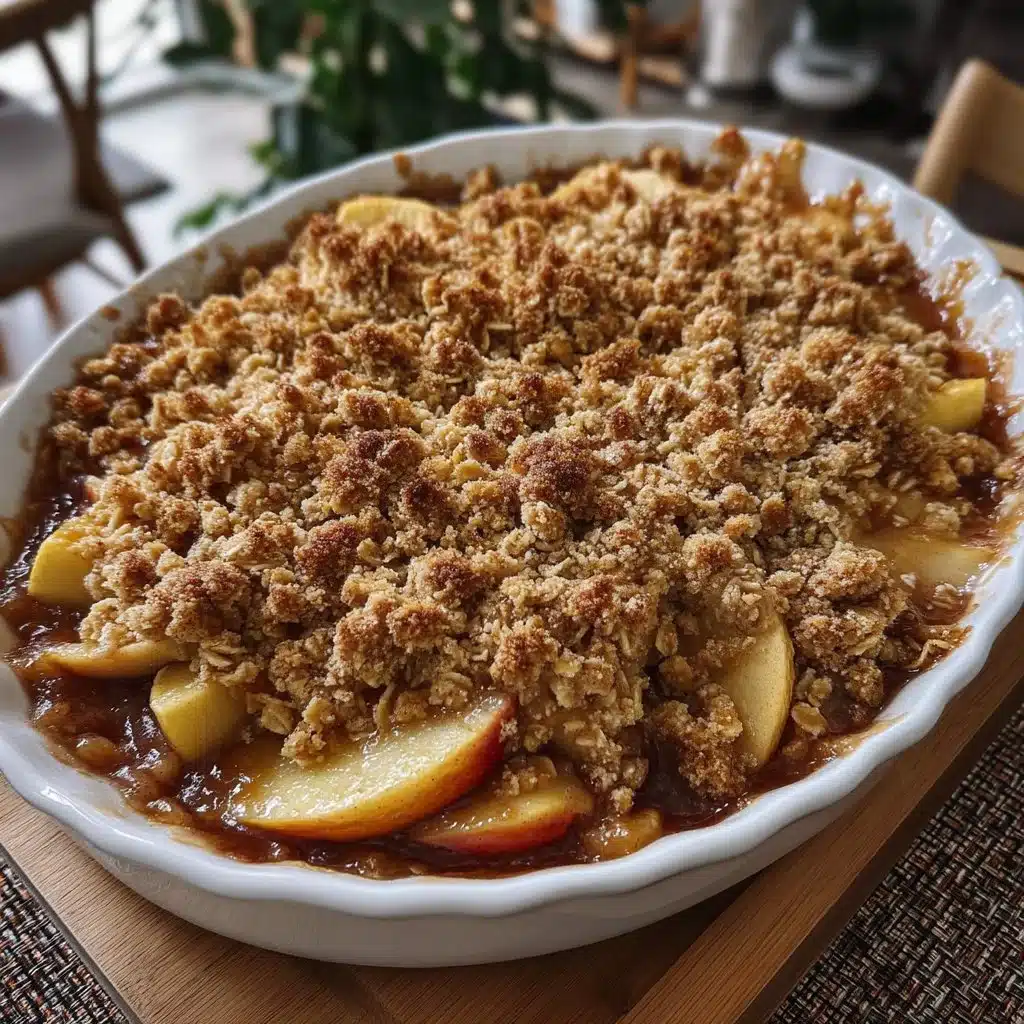
This apple crisp balances sweet and tart with a crunchy oat topping that browns evenly. The lemon juice brightens the apples so they don’t taste cloying, and the mix of brown and granulated sugar gives the filling and topping complementary layers of sweetness. Using melted butter in the topping ensures even coating of oats and flour, producing that desirable streusel-like crumble that holds together enough to scoop but still breaks apart easily. The bake time lets the apples soften without turning to mush, so you get that comforting forkful of tender fruit beneath a toasted crust. This recipe stays classic and uncomplicated while delivering maximum comfort.
Your guide to making Classic Apple Crisp
Ingredients
- 6 cups sliced apples
- 1 cup granulated sugar
- 1 teaspoon ground cinnamon
- 1 tablespoon lemon juice
- 1 cup rolled oats
- 1 cup all-purpose flour
- 1 cup packed brown sugar
- 1/2 cup unsalted butter, melted
- 1/2 teaspoon salt
Instructions
- Preheat the oven to 350°F (175°C).
- In a large bowl, toss the sliced apples with granulated sugar, cinnamon, and lemon juice.
- Spread the apple mixture in a 9×13 inch baking dish.
- In another bowl, combine the oats, flour, brown sugar, melted butter, and salt until crumbly.
- Sprinkle the oat mixture evenly over the apples.
- Bake for 45-50 minutes or until the apples are tender and the topping is golden brown.
- Serve warm, optionally with vanilla ice cream.
How to serve this dish
Serve apple crisp warm for best contrast between the hot fruit and the crunchy topping. Spoon generous portions into shallow bowls so the topping has room to stay crisp. Add a scoop of vanilla ice cream or a dollop of whipped cream for a classic pairing that brings cool creaminess to each bite. For a lightly dressed brunch, serve slices with plain Greek yogurt and a drizzle of honey; the yogurt adds a tang that complements the cinnamon. If you want to make individual portions, bake the crisp in ramekins and shorten the bake time by 10–15 minutes. For a party, set the pan on a trivet with serving spoons and let guests help themselves the simplicity of this dish makes it perfect for casual gatherings.
How to store it properly
Cool the crisp completely before covering to prevent condensation from making the topping soggy. Store leftovers in an airtight container or cover the baking dish with foil and keep in the refrigerator for up to 4 days. To freeze, portion into freezer-safe containers once cooled and freeze for up to 3 months; thaw overnight in the refrigerator before reheating. Reheat single servings in a 350°F oven for 10–12 minutes until warmed through and the topping crisps up again. If you reheat from frozen, cover loosely and bake at 350°F for 20–25 minutes, then remove the cover for the last 5–10 minutes to revive the topping’s texture.
Recipe tips for success
Measure the apples by volume after slicing so you get roughly six cups that keeps the filling-to-topping ratio comfortable. Use a mix of tart and sweet apples for the best flavor complexity; Granny Smith gives tartness while Fuji or Honeycrisp add sweetness. Toss the apples well with the sugar and lemon so each slice releases its juices evenly in the oven. Press the topping gently into the apples in a few places so it sits in the fruit juices but still leaves enough surface exposed to brown. Keep an eye on that last 10 minutes of baking; if the topping browns too quickly, tent the pan loosely with foil to let the apples finish cooking without burning the crust.
Make it your own
Add toasted chopped pecans or walnuts to the oat topping for extra crunch and a nutty flavor. Stir a pinch of nutmeg or a splash of vanilla into the apples for subtle warmth. For a boozy boost, toss the apples with a tablespoon of bourbon or brandy before baking. If you prefer a fruit blend, mix in a cup of peeled and chopped pears or berries for seasonal variety. For a gluten-free version, swap the all-purpose flour with an equal amount of almond flour and use certified gluten-free oats. If you want a savory contrast, serve slices beside a bowl of rich soup; some readers like to pair sweet finishes with hearty mains like Classic Chicken Noodle Soup during cold-weather meals.
Frequently asked questions
Q: What apples work best for apple crisp?
A: Choose a mix of tart and sweet apples for depth of flavor. Granny Smith holds up well and adds brightness, while Honeycrisp, Fuji, or Braeburn contribute natural sweetness and a pleasant texture. Avoid very soft apples that become mushy quickly, unless you want a softer filling. Aim for a balance so the finished filling stays tender but still has apple texture.
Q: Can I make the topping ahead of time?
A: Yes. Prepare the oat topping and store it in an airtight container at room temperature for up to two days before baking. If you make it much earlier, keep it in the fridge to maintain freshness. When you’re ready to bake, spread the topping over the prepared apples and bake as directed. Prepping the topping ahead saves time and keeps the work during baking minimal.
Q: How do I prevent the topping from getting soggy?
A: Let the crisp cool for 10–15 minutes before covering, and only cover tightly once the surface has cooled slightly. Use a slightly higher proportion of oats and flour to butter if you want a firmer crumble. Briefly reheating leftovers in the oven (not microwave) revives the crunch best: 350°F for 10–12 minutes typically does the trick. If condensation builds when you cover warm crisp, remove the cover and bake for a few minutes to dry the topping.
Q: Can I reduce sugar in this recipe?
A: Yes. Reduce the granulated sugar in the filling by up to half without drastically changing texture, especially if you use naturally sweeter apples. You can also reduce the brown sugar in the topping slightly, though the topping will brown less and taste less caramelized. Taste an apple slice after tossing with sugar and lemon to decide if you need the full amount.
Q: Is there a dairy-free option?
A: Replace the melted butter with an equal amount of coconut oil or a plant-based margarine that bakes well. Coconut oil lends a slight coconut note that pairs nicely with apples; choose refined coconut oil if you want a neutral taste. The topping texture remains similar, and the crisp will still brown nicely.
Conclusion
For an old-fashioned dessert that never disappoints, this apple crisp balances simplicity with homey flavor and flexible options for any pantry. If you want a similar, reliably tested take on this classic, try the Old Fashioned Easy Apple Crisp – The Chunky Chef for another easy approach with a slightly different twist.





