
There’s something about a platter of sticky, tender ribs that immediately turns a regular evening into a shared memory. The smell of brown sugar and smoked paprika drifting through the kitchen makes everyone pull their chairs a little closer. You don’t need a grill or special gear to get that backyard flavor—this oven-baked method gives you fall-off-the-bone ribs with minimal fuss and maximum reward. Invite a few friends, put out simple sides, and you’ll have a meal that tastes like a celebration even on a Wednesday.
At DishGrub, we test every recipe until it’s cozy, reliable, and forgiving. We focus on comfort food that fits a real weeknight—no rare ingredients, no heroic cooking skills, just recipes that reward you for the time you invest. This ribs recipe checks those boxes: an easy dry rub, a short overnight rest optional for deeper flavor, oven baking wrapped for steam, then a final glaze to caramelize. If you like hands-off comfort meals, also take a look at our BBQ pulled pork sliders recipe for another crowd-pleasing option that pairs well with classic sides.
I’ll walk you through trimming the ribs, coaxing flavor from a simple spice mix, and finishing with a sticky glaze that hits salty, sweet, and tangy notes. You’ll learn a few little tricks—like removing the membrane for tenderness and wrapping the rack tightly to hold in moisture—that turn a good rack into a memorable one. This recipe gives you the freedom to prep ahead: rub the ribs the night before or bake them while you set the table. The result tastes like you spent the afternoon tending a smoker, but it comes together in an ordinary oven with easy steps and no guesswork. Gather your favorite sides, a crisp bottle of soda or a cold beer, and enjoy ribs that make the table feel like the center of everything.
Why this recipe works
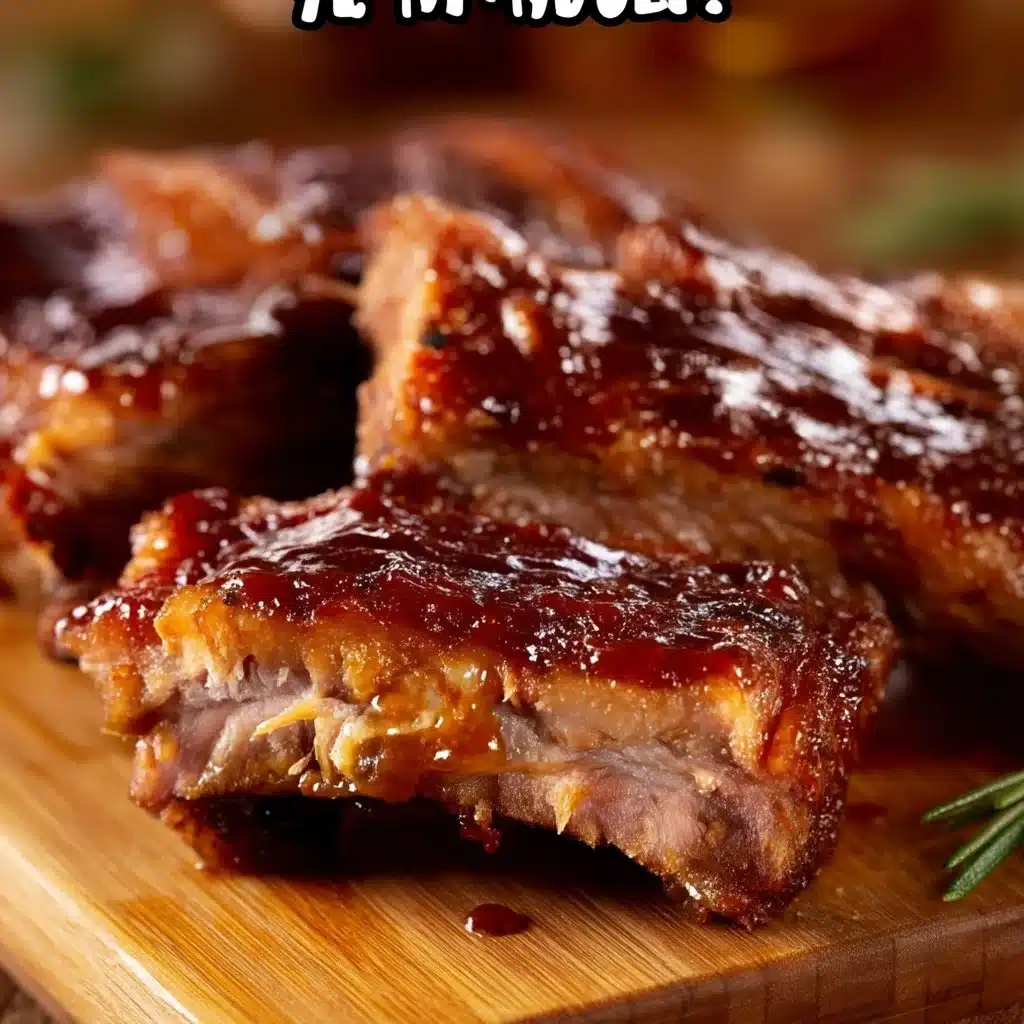
This method locks in moisture and builds layered flavor without a smoker. A simple dry rub seasons the meat, brown sugar adds caramelized sweetness, and wrapping the ribs in foil lets them steam in their juices so the meat becomes tender. Unwrapping and glazing near the end creates that sticky, slightly charred finish everyone loves. You don’t rely on complicated techniques—just seasoning, low-and-slow baking, and a finishing glaze to bring the flavors together.
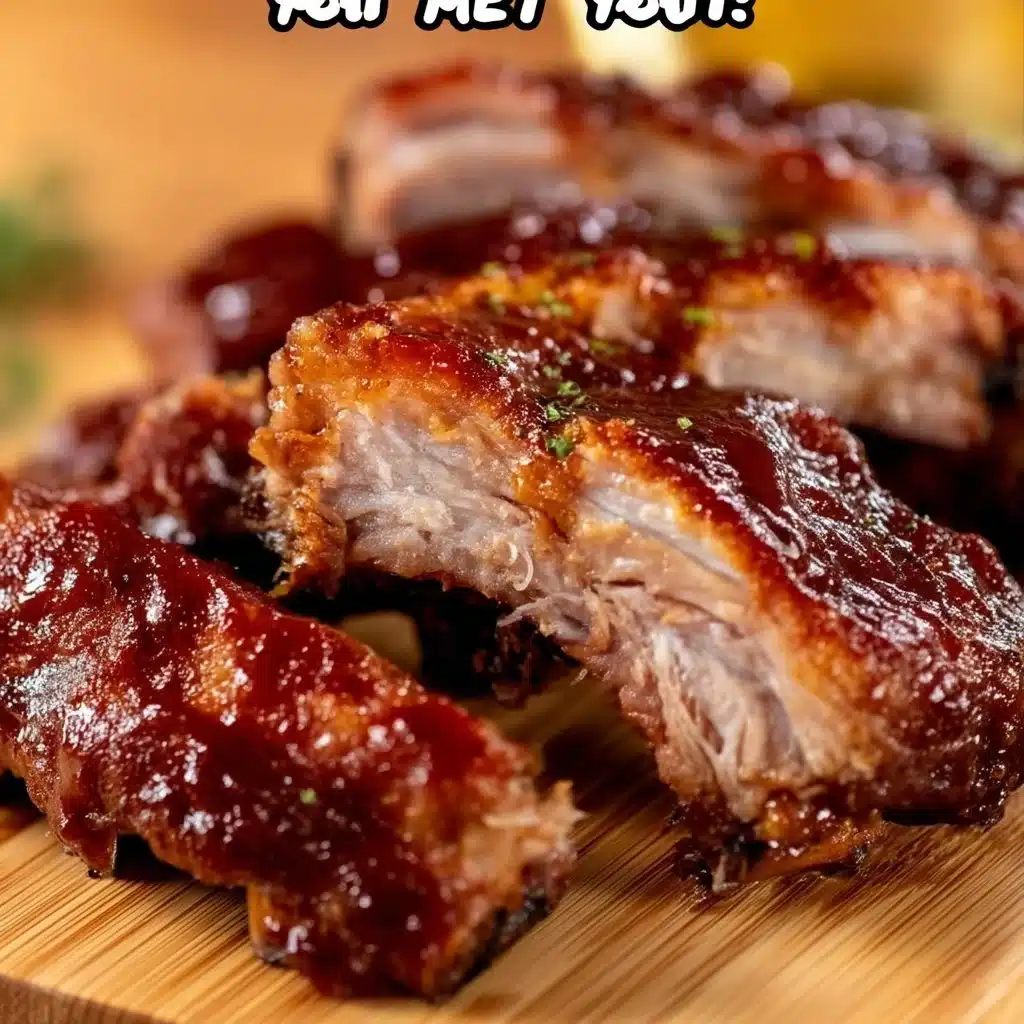
How to prepare These flavorful baby back ribs are fall-off-the-bone amazing after being baked in the oven to perfection.
This technique suits busy cooks because it splits into clear stages: prep, slow bake, glaze, and finish. You can trim and rub the ribs in the morning, bake while you do other tasks, and finish them right before dinner. The oven does most of the work; you control the timing and the final texture by adjusting the glaze and broil time.
Ingredients
- 2 racks baby back ribs (about 3 to 3.5 pounds total)
- 2 tablespoons brown sugar
- 1 tablespoon smoked paprika
- 1 tablespoon kosher salt
- 1 teaspoon black pepper
- 1 teaspoon garlic powder
- 1 teaspoon onion powder
- 1/2 teaspoon cayenne pepper (optional for heat)
- 2 tablespoons yellow mustard or olive oil (to help rub adhere)
- 1 cup barbecue sauce (your favorite bottle or homemade)
- 2 tablespoons honey
- 1 tablespoon apple cider vinegar
- 1/4 cup water
- Fresh parsley for garnish (optional)
- Aluminum foil, large enough to wrap each rack
Instructions
- Preheat the oven to 275°F and position a rack in the middle.
- Flip a rack bone-side up and slide a spoon under the membrane to loosen it.
- Grasp the membrane with a paper towel and pull it away from the bones to remove it.
- Repeat membrane removal on the second rack.
- Pat both racks dry with paper towels.
- Combine brown sugar, smoked paprika, kosher salt, black pepper, garlic powder, onion powder, and cayenne in a small bowl.
- Rub yellow mustard or olive oil evenly over both racks.
- Sprinkle the dry rub over both racks and press it into the meat on all sides.
- Wrap each rack tightly in a sheet of aluminum foil, sealing the edges to trap steam.
- Place the wrapped racks on a rimmed baking sheet.
- Bake racks at 275°F for 2 hours.
- Remove the baking sheet and let ribs rest in foil for 15 minutes without unwrapping.
- While ribs rest, whisk barbecue sauce, honey, apple cider vinegar, and water in a small saucepan.
- Simmer the sauce over low heat until slightly thickened, about 6 minutes, stirring occasionally.
- Unwrap the ribs carefully and discard any accumulated juices or reserve for serving.
- Brush a generous layer of sauce over the top of each rack.
- Place the ribs under a broiler or at 425°F in the oven for 6 to 8 minutes until sauce bubbles and caramelizes, watching closely.
- Remove ribs and let them rest 5 minutes before slicing between bones.
- Garnish with parsley and serve.
Serving ideas
Serve these ribs with classic barbecue sides for a comforting spread: creamy coleslaw, buttery corn on the cob, and baked beans. For a lighter balance, add a crisp green salad and pickled red onions. If you want handheld fun at a party, pair a platter of ribs with BBQ pulled pork sliders to give guests a few different BBQ bites.
How to keep leftovers
Cool leftover ribs within two hours of cooking and wrap tightly in plastic wrap or place in an airtight container. Refrigerate for up to four days. To reheat, warm in a 300°F oven wrapped in foil for 15 to 20 minutes until heated through, then finish under the broiler for a minute to re-crisp the glaze. Freeze cooled, tightly wrapped ribs for up to three months; thaw in the refrigerator before reheating.
DishGrub Kitchen Tips
Keep the ribs tender by keeping heat low and resisting the urge to unwrapping early. The foil trap creates steam that breaks down connective tissue without drying the meat. If you prefer more smoke flavor, add 1/2 teaspoon liquid smoke to the glaze or use smoked paprika in the rub. Use a silicone brush for the glaze to get an even, thin coat that caramelizes without burning.
Make it your own
Swap brown sugar for maple syrup in the rub for a deeper, woodsy sweetness. Experiment with spice levels: increase cayenne for heat or add chili powder for a southwest profile. For a sticky glaze with a fruity note, stir in 2 tablespoons of orange marmalade to the barbecue sauce mixture. If you want a lighter finish, use a vinegar-based mop sauce instead of a thick barbecue glaze.
Common questions
Q: How do I know when ribs are done?
A: Look for meat that has pulled back from the bones about 1/4 to 1/2 inch and a tender texture when you use tongs to lift the rack. A toothpick should slide into the meat with little resistance. Because ovens vary, use these visual and tactile cues rather than a fixed time alone.
Q: Can I skip removing the membrane?
A: You can skip it, but removing the membrane improves tenderness and lets the rub penetrate the meat more effectively. The membrane becomes chewy when cooked; removing it gives better texture and easier eating.
Q: Can I make these ahead for a party?
A: Yes. You can apply the rub the day before and keep ribs wrapped and refrigerated. Bake and finish them the day of the event. Alternatively, fully cook them, cool, then reheat and glaze before serving. Prepping ahead saves time and concentrates flavor.
Q: What if I don’t have broiler access?
A: Finish the ribs at 425°F for 6 to 10 minutes to caramelize the glaze instead of broiling. Watch closely so the sugars in the sauce don’t burn.
Q: Can I use spare ribs or St. Louis cut?
A: Yes, but adjust cooking time. Spare ribs and St. Louis-cut ribs are larger and need an extra 20 to 30 minutes at 275°F wrapped in foil to reach the same tenderness.
Conclusion
For a tested, straightforward path to tender, fall-off-the-bone ribs made in a conventional oven, I recommend checking the Inspired Taste fall-off-the-bone oven-baked ribs recipe for additional glazing ideas and technique notes that complement this DishGrub method.





