
There’s something about warm fruit and buttery oats that feels like home. When the oven fills the kitchen with a sweet, toasty scent, people drift in from every room. You slice a pan of bars and hand them out on mismatched plates; the clink of mugs and the soft hum of conversation turn a simple dessert into a memory. This recipe leans into that exact kind of comfort—easy, honest, and built for sharing.
At DishGrub we test recipes until they behave the way busy home cooks need them to: predictable, forgiving, and delicious. I’ve refined these cherry vanilla cobbler bars to work with fresh fruit, everyday pantry staples, and straightforward timing so you can bake without fuss. If you love approachable desserts with a little rustic crumble on top, you’ll find this one becomes a go-to. For another family-friendly celebration cake that’s been kitchen-tested, see our carrot cake with cream cheese frosting—it’s a great pairing for holiday dessert spreads and simple enough for a weeknight reward.
I wrote this recipe for the weeknights when you want a treat that doesn’t require a pastry chef’s patience. It keeps cleanup minimal, fills the house with a cozy aroma, and gives you bars that travel well to potlucks, school events, or park picnics. The yogurt keeps the cherry layer tender and adds a gentle tang that balances the brown-sugar sweetness in the oat crumble. The oat topping bakes into crisp, golden pieces that contrast the soft fruit layer, and the whole pan holds together so you can cut generous squares without drama. Follow the steps below and you’ll have a warm tray of cherry vanilla cobbler bars in under an hour from start to finish.
Why this recipe stands out
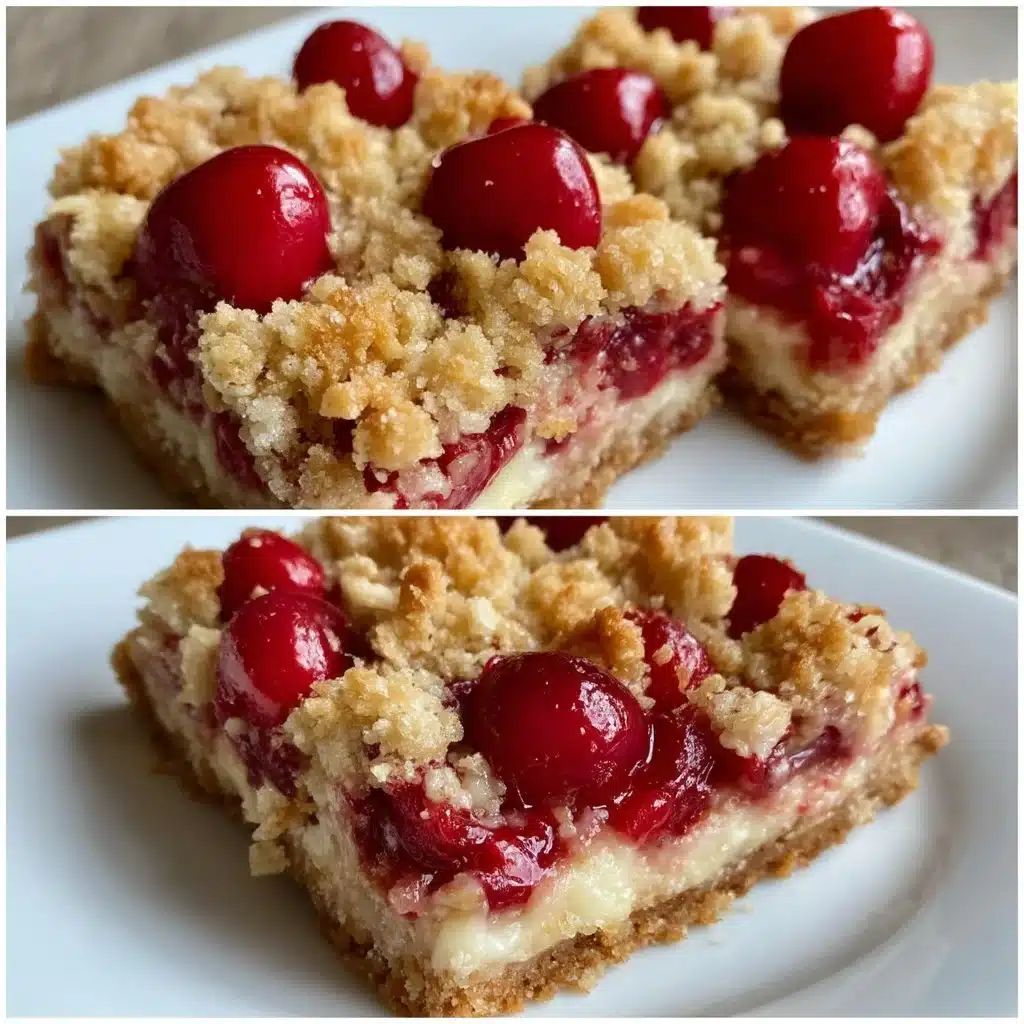
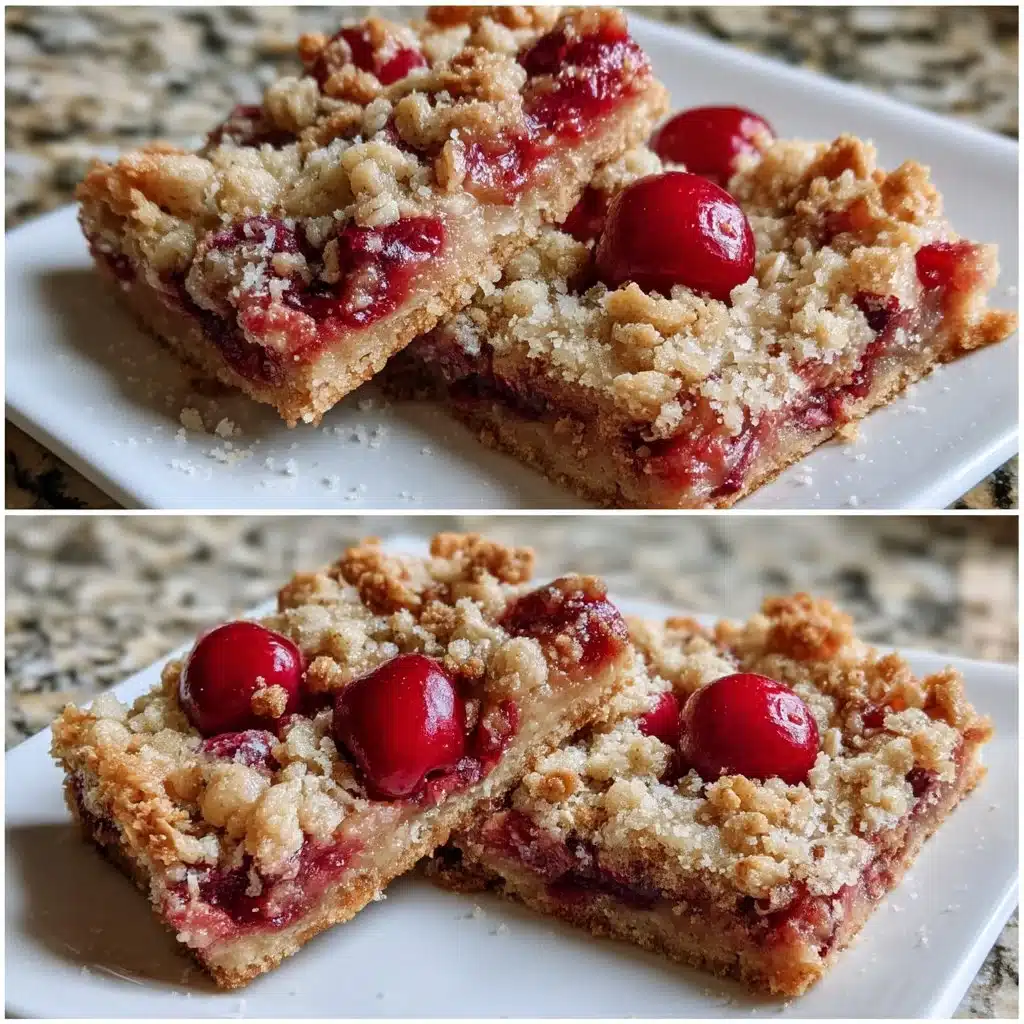
This cherry vanilla cobbler bars recipe pulls together three ideas that often oppose each other: bright fruit flavor, tender filling, and a crisp oat topping. The vanilla yogurt blends with fresh cherries to create a creamy, slightly tangy layer that keeps the fruit moist while baking. Rolled oats, brown sugar, and butter form a buttery crumble that browns attractively and gives the bars pleasant chew. Because the recipe layers the crumble and cherried yogurt, you get a balance of textures in every bite.
The method stays simple and forgiving. You don’t need special equipment beyond a bowl and a pan, and the crumb mixes quickly by hand. The recipe adapts well—swap frozen cherries when fresh aren’t available, or try plain yogurt with a little extra vanilla. It also travels and stores well, so you can make a pan ahead for gatherings. The result tastes handmade, not fussy, and always earns compliments for its homestyle charm.
How to prepare Cherry Vanilla Cobbler Bars with Oat Crumble
This recipe follows a clear, layer-and-bake approach. You’ll prep the cherries with yogurt, make the oat crumble, layer half the crumble in the pan, spread the cherry-yogurt mixture, and finish with the remaining crumble on top. The oven does the rest: it melds the flavors and turns the crumble golden. I recommend using a metal baking dish for the best browning; if you use glass, add a few extra minutes and check for a golden top.
Ingredients
- 2 cups fresh cherries, pitted and halved
- 1 cup vanilla yogurt
- 1 cup all-purpose flour
- 1/2 cup rolled oats
- 1/2 cup brown sugar
- 1/2 cup butter, softened
- 1/2 teaspoon baking powder
- 1 teaspoon vanilla extract
- 1/4 teaspoon salt
Instructions
- Preheat the oven to 350°F (175°C) and grease a baking dish.
- Mix the cherries and vanilla yogurt in a bowl and set the mixture aside.
- Combine flour, oats, brown sugar, baking powder, and salt in a separate bowl.
- Add the softened butter and vanilla extract to the dry ingredients and mix until the mixture turns crumbly.
- Press half of the oat mixture into the prepared baking dish to form an even base.
- Spread the cherry-yogurt mixture evenly over the oat base.
- Sprinkle the remaining oat crumble over the cherries to cover them.
- Bake the bars for 30 to 35 minutes or until the top looks golden brown, then let the pan cool before cutting into bars.
Serving ideas
Serve these bars warm or at room temperature. Spoon mascarpone or whipped cream over a warm square when you want a touch of elegance, or offer cold vanilla ice cream for a classic pairing. For a lighter finish, dust the bars with a little powdered sugar and serve alongside strong coffee or a pot of tea.
For casual gatherings, cut the bars into large squares and serve on a platter so guests can grab one. For picnic or school treats, line a container with parchment, stack bars in a single layer, and chill them—cold bars hold together well for transport. If you want to elevate the presentation, warm a bar briefly and drizzle a little warmed cherry jam mixed with orange zest on top.
How to store it properly
Store leftover bars in an airtight container at room temperature for up to two days. If you prefer chilled treats, refrigerate them for up to five days; bring them back to room temperature before serving for the best texture. For longer storage, wrap individual bars in parchment and freeze them in a zip-top bag for up to three months. Thaw overnight in the refrigerator and warm briefly in a low oven before serving.
If you plan to freeze the whole pan, cool it completely, wrap it tightly in plastic wrap, then foil, and label it with the date. When you reheat a frozen whole pan, remove the foil and bake at 325°F (160°C) until heated through, about 20 to 30 minutes depending on thickness.
DishGrub Kitchen Tips
Use fresh, ripe cherries for the brightest flavor and best texture; look for cherries that feel firm and have a glossy skin. If cherries prove out of season, use frozen cherries and thaw them, then drain excess juice to avoid a soggy filling. Always measure flour by spooning it into the cup and leveling it with a knife to avoid packing, which can make the crumble heavy.
Make the crumble with a pastry cutter or two forks if you prefer a chunkier texture, or pulse it briefly in a food processor for a finer sand-like crumble. Grease the baking dish well or line it with parchment for easy removal and cleaner edges. For more crowd-pleasing dessert ideas from our kitchen-tested collection, try our carrot cake with cream cheese frosting for a moist layer cake that’s always a hit at family dinners.
Make it your own
Add a citrus twist by stirring 1 teaspoon of lemon zest into the cherry-yogurt layer for a bright lift. Swap vanilla yogurt for Greek yogurt for a tangier profile; reduce the yogurt to 3/4 cup if you want a thicker, less runny filling. Mix 1/4 cup chopped almonds or walnuts into the oat crumble for more crunch and a nutty flavor.
To make this gluten-free, replace the all-purpose flour with a 1:1 gluten-free baking blend and confirm your oats are certified gluten-free. For a lower-sugar option, use a reduced-sugar yogurt and substitute coconut sugar for brown sugar; expect a slightly different color and a bit less caramelization. Try mixing half cherries and half sliced peaches for a summer fruit cobbler vibe.
Common questions
Q: Can I use frozen cherries instead of fresh?
A: Yes, you can use frozen cherries. Thaw them first and drain any excess liquid to prevent a soggy filling. If frozen cherries release a lot of juice, toss them with a teaspoon of cornstarch before you mix them with yogurt to help thicken the filling as it bakes. Using frozen fruit may slightly increase bake time because the fruit starts colder; keep an eye on the top and test for a golden color.
Q: How do I know when the bars are done?
A: Look for a uniformly golden-brown top and slightly bubbled filling at the edges. The crumbs should feel set and not doughy when you touch them lightly with an oven mitt. Because this dessert contains a yogurt-based filling, the center may look a touch soft right out of the oven; it will firm up as the pan cools. Letting the bars cool completely before cutting gives you the cleanest slices.
Q: Can I make these bars ahead of time for an event?
A: Absolutely. The bars hold up well when made a day ahead and stored at room temperature in an airtight container for short events. For longer advance prep, bake, cool completely, then refrigerate for up to five days or freeze for up to three months. Reheat individual slices in a warm oven for a few minutes or microwave briefly to return them to a freshly-baked feel. If you plan to add delicate toppings like whipped cream, wait to add them just before serving.
Q: My crumble sank into the fruit—what happened?
A: If the crumble mixes too wetly with the fruit layer, you may have used slightly too much yogurt or the fruit released extra juice. Next time, reduce the yogurt by a couple of tablespoons or drain off a bit of fruit juice before layering. Press the bottom layer firmly into the pan to create a stable base, and distribute the top crumble evenly but gently so it bakes into a crust rather than sinking.
Conclusion
For a dessert that tastes like a kitchen full of memories, these cherry vanilla cobbler bars deliver on both comfort and convenience; try serving them warm with vanilla ice cream for a no-fuss finale. If you want a twist inspired by apple and cherry flavors, compare this pan to the inventive take in the apple butter cherry cobbler bars recipe for new ideas you can adapt to your pantry.





