
There’s something about shaping dough with your hands that makes the kitchen feel like a small stage for comfort. The simple loop of rolling, pressing, and tucking transforms pantry staples into warm, fragrant bunnies that make everyone at the table smile. Chocolate Bunny Buns aren’t just a treat; they act like tiny, edible invitations to slow down and share a moment. Pulling them from the oven, the room fills with a buttery, slightly sweet scent that says home. Serve them with coffee, milk, or a pile of fresh fruit and watch the quiet chatter spread into genuine warmth.
DishGrub tests recipes that aim to keep life simple without sacrificing homemade charm. We focus on techniques that work in the average American kitchen and on ingredient lists you can read without stopping at three stores. This Chocolate Bunny Buns recipe started as a way to make a playful, shareable breakfast that comes together with minimal fuss. We trialed dough textures that rise reliably in typical home ovens and picked a chocolate-studded filling that keeps its melt but won’t turn every bun into a puddle. If you’ve tried other DishGrub recipes like our chocolate-dipped fruit and wanted the same easy, comforting vibe for baking, check out our chocolate-covered strawberries pairing for a sweet, simple combo that families love: our chocolate-covered strawberries recipe.
Why this recipe stands out
This recipe succeeds because it balances straightforward technique with forgiving timing and familiar flavors. The dough uses instant yeast so you skip the fuss of proofing yeast separately; you mix your dry ingredients, add warm milk and water, toss in butter and an egg, and knead. The hydration stays moderate so the dough feels manageable—soft but not sticky—making shaping cute bunny forms easy even for beginners or kids. Chocolate chips go into the center of each bunny for a surprise hit of melty sweetness without compromising structure.
I designed these buns to perform well in most home kitchens. They rise predictably with a one-hour first rise and a shorter second rise after shaping, which gives you time to prep toppings or coffee. An egg wash gives a golden shine and helps sprinkles stick if you want extra whimsy. You’ll get tender crumb and a subtly sweet crust that pairs nicely with both breakfast and dessert plates. If you want to pair them with something fresh and bright, our test kitchen recommends pairing a batch with chocolate-covered strawberries to echo the chocolate notes and lift the presentation.
How to prepare Chocolate Bunny Buns
Start by reading the recipe through once and setting up a tidy workspace. Keep your dry ingredients measured and your liquid ingredients slightly warm—aim for milk and water around 100–110°F so you wake the yeast without killing it. Grease a bowl for the first rise so the dough can expand without sticking. When you knead, use the heel of your hand, fold, and turn—this builds the gluten structure you need for a springy bun. After the first rise, turn the dough out gently, press out just enough air to shape, and divide it into uniform portions for even baking.
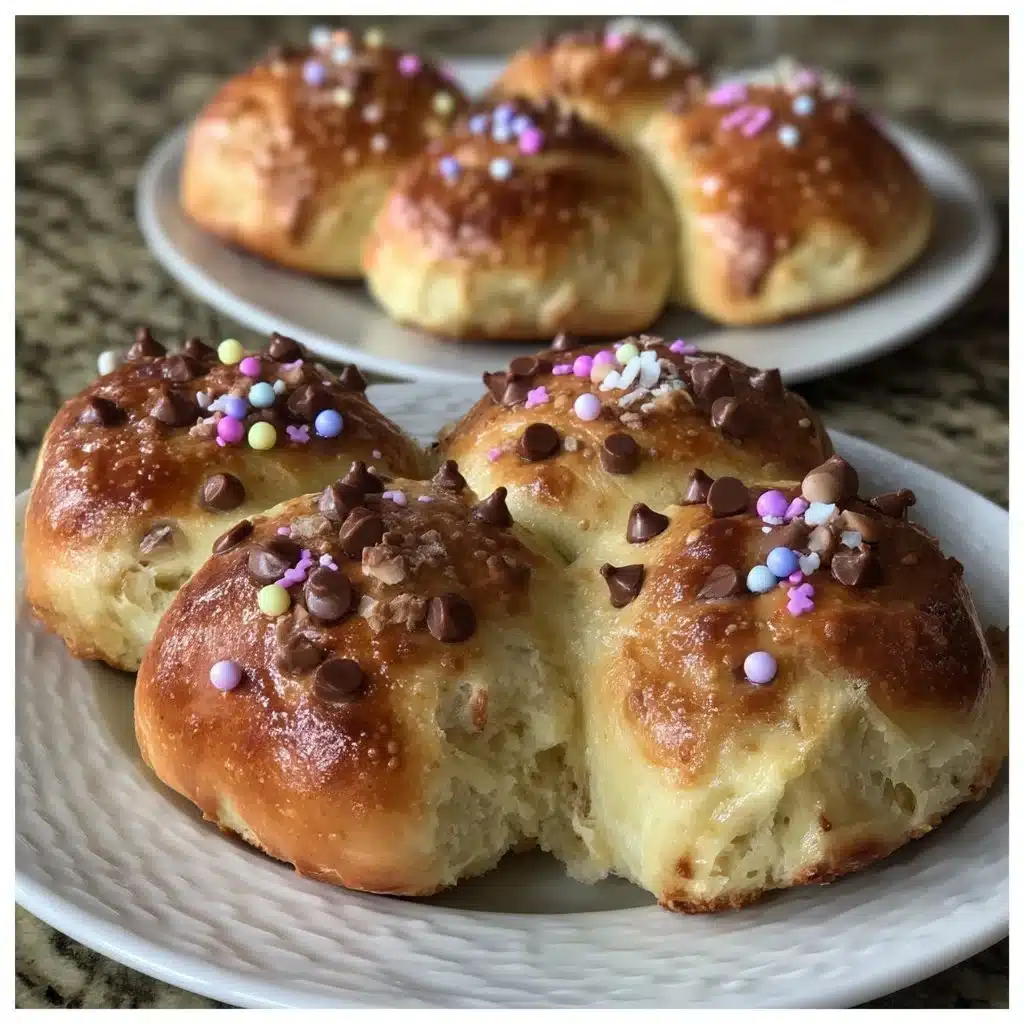
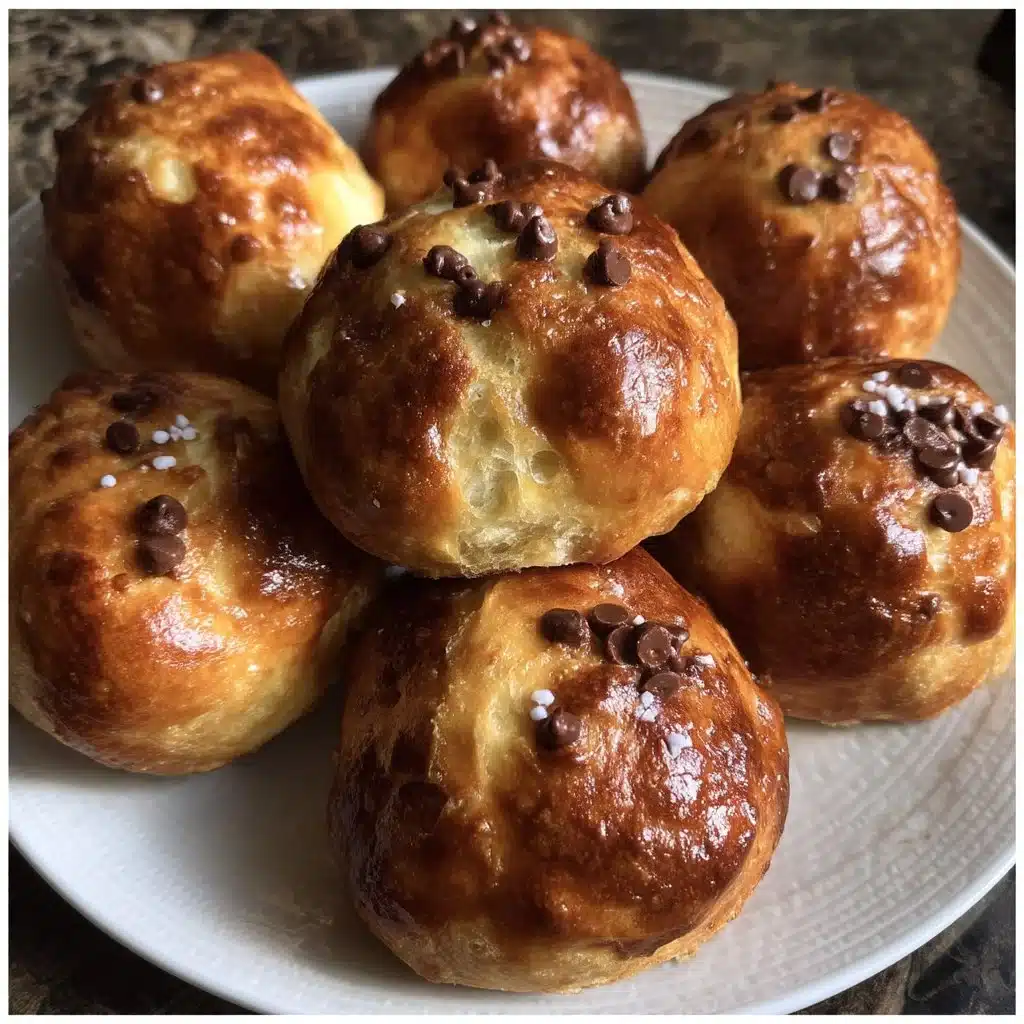
Shaping the bunnies focuses on a simple silhouette: a round body, a smaller head, and two long ears. Use a parking trick to insert a few chocolate chips in the body section so each bite has melty chocolate. If you work with kids, give them small amounts of dough and let them shape freely—imperfect bunnies bake beautifully and add homemade charm. Let the shaped buns rest for a second rise on a lined baking sheet; they puff up and hold their form, which keeps the ears perched prettily. Brush with egg wash right before baking to deepen color and glue on any sprinkles you like.
Ingredients
- 2 cups all-purpose flour
- 1/2 cup sugar
- 1 packet (2 1/4 tsp) instant yeast
- 1/2 tsp salt
- 1/2 cup milk
- 1/4 cup butter
- 1/2 cup water
- 1 egg
- 1/2 cup chocolate chips
- 1 egg (for egg wash)
- Sprinkles (optional)
Instructions
- In a bowl, mix flour, sugar, yeast, and salt.
- In a saucepan, heat milk, butter, and water until warm.
- Add the liquid to the dry ingredients and mix in egg.
- Knead the dough for 10 minutes until smooth.
- Let rise for 1 hour in a warm place.
- Preheat oven to 350°F (175°C).
- Punch down the risen dough and divide into small portions.
- Shape them into bunny forms, filling with chocolate chips.
- Place on a baking sheet and let rise again for 30 minutes.
- Brush with egg wash and sprinkle with sprinkles if desired.
- Bake for 15-20 minutes or until golden brown.
- Let cool and serve.
How to serve this dish
Serve these buns warm for the best texture and chocolate pull. Arrange them on a platter with a small bowl of softened butter or whipped honey butter for spreading. For brunch, offer them alongside scrambled eggs, fresh fruit, and a pitcher of orange juice so the table balances sweet and savory. For dessert, place a bun with a scoop of vanilla ice cream and a drizzle of warmed chocolate or caramel; the warm bun with cold ice cream creates a cozy contrast everyone enjoys.
If you plan a kid-friendly party, set out toppings—mini chocolate chips, rainbow sprinkles, and a few fruit options—and let guests decorate their own. The egg wash makes the surface tacky enough for toppings to stick, so decorations stay put through a brief transport to a picnic basket or family room tray.
How to keep leftovers
Cool the buns completely before storing to prevent trapped steam that makes them soggy. Store at room temperature in an airtight container for up to two days. If you expect to keep them longer, wrap each bun individually in plastic wrap and freeze for up to three months. To refresh, thaw at room temperature and reheat briefly in a 300°F oven for 5–8 minutes to revive the crust and warm the center.
If the chocolate inside firms up after chilling, a 10–15 second zap in the microwave will soften it, but avoid longer times that make the bun gummy. For make-ahead planning, bake fully and freeze, then finish with egg wash and a quick oven blast before serving to refresh the exterior shine.
DishGrub Kitchen Tips
Measure flour with the spoon-and-level method: spoon flour into your measuring cup and level with a knife. That prevents dense dough and keeps the texture light. Warm your milk and water gently—aim for the temperature of a warm bath, not hot. Butter should be melted but not scalding when you mix it into the liquids.
When kneading, check the dough with the windowpane test: stretch a small piece—if it thins to a translucent sheet without tearing, you built good gluten. For shaping, use a kitchen scale for even-size buns when you want consistent baking times; roughly 1.5–2 ounce portions work well for small buns. If you like a glossy finish but avoid eggs, brush with a mix of milk and a teaspoon of sugar for a similar shine.
For a little extra aroma, fold a teaspoon of vanilla into the dough or grate a bit of orange zest over the tops before baking; both add a subtle lift that pairs nicely with chocolate.
Make it your own
Swap in mix-ins to match your pantry or preferences. Use chopped nuts, cinnamon sugar, or dried fruit instead of chocolate chips. For a double chocolate version, add two tablespoons of cocoa powder to the dry ingredients and use dark chocolate chips for a richer profile.
Turn these into savory bunnies by omitting sugar and chocolate and filling with shredded cheese and herbs—bake at the same temperature but watch for quicker browning. If you want mini pastries, press the dough into a muffin tin and tuck in a chocolate chip for portioned treats that travel well.
You can also experiment with glazes: a simple powdered sugar glaze with a touch of milk and vanilla gives a sweet finish, while a coffee glaze adds depth for an afternoon treat.
Common questions
What if my dough feels too sticky or too dry?
Adjust with small amounts. If the dough sticks to your hands excessively, add flour one tablespoon at a time until it becomes tacky but manageable. If it feels dry and resists coming together, add warm water a teaspoon at a time. Aim for soft, slightly tacky dough that holds shape. Knead on a lightly floured surface and avoid adding too much flour; that makes the buns heavy.
Can I use active dry yeast instead of instant yeast?
Yes. If you use active dry yeast, dissolve it in the warm milk and water with a pinch of sugar and let it bloom for 5–10 minutes until foamy before mixing with the dry ingredients. Instant yeast you can stir right into the dry mix; active dry needs that extra step, but it works well and produces the same reliable rise.
How do I stop the chocolate from leaking out of the buns?
Place your chocolate chips in the center of the dough portion rather than spreading them to the edges. When shaping, pinch seams tightly and tuck ends under to form the belly base. Chill shaped buns briefly in the fridge for 10 minutes before the second rise if you want extra insurance against spreading. Use smaller chips rather than large chunks; they melt nicely but won’t create heavy pockets that burst.
Can I make the dough the night before?
Yes. After kneading the dough, place it in a lightly oiled bowl, cover tightly, and refrigerate. The cold slow-rise develops flavor. In the morning, bring the dough to room temperature for about 30–60 minutes, then proceed with shaping and the second rise. Allow extra time for the dough to warm and puff before baking.
Are these buns good for parties?
Absolutely. They make a cute centerpiece for brunch or a buffet. Bake them a bit earlier, reheat briefly in a low oven, and serve with small bowls of butter, jam, or cream cheese for guests to customize. For large gatherings, scale the recipe and use a baking sheet per dozen to keep oven times consistent.
Conclusion
If you want to explore a different take on holiday buns or see how other cooks shape playful, decorated loaves, consider the classic inspiration behind similar recipes by visiting Hot Cross Easter Bunny Buns | JustHungry.





