
Warm, savory bites bring people together like nothing else. I grew up with deviled eggs at every family gathering warm kitchens, chipped china, and cousins jockeying for the last one on the platter. They mean potlucks and picnics, but mostly they mean comfort: something simple transformed into something you want to share. Deviled eggs feel like an old friend who shows up at the party ready to make everyone smile.
I like this recipe because it keeps things honest and approachable. You don’t need a long list of ingredients or fancy tools. A short, creamy yolk filling, a touch of tang from Dijon and vinegar, and a dusting of paprika turn humble hard-boiled eggs into tiny, satisfying morsels. This version leans classic and reliableperfect for busy weeknights when you want familiar flavors and quick results or for holiday platters where you need a recipe that always performs.
At DishGrub, we test these kinds of recipes over and over until they become second nature in a home cook’s routine. We aim for dishes that deliver comfort without fuss, with clear steps and pantry-friendly ingredients. Our focus on cozy, practical recipes means you get dependable results and flavors that remind you of home. If you’re assembling a small brunch spread or packing a picnic basket, these deviled eggs pair well with other no-fuss favorites. If you want a simple baked treat to bring along, try pairing them with DishGrub’s classic banana bread for a balanced, crowd-pleasing spread.
Why this recipe works
This recipe hits the sweet spot between creamy and tangy without overwhelming the egg’s delicate flavor. The mayonnaise gives the filling its silky texture while Dijon mustard adds a savory backbone. White vinegar brightens the mixture and balances the fat, so each bite feels fresh instead of heavy. Cooking the eggs using the hot-start method (bring water to a boil then let the eggs sit) produces firm whites and a tender yolk that mash easily, which makes the filling smooth and stable for piping or spooning. A sprinkle of paprika provides color and a touch of warmth without masking the classic profile. Overall, the method uses simple techniques that guarantee consistent results for home cooks of any level.
How to prepare Classic Deviled Eggs
Ingredients
- 6 large eggs
- 3 tablespoons mayonnaise
- 1 teaspoon Dijon mustard
- 1 teaspoon white vinegar
- Salt and pepper to taste
- Paprika for garnish
- Fresh herbs (optional)
Instructions
- Place the eggs in a pot and cover them with cold water.
- Bring the water to a boil over medium-high heat.
- Turn off the heat, cover the pot, and let the eggs sit for 12 minutes.
- Transfer the eggs to a bowl of cold water and let them cool completely.
- Peel the eggs and cut each one in half lengthwise.
- Remove the yolks and place them in a bowl.
- Mash the yolks with mayonnaise until mostly smooth.
- Stir in Dijon mustard and white vinegar until well combined.
- Season the yolk mixture with salt and pepper to taste.
- Spoon or pipe the yolk mixture back into the egg whites.
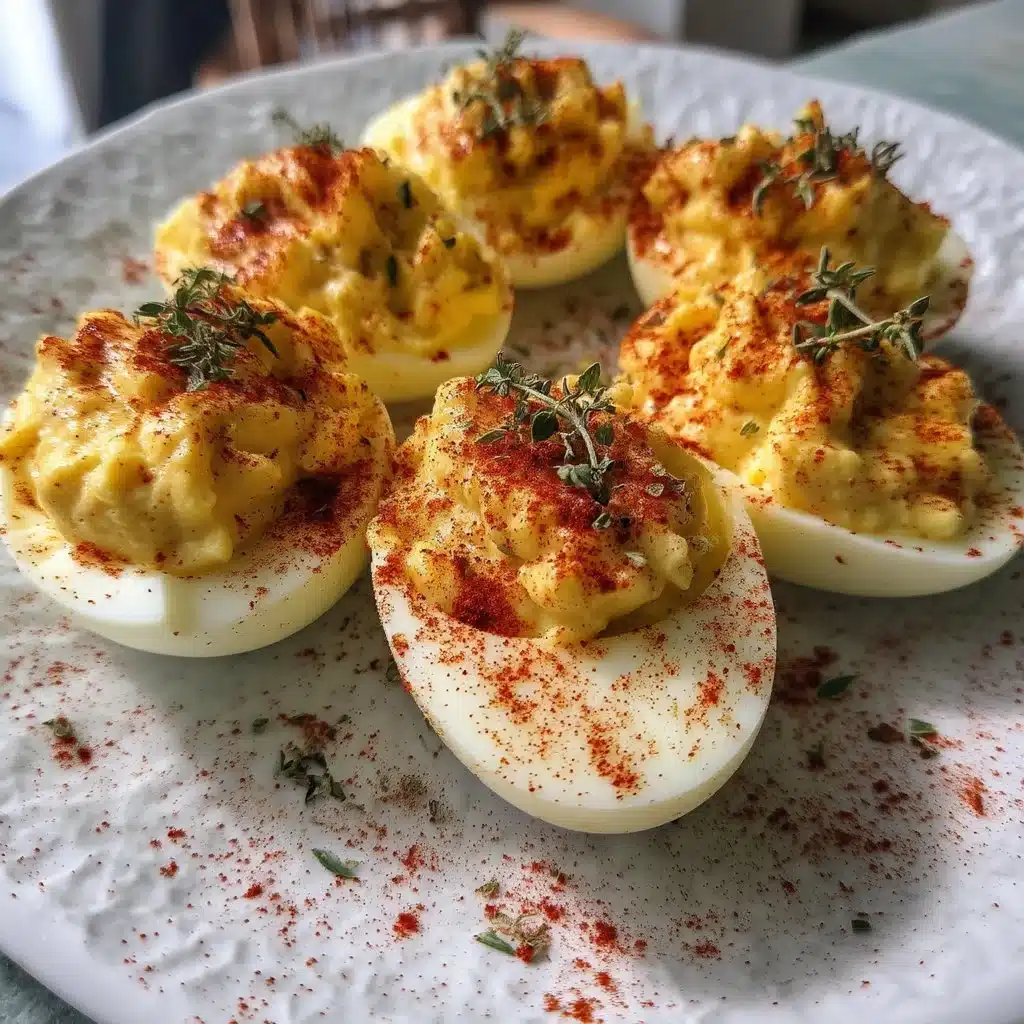
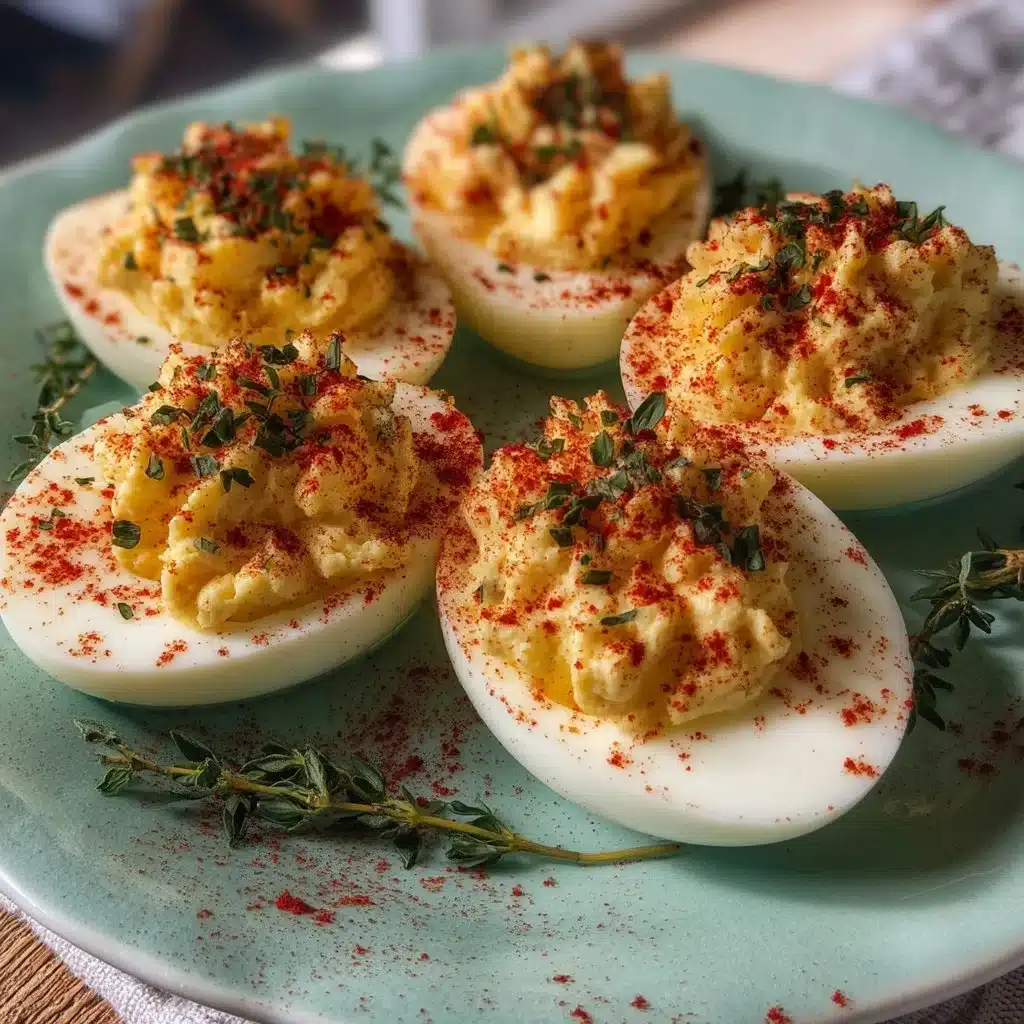
- Lightly sprinkle paprika over the filled eggs.
- Garnish with chopped fresh herbs if desired and serve.
Serving ideas
Deviled eggs work well as an appetizer, snack, or part of a buffet. Serve them chilled or at cool room temperature. Arrange them on a shallow platter with a lined paper towel to keep them from sliding, and add a few lemon wedges for guests who want an extra bright squeeze. For a picnic, pack them in a shallow airtight container with a cold pack; separate layers with parchment or paper towels to prevent shifting. For brunch, place them next to a green salad, crudité, and your favorite bread, or serve them alongside smoked salmon and capers for an elevated twist that still feels effortless. Keep the presentation simple a sprinkle of paprika and a scattering of fresh herbs looks inviting and classic.
Storage tips
Store deviled eggs in an airtight container in the refrigerator. Place the egg halves in a single layer or nestle them into a shallow tray to keep their shape. If you have limited space, store the filled eggs in the container with a tight lid and place a sheet of plastic wrap over the top to minimize air exposure. Use within 2 days for best texture and flavor; the filling softens and can lose its bright flavor after that. If you need to prepare ahead, make the hard-boiled eggs up to two days in advance, keep the yolk mixture chilled in a separate container, and assemble the eggs a few hours before serving to maintain the freshest taste.
DishGrub Kitchen Tips
- Choose eggs that are at least a few days old; they peel more cleanly than super-fresh eggs.
- Cool the eggs quickly in an ice bath or a bowl of very cold water to stop the cooking process and prevent a green ring around the yolk.
- Mash yolks with a fork first, then use a small whisk or silicone spatula to smooth the mixture. For ultra-smooth filling, press the yolks through a fine-mesh sieve before combining with mayo.
- Pipe the filling using a sandwich bag with the corner snipped or a reusable piping bag with a plain round tip for neat, uniform mounds.
- Taste as you season. A pinch of salt can change the character of a small batch markedly; season conservatively and adjust as needed.
- If you want a lighter version, substitute half the mayonnaise with Greek yogurt, but keep the mustard and vinegar to preserve the tang.
Recipe variations
- Classic bacon: Stir finely crumbled cooked bacon into the yolk mixture or sprinkle bacon on top before serving for smoky crunch.
- Spicy sriracha: Add a small squeeze of sriracha or a quarter teaspoon of cayenne to the yolk mix for heat that pairs well with the creamy filling.
- Pickle relish: Fold in a tablespoon of sweet or dill pickle relish for a briny pop and a bit of textural contrast.
- Curry deviled eggs: Mix in half a teaspoon of curry powder and top with chopped cilantro for an Indian-inspired twist.
- Herb-forward: Stir minced chives, dill, or tarragon into the yolk mixture and use chopped herbs as a garnish for a fresh, garden-style bite.
- Avocado mash: Replace half the mayo with mashed avocado for a green, creamy version with lovely richness and a subtle, nutty flavor.
Common questions
Q: How do I avoid the green ring around the yolk?
A: I use a rapid cool-down. Once the eggs finish resting in the hot water, I transfer them immediately to a bowl of cold water and add a few ice cubes if I have them. Cooling the eggs quickly stops the cooking and prevents the sulfur in the whites from reacting with the iron in the yolk, which creates that greenish ring. Also, don’t overcook; following the 12-minute resting time after boiling gives firm but tender yolks.
Q: Can I make deviled eggs ahead of time?
A: Yes. You can hard-boil and peel the eggs up to two days ahead, then store the whites in a sealed container. Keep the yolk mixture refrigerated in a separate container, and assemble the eggs the day you serve them for the cleanest presentation and best texture. If you need to make fully assembled eggs a day in advance, place them in a single layer in an airtight container and refrigerate; they will keep but may lose a little brightness. For parties, assemble just before guests arrive when possible.
Q: What’s the best way to peel boiled eggs?
A: Roll the cooled egg gently on the counter to crack the shell all over, then peel under running water or in a bowl of water. The water helps separate the shell from the membrane and makes peeling easier. If shells remain stubborn, peel from the wider end where the small air pocket makes a natural starting point.
Q: Can I freeze deviled eggs?
A: I don’t recommend freezing these. The egg whites become rubbery and the yolk filling changes texture and can become watery when thawed. For best quality, keep them refrigerated and eat them within 48 hours.
Q: How do I scale this recipe for a crowd?
A: Multiply the ingredients proportionally and prepare the yolk mixture in a larger bowl. If you plan to pipe filling, work in batches that allow you to keep everything chilled. For a party of 20 to 30 people, plan on 2 to 3 deviled egg halves per person, and consider offering two or three variations so guests can choose their favorite.
Conclusion
For a classic reference that complements this simple method, see Classic Deviled Eggs Recipe | Mary Nolan at Food Network.
Print
Classic Deviled Eggs
- Total Time: 30 minutes
- Yield: 12 serving halves
- Diet: Vegetarian
Description
A classic recipe for creamy and tangy deviled eggs, perfect for gatherings and picnics.
Ingredients
- 6 large eggs
- 3 tablespoons mayonnaise
- 1 teaspoon Dijon mustard
- 1 teaspoon white vinegar
- Salt and pepper to taste
- Paprika for garnish
- Fresh herbs (optional)
Instructions
- Place the eggs in a pot and cover them with cold water.
- Bring the water to a boil over medium-high heat.
- Turn off the heat, cover the pot, and let the eggs sit for 12 minutes.
- Transfer the eggs to a bowl of cold water and let them cool completely.
- Peel the eggs and cut each one in half lengthwise.
- Remove the yolks and place them in a bowl.
- Mash the yolks with mayonnaise until mostly smooth.
- Stir in Dijon mustard and white vinegar until well combined.
- Season the yolk mixture with salt and pepper to taste.
- Spoon or pipe the yolk mixture back into the egg whites.
- Lightly sprinkle paprika over the filled eggs.
- Garnish with chopped fresh herbs if desired and serve.
Notes
Store deviled eggs in an airtight container in the refrigerator for up to 2 days. For best flavor, prepare the yolks and egg whites separately and assemble shortly before serving.
- Prep Time: 15 minutes
- Cook Time: 15 minutes
- Category: Appetizer
- Method: Boiling
- Cuisine: American





