
Warm kitchens and small rituals build the best memories. A sticky marshmallow pull, a bowl full of colorful marshmallow shapes, and a kid’s grin that says everything tastes better when we make it together. This recipe turns a familiar breakfast into a portable treat that comforts like a hug and brings a simple, silly joy to any table. Whether you make these bars for an after-school snack, a quick bake sale hit, or to brighten a rainy afternoon, they hold their own as both nostalgic and practical. They slice into cheerful rectangles you can hand out at parties, tuck into lunchboxes, or stack for weekend movie night.
I tested this exact method until the bars pressed evenly without falling apart and still stayed soft days later. Minimal ingredients mean fewer decisions, and the straightforward technique keeps cleanup light. If you want to keep the cereal crispier, press gently; if you want the bars denser, press harder and cool slightly before cutting. The whole family can join in: children can help measure and press the mixture into the pan, which makes this a perfect project for busy parents who want a fast win with little fuss. For a grown-up twist, try folding in a handful of chopped nuts or a drizzle of dark chocolate after the bars cool.
DishGrub keeps recipes cozy and practical, tested in honest home kitchens so readers can trust the results without fuss. We focus on comfort food made simple, with tips that save time and deliver flavor. If you love fast, crowd-pleasing snacks, you might also enjoy our take on an easy buffalo snack or a classic family lasagna, both designed for real life and full of flavor. Try the easy buffalo chicken dip for party nights, and come back for more weeknight wins.
Why this recipe stands out
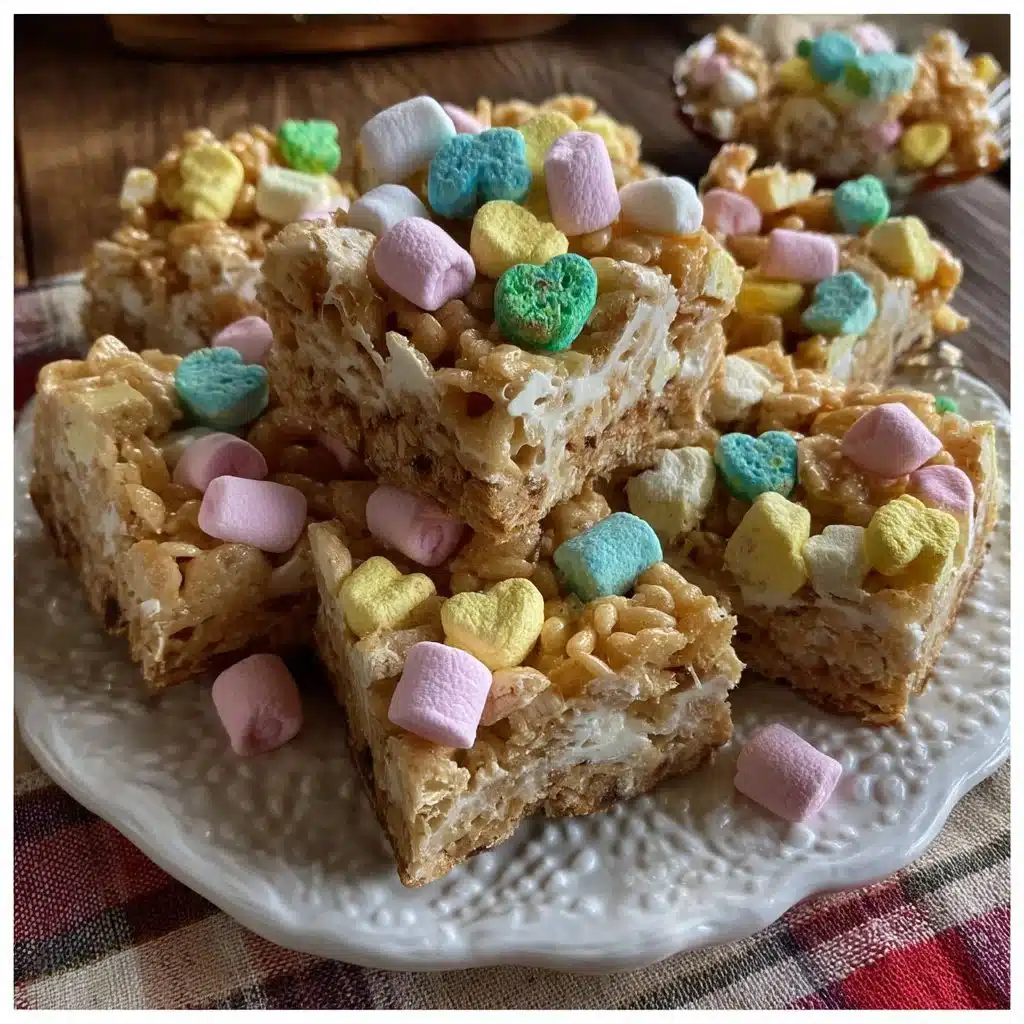
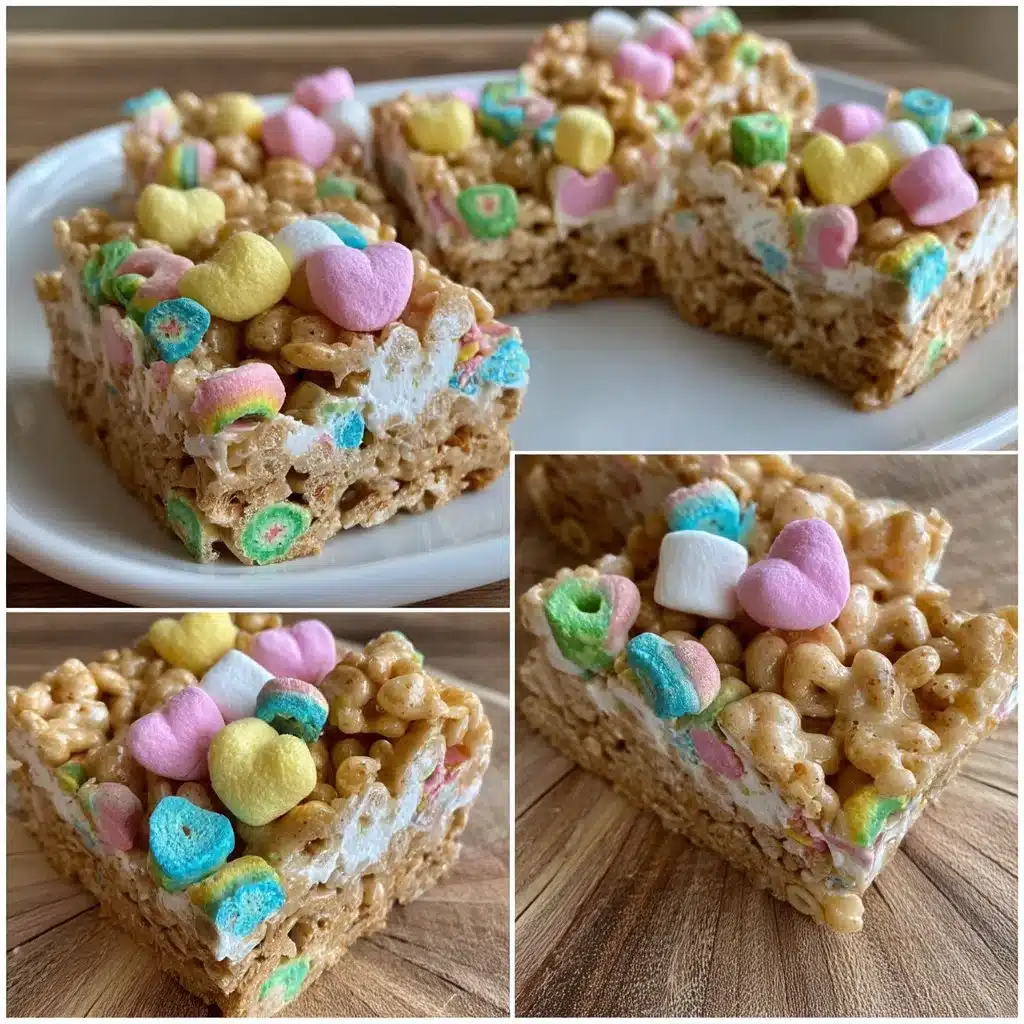
This recipe transforms a breakfast cereal into a party-ready treat with three pantry staples and a handful of minutes. It stands out because it balances nostalgia with speed; no oven, no complicated techniques, and no specialty equipment make it accessible to anyone. The marshmallow and butter base binds the pieces together while keeping the center soft and chewy. Lucky Charms add a playful color and texture contrast that your guests will notice before they taste the familiar, sweet marshmallow flavor.
This method produces bars that hold their shape yet still give when you bite into them, which makes them ideal for stacking or packing. You also gain control over two key variables: how dense you press the bars and how soon you cut them. Pressing with moderate force yields a tender bar, while firm pressing gives you a sturdier, more compact square. The recipe scales easily, so double it for larger crowds or halve it for a quick household treat.
Simple steps for Easy Lucky Charms Treat Bars
Ingredients
- 4 cups Lucky Charms cereal
- 4 tablespoons butter
- 1 bag (10 oz) marshmallows
- 1/2 teaspoon vanilla extract
- Cooking spray or parchment paper (for lining the pan)
Instructions
- Grease a 9×13 inch baking pan with cooking spray or line it with parchment paper.
- In a large saucepan, melt the butter over low heat.
- Add the marshmallows and stir until completely melted and smooth.
- Remove from heat and stir in the vanilla extract.
- Fold in the Lucky Charms cereal until well-coated.
- Pour the mixture into the prepared pan and press down evenly with a spatula or your hands.
- Let it cool completely before cutting into bars.
- Enjoy your Easy Lucky Charms Treat Bars!
How to serve this dish
Serve these bars at room temperature so they keep that soft, chewy texture. Cut them into squares or rectangles depending on how many people you plan to serve. For a casual dessert plate, stack three bars and place a sprinkle of extra marshmallows on top for color. You can also skewer small bite-sized pieces for a fun party display.
For lunchboxes, wrap each bar tightly in plastic wrap or place them in small reusable containers so they don’t dry out. If you take them to a potluck, arrange the bars on a platter with a small label so people know what cereal inspired the treat. These bars pair nicely with plain coffee or milk; the simple flavors of the marshmallow and cereal make them an easy match for a range of beverages.
How to store it properly
Store the bars in an airtight container at room temperature to preserve their chewiness. Layer parchment paper between stacked bars to prevent sticking. They stay best for up to three days at room temperature; after that, they slowly lose moisture and become firmer.
If you need to keep them longer, place the airtight container in the refrigerator for up to a week, but note refrigeration can make them dense. To revive a slightly firm bar, microwave it for 5 to 8 seconds on a microwave-safe plate before serving. Avoid freezing unless you wrap each bar individually and thaw gently, because freezing can change the texture of the marshmallow base.
Recipe tips for success
Measure the cereal by gently filling the cup and leveling it for an accurate 4 cups. Overstuffing the measuring cup makes the bars cereal-dense and harder to bind. When melting butter and marshmallows, keep the heat low to avoid scorching; smooth, lump-free marshmallow pulls ensure the cereal coats evenly.
Use a silicone spatula or lightly sprayed hands when pressing the mixture into the pan to prevent sticking. If you prefer a cleaner cut, chill the pan briefly for 15 to 20 minutes so the bars firm up, then use a sharp knife warmed under hot water and dried between cuts. This trick gives you neat edges without over-compressing the bars.
For a fun kitchen pairing that keeps the comfort food vibe going, try serving these bars alongside one of our oven-friendly casseroles for a complete family-friendly spread; for more hearty options, check the easy classic lasagna for a comforting main.
Make it your own
Swap in a different cereal for a flavor or texture shiftuse a fruity cereal for extra tang or a crunchy oat cereal for more bite. Mix in 1/3 cup of mini chocolate chips or a quarter cup of chopped toasted nuts for a crunch contrast. For a colorful party twist, fold in a handful of rainbow sprinkles after the cereal to keep the bars playful.
If you want a drizzle, melt 2 ounces of white or dark chocolate and zigzag over cooled bars, then let the chocolate set. For a seasonal touch, fold in 1/4 cup of dried cranberries and a pinch of orange zest to brighten the flavor. Keep additions modest so they don’t overpower the marshmallow binder.
Frequently asked questions
Q: Can I use a different size pan?
A: Yes, you can use smaller or larger pans, but expect changes in thickness and cutting yield. A smaller pan makes thicker, denser bars while a larger pan produces thinner bars that set quicker. Adjust chilling and cutting time accordingly.
Q: How do I prevent the bars from getting too hard?
A: Keep the bars in an airtight container at room temperature and avoid overcooking the marshmallows. Melting on low heat and removing the mixture from heat as soon as it is smooth preserves a soft texture. Press lightly into the pan rather than compacting aggressively.
Q: Can I make these gluten-free?
A: Some cereals carry gluten even if they look similar, so verify that your Lucky Charms or an alternative cereal is labeled gluten-free before using it. Use certified gluten-free marshmallows and confirm any added mix-ins are safe for your dietary needs.
Q: What if my marshmallows clump?
A: If the marshmallows start to seize or clump, remove the pan from the heat and stir vigorously until smooth. A small splash of neutral oil or an extra teaspoon of butter can sometimes help smooth the mixture. Work quickly and fold in the cereal while the mixture is still pliable.
Q: Can I color the bars?
A: Yes, add a few drops of food coloring to the melted marshmallow mixture and stir until you achieve the desired hue before folding in the cereal. Keep the color usage moderate to avoid changing the marshmallow texture.
Conclusion
For official product details and inspiration, visit the Lucky Charms Treat Bars product page to learn more about the original cereal that inspired this easy, nostalgic snack.





