
There’s something about a dessert you don’t have to turn the oven on for that feels like a small act of kindness. A chilled pie that layers creamy peanut butter with silky chocolate ganache invites conversation and makes room for those slow, shared moments after dinner. When I take this pie to a potluck, people hover with coffee cups and napkins, and the room somehow relaxes into comfortable chatter. It’s the kind of recipe that arrives at a gathering already lovedfamiliar flavors, simple steps, and a ready smile.
This pie also sits well on a weekday table. I often assemble it after work, let it set while I tidy the kitchen, and grab a slice later when the evening quiet arrives. Kids love the peanut butter center, partners nod approvingly at the chocolate, and guests always comment on how indulgent it tastes despite how little time it takes. If you like assembling quick desserts or want a no-fuss centerpiece for a casual party, this is the one to keep in your back pocket. For another easy peanut-butter-forward treat that’s great for baking with kids, try our homemade peanut butter cups for a different kind of hands-on fun.
At DishGrub, we test recipes until they work in messy real kitchens with busy people. We aim for comfort food that doesn’t demand special tools or precise timingrecipes you can rely on whether you’re feeding a small family or a crowd. We focus on practical ingredients, clear steps, and tips that save time without compromising flavor. This no-bake chocolate peanut butter pie fits that mission: approachable, dependable, and ready to become one of your go-to desserts when you want something decadent without a lot of fuss.
Why this recipe works
This pie balances texture and temperature in ways that feel both indulgent and effortless. The creamy filling combines the richness of peanut butter with the tang and structure of softened cream cheese, and powdered sugar sweetens and stabilizes without graininess. Folded-in whipped topping lightens the mixture so every bite stays airy rather than dense. A pre-made graham cracker crust gives you immediate structure and that classic slightly-salty contrast to the sweet filling.
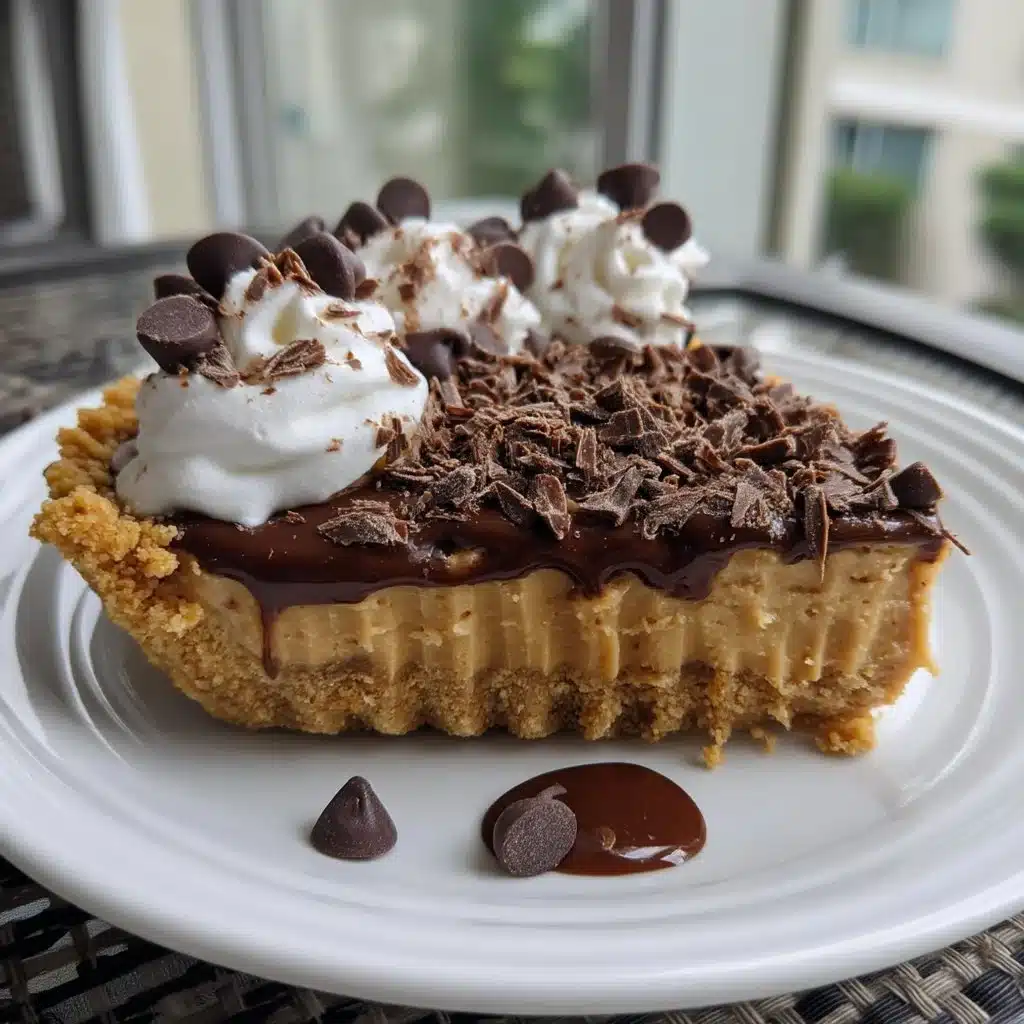
The chocolate ganache uses warm cream to melt chocolate chips into a glossy, pourable topping that sets into a smooth shell over the filling. Because you chill rather than bake, the cream cheese and peanut butter maintain their bright flavors and creamy mouthfeel. The whole process keeps the pantry staples front and center and minimizes cleanup, so the pie delivers big dessert satisfaction with small effort.
How to prepare Easy No Bake Chocolate Peanut Butter Pie
This recipe shines because it focuses on technique more than complex ingredients. Beat the base until silky, fold gently to preserve air, and pour the ganache while it’s warm enough to spread easily but cool enough not to melt the filling. Chill long enough to let the pie firm uppatience here pays off in clean slices. Below the step-by-step instructions, you’ll find tips for serving, storing, and tweaking the pie to suit your tastes or pantry.
Ingredients
- 1 pre-made graham cracker crust
- 1 cup creamy peanut butter
- 8 oz cream cheese, softened
- 1 cup powdered sugar
- 1 cup whipped topping
- 1/2 cup chocolate chips
- 1/2 cup heavy cream
- Chocolate shavings or extra whipped topping for garnish
Instructions
- In a mixing bowl, beat together the peanut butter, cream cheese, and powdered sugar until smooth.
- Fold in the whipped topping until well combined.
- Pour the mixture into the pre-made graham cracker crust and spread evenly.
- In a small saucepan, heat the heavy cream over medium heat until it just begins to simmer. Remove from heat and add the chocolate chips, stirring until melted and smooth.
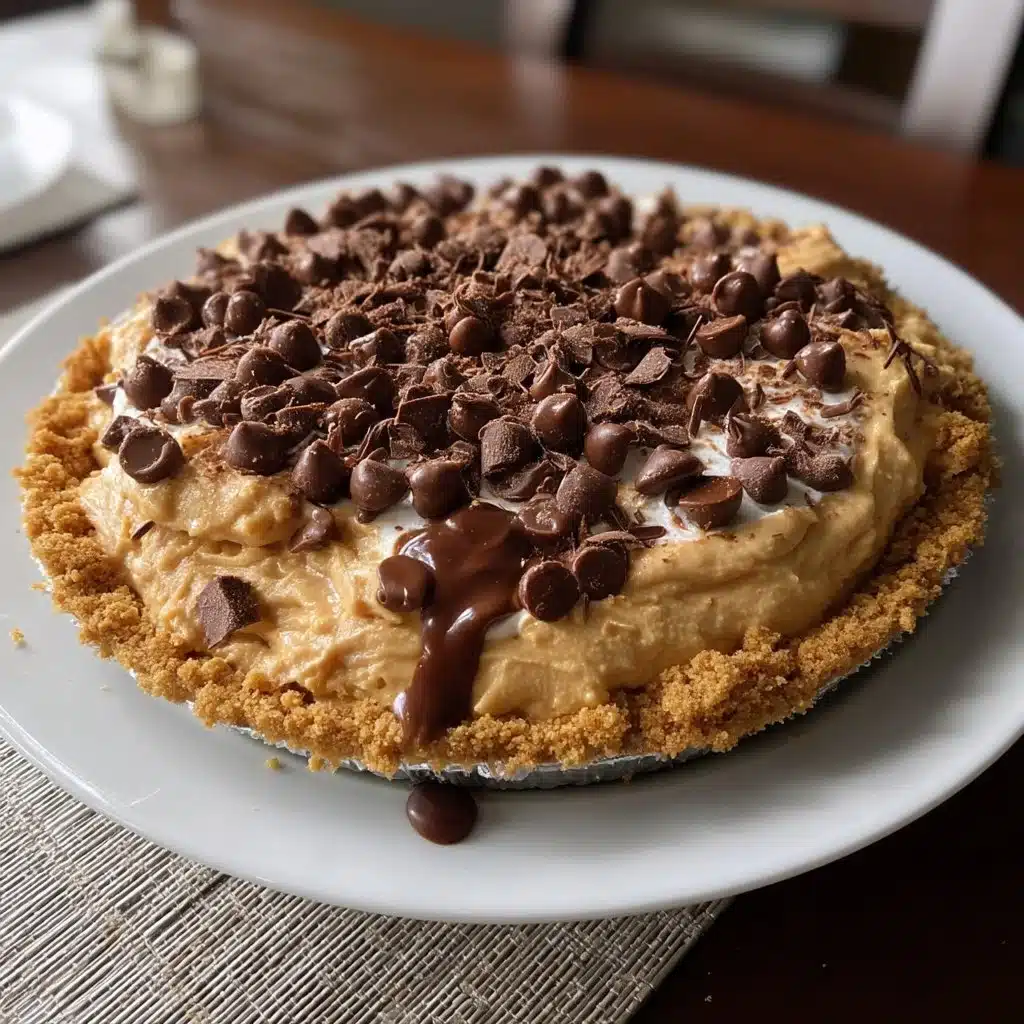
- Drizzle the chocolate ganache over the peanut butter mixture.
- Refrigerate for at least 4 hours or until firm.
- Before serving, garnish with chocolate shavings or extra whipped topping.
Serving ideas
Slice this pie straight from the fridge for clean wedgesthe firm filling and ganache make neat servings. Offer small dollops of extra whipped topping at the side for people who like a lighter finish. For a retro diner vibe, plate a slice with a scoop of vanilla ice cream and a sprinkling of crushed peanuts for extra crunch.
Make individual servings by dropping filling into glass jars or small ramekins before chilling and topping with ganachethese travel-friendly cups work well for potlucks or picnics. For a decorative touch at a gathering, pipe a ring of whipped topping around the edge and shave a few curls of chocolate across the center. If you need kid-friendly presentation ideas, present mini slices on colorful paper plates or add a few chocolate chips on top in fun shapes.
Storage tips
Store the pie covered in the refrigerator. A tight lid or a pie saver dome will prevent the crust from picking up other flavors and keep the ganache glossy. This pie will hold well for up to 4 days; beyond that the crust can begin to soften too much and the whipped topping may lose volume.
If you need to freeze leftovers, wrap the pie tightly in plastic wrap and then foil to prevent freezer burn. Thaw overnight in the refrigerator before serving. Avoid refreezing once you thaw it, because the texture of the whipped topping and the cream cheese layer will degrade with repeated freezes.
When you plan to serve the pie, remove it from the fridge 10 minutes before slicing so the ganache eases slightly and slices don’t crack. Use a knife warmed briefly under hot water and wiped dry between cuts for the cleanest pieces.
DishGrub Kitchen Tips
Measure the powdered sugar by spooning it into the cup and leveling it off to avoid packing, which can make the filling overly sweet or stiff. Soften the cream cheese to room temperature; if it’s too cold, lumps will persist and you’ll overbeat trying to smooth them out. Use a hand mixer or stand mixer on medium speed to achieve a silky texture without overheating.
When heating the cream for ganache, watch it closely; you want it steaming and just beginning to simmer, not boiling. Boiling can change the texture and cause the chocolate to seize. If your ganache tightens too quickly, stir in a teaspoon of warm cream to loosen it.
For tips on other quick peanut butter desserts that play well with this pielike a crunchy, buttery cookie or an easy candysee our recipe for peanut butter cookies which pairs nicely with this pie for a dessert spread.
Recipe variations
Swap the graham cracker crust for a chocolate cookie crust to intensify the chocolate-and-peanut-butter pairing. For a lighter filling, reduce the peanut butter to 3/4 cup and increase the whipped topping by 1/4 cup for more airiness. If you prefer a deeper chocolate flavor, stir a tablespoon of unsweetened cocoa powder into the filling before folding in the whipped topping.
Turn this into an individual parfait by layering broken graham crackers, dollops of filling, and cooled ganache in mason jars. For a salty-sweet twist, sprinkle flaky sea salt over the ganache before chilling. If someone has a peanut allergy, replace the peanut butter with almond or sunflower seed butter and adjust the sweetness to taste; sunflower butter works particularly well for similar texture and robust flavor.
Common questions
Q: Can I make this pie ahead of time for a party?
A: Yes. You can assemble the pie up to 48 hours in advance and keep it refrigerated. Cover it to protect the ganache sheen and avoid placing heavy items on top of it. Preparing it a day ahead helps the flavors meld and ensures a firmer set for cleaner slices. If you need to make it even earlier, you can freeze it as described above, then thaw in the refrigerator overnight.
Q: Why did my ganache separate or look grainy?
A: Grainy or separated ganache usually results from overheating or using chocolate that doesn’t melt smoothly. Heat the cream only until it begins to steam; do not boil. Add the chocolate chips off the heat and stir gently until fully melted. If the chocolate overheats or water gets into the mixture, it can seize. If that happens, try whisking in a small amount of warm cream to smooth it, or gently warm the mixture in short bursts while stirring.
Q: Can I use natural peanut butter?
A: You can, but note that natural peanut butter often contains oil separation and a runnier consistency that can affect the filling’s texture. If you use natural peanut butter, stir it well and consider chilling the filling slightly before transferring it to the crust to help it set. You may also need to reduce additional liquid in the recipe, though this particular recipe doesn’t call for extra liquid beyond the ganache.
Q: How do I get perfect slices without cracking the ganache?
A: Chill the pie thoroughly and warm your knife under hot tap water, then dry the blade before slicing. Wipe the blade clean between cuts. Let the pie sit at room temperature for 8–10 minutes before slicing so the ganache softens just enough to cut smoothly.
Conclusion
If you want a reliable, crowd-pleasing finish to a casual meal, this no-bake pie delivers big flavor with minimal fussdecadent peanut butter filling, silky ganache, and easy assembly. For another take on a chocolate-peanut butter no-bake dessert with helpful step photos and tips, check out No Bake Chocolate Peanut Butter Pie – Crazy for Crust.





