
Comfort food carries the power to settle a busy day. A simple, chewy bar with peanut butter and honey brings that comfort in handheld form, the kind you can pass around at a soccer game, tuck into a lunchbox, or slice into squares for a slow Sunday afternoon. I remember making a pan of peanut butter bars the first time I wanted to thank a neighbor who watched our kids for an afternoon. He took one bite, closed his eyes, and said, “This tastes like the kind my grandmother made.” That moment reminded me why the easiest recipes often mean the mostthey trade fuss for flavor and give you time back to be together.
These bars do more than satisfy a sweet tooth. They offer texturesoft-yet-firm oats, smooth peanut butter, and a sweet glue of honey that keeps each bite cozy. You can make them with pantry staples in just one pot and a bowl; no mixer needed, no baking or precise timing, and minimal cleanup. They work for lunchboxes, after-school snacks, a quick dessert, or an energy bite before an evening walk. I like to keep a pan in the fridge so I can slice off a square when I need a little pick-me-up.
DishGrub tests recipes with everyday cooks in mind: simple steps, predictable results, and flavor that feels like a hug. We trial this peanut butter bars recipe in multiple kitchens to make sure measurements translate well in a typical American home. We aim for minimal ingredients and clear technique so you can move from pantry to plate with confidence. If you enjoy building snacks from pantry staples, you might also like our take on homemade peanut butter cups, a slightly fancier peanut butter treat that still keeps things straightforward.
Why you’ll love this dish
Why you’ll love this dish
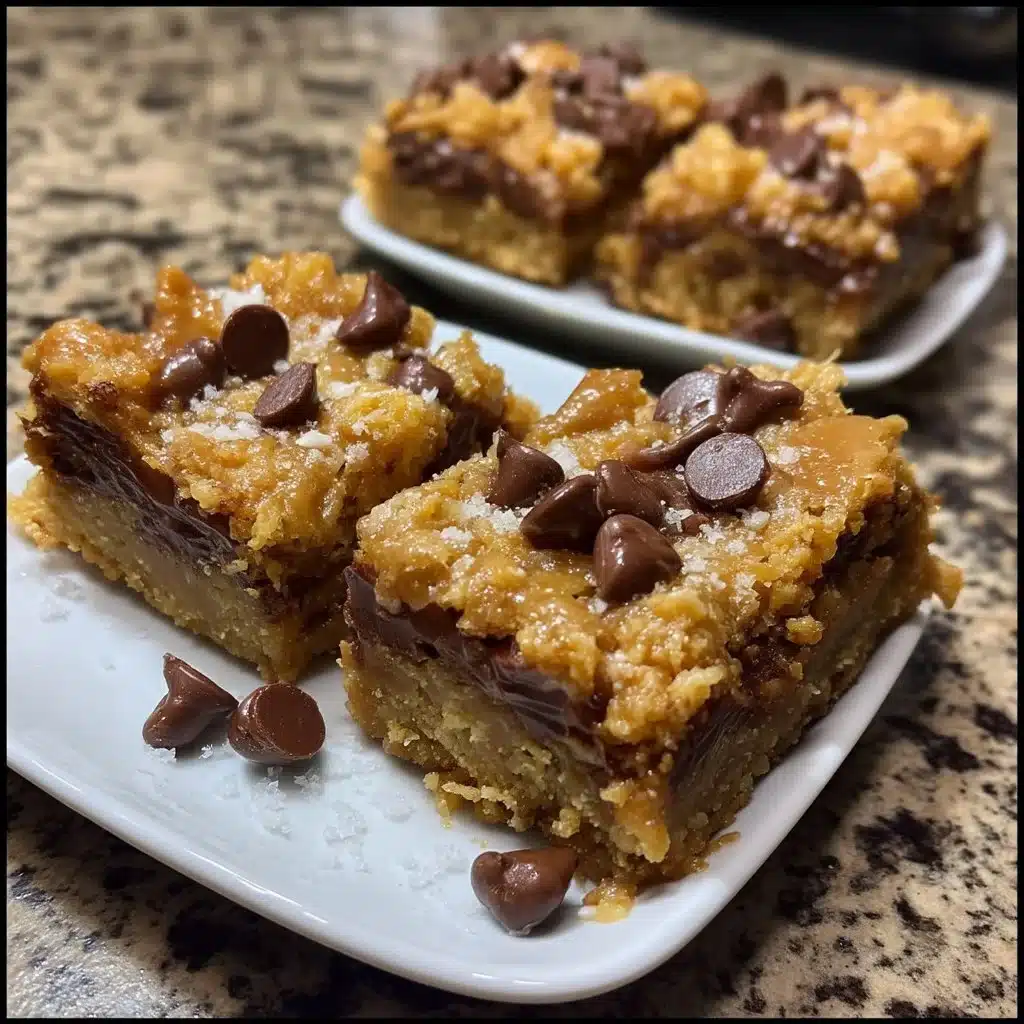
These peanut butter bars deliver comfort without a long ingredient list or an oven. They rely on the natural sweetness and binding power of honey combined with creamy peanut butter to hold rolled oats together. The simplicity makes this recipe forgiving: swap natural or conventional peanut butter depending on your preference, and you still get a satisfying texture. They slice cleanly after chilling, travel well, and taste just as good a day later. The optional chocolate chips add a melty contrast, but the core triopeanut butter, honey, and oatsalready sings on its own.
How to prepare Easy Peanut Butter Bars
How to prepare Easy Peanut Butter Bars
Ingredients
- 1 cup peanut butter
- 1 cup honey
- 2 cups rolled oats
- 1/2 cup chocolate chips (optional)
- 1/2 teaspoon vanilla extract
- 1/4 teaspoon salt
Instructions
- In a medium saucepan, combine the peanut butter and honey over low heat until melted and well combined.
- Remove from heat and stir in the vanilla extract and salt.
- Add the rolled oats and mix until fully incorporated.
- If using, fold in the chocolate chips.
- Press the mixture into a greased 8×8 inch baking dish and refrigerate for at least 1 hour.
- Cut into bars and serve.
How to serve this dish
How to serve this dish
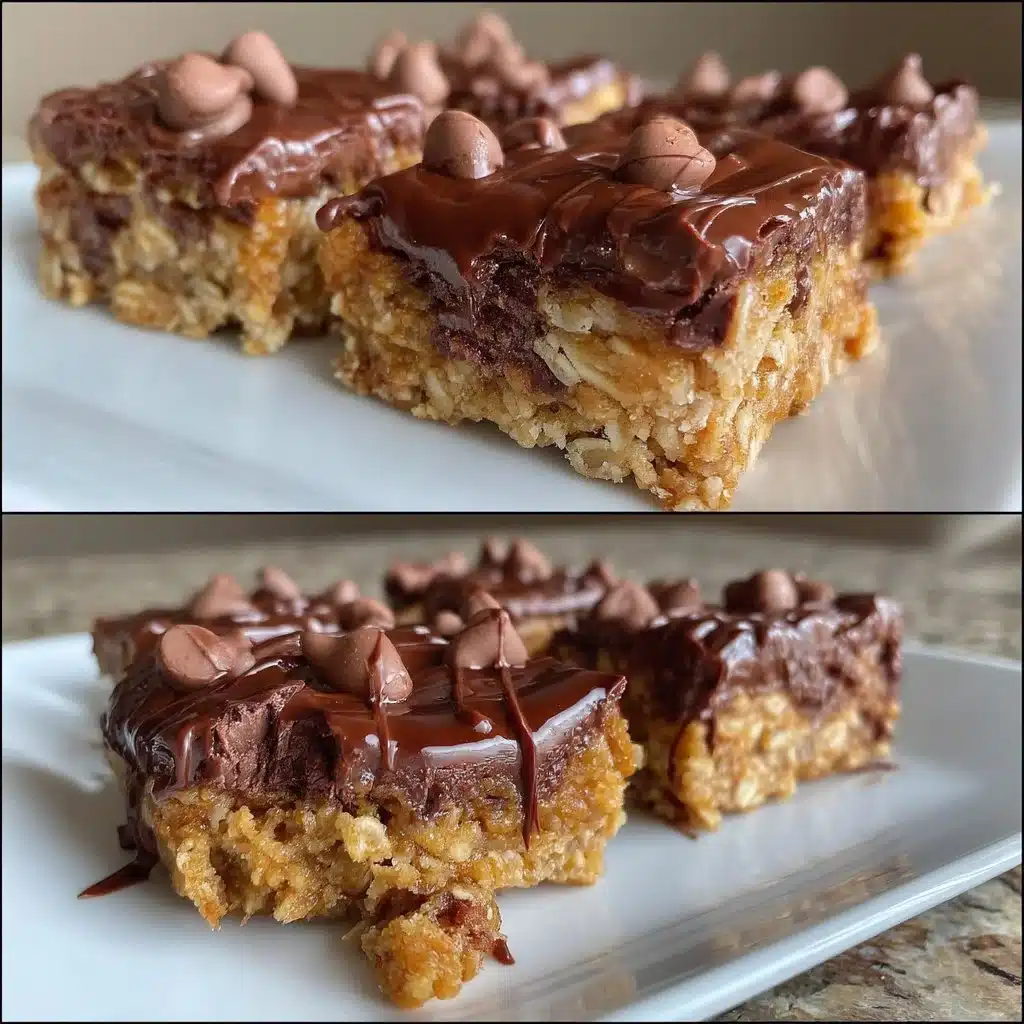
Serve these bars straight from the fridge for a firm, chewy texture, or let them sit at room temperature for ten minutes if you prefer them softer. Cut them into small squares for bite-sized snacks, or larger bars for a quick breakfast on the go. Pair a bar with plain yogurt and fresh fruit for a fuller breakfast plate, or serve alongside a steaming mug of coffee for an afternoon treat. If you want to dress them up for guests, warm a few seconds in the microwave and drizzle melted dark chocolate over the top, then sprinkle a pinch of flaky salt for contrast.
Storage tips
Storage tips
Store the bars in an airtight container in the refrigerator to keep them firm and fresh for up to one week. You can layer pieces with parchment paper to prevent sticking. For longer storage, freeze the bars in a single layer on a baking sheet until firm, then transfer them to a freezer-safe bag and keep them up to three months. Thaw individual bars at room temperature for 10–15 minutes or pop a frozen bar into a lunchbox to thaw by midday. If your kitchen stays warm, refrigeration helps maintain structure so the bars don’t get overly soft.
DishGrub Kitchen Tips
DishGrub Kitchen Tips
Use creamy peanut butter for the smoothest texture; natural peanut butter with separated oil works too but stir it well so the oil blends evenly with the honey. If you use a runnier peanut butter, reduce the honey by one to two tablespoons to avoid an overly sticky final texture. For even mixing, melt the peanut butter and honey slowly and stir frequently to prevent scorching. Press the mixture into the pan using the back of a spoon or a piece of parchment to get an even, compact layercompression helps the bars hold together once chilled. If you want perfectly even slices, chill the pan until very firm, then use a sharp knife warmed briefly under hot water, wiped dry between cuts.
Make it your own
Make it your own
Customize these bars to match what you have on hand or your flavor preferences. Swap honey for maple syrup for a nuanced flavor, though the texture may be slightly softer. Stir in 1/4 cup chopped nuts, dried fruit, or sunflower seeds for added crunch and variety. Replace half the oats with quick oats for a finer crumb. For a chocolate-forward version, melt a 1/2 cup of chocolate chips and spread it over the chilled bars before slicing. For a lower-sugar option, use a natural peanut butter with no added sugar and reduce the honey slightly, tasting as you go. If you want a salted-sweet finish, press a few flakes of sea salt on top before chilling.
I like to keep a jar of oats and peanut butter handy so I can mix these bars in minutes. If you enjoy peanut butter treats, try our simple peanut butter cookies recipe for a classic baked option that shares similar pantry ingredients but requires an oven.
Frequently asked questions
Frequently asked questions
Q: Can I use crunchy peanut butter instead of creamy?
A: Yes, you can use crunchy peanut butter. It adds a pleasant texture and extra crunch from peanut pieces. Stir the peanut butter and honey gently while melting to distribute the peanut chunks evenly, and press the mixture well into the pan so the bars hold together.
Q: Will these bars hold together without chilling?
A: Chilling helps the honey and peanut butter firm up and bind the oats. If you skip refrigeration, the bars may be sticky and fall apart more easily. If you need to serve them quickly, place the pan in the freezer for 20–30 minutes until firm, then slice.
Q: Can I bake these bars instead of refrigerating?
A: This recipe doesn’t require baking. Heating in the oven can dry the mixture and change the texture. If you prefer a baked bar, reduce the honey slightly, press the mixture into a lined pan, and bake at 325°F for about 12–15 minutes until set, checking carefully to avoid over-browning.
Q: How can I make these nut-free?
A: Replace peanut butter with a seed butter such as sunflower seed butter or soy nut butter. These alternatives behave similarly in the recipe. Taste as you go because some seed butters have stronger flavors that pair differently with honey.
Q: Can I use instant oats instead of rolled oats?
A: You can, but instant oats absorb liquid differently and produce a softer, denser bar. If you use instant oats, start with the same amount and add a bit more oats if the mixture feels too loose. The texture will be less chewy but still tasty.
Q: How do I prevent the chocolate chips from melting into the bars?
A: If you want chocolate chips to stay intact and not melt, wait until the peanut butter and honey mixture cools slightly before folding them in. Alternatively, sprinkle the chips on top after pressing the mixture into the pan and press gently to adhere; this keeps them more defined.
Conclusion
These peanut butter bars give you reliable comfort with minimal fussone pot, six steps, and shelf-stable ingredients. If you want another tested pantry-to-dessert idea that explores the same sweet-salty balance, try this detailed recipe for Easy Peanut Butter Bars – Preppy Kitchen which offers helpful variations and technique notes.





