
I grew up spending long summer evenings on the back porch, the air heavy with the scent of cut grass and the faint, smoky trace of a neighbor’s grill. My grandmother would bring out a giant platter of corn on the cob, glossy with butter and flecked with herbs, and somehow that simple food made the whole family quieter in the best way — we all crowded around the table and ate slowly, swapping stories until the cicadas drowned us out. That memory lives in every ear I roast now: not just the kernels and the char but the slow, grateful quiet that comes when a dish tastes like home.
I learned to roast corn in the oven because life doesn’t always cooperate with open flames. I had a weeknight where rain ruined my plans for grilling but I still wanted that same buttery, garlicky comfort. The oven did the job; it coaxed out sweetness, kissed the edges with color, and meant we could plate dinner in twenty minutes without waiting for the coals. That ease matters when you juggle work, homework, and the daily small emergencies that make up a family’s life. Roasting corn in the oven gives you consistent results, minimal fuss, and the kind of flavor that makes people smile without asking them to do more than pass the salt.
This recipe fits right into that cozy, practical lane. It gives you guilty-pleasure butter and garlic with a lightly roasted finish, and it scales easily for a larger crowd or a quiet dinner for two. If you like hands-off techniques and dependable comfort, you’ll find this version hits every note. If you want another simple garlic-butter main to pair with it, try our garlic butter salmon for two for a quick, matching weeknight meal that keeps the flavors consistent across the plate.
DishGrub recipes come from that exact place: tried in a busy home kitchen, refined until they work every time, and written so any home cook in the U.S. can copy them with confidence. We test versions, trim the steps to what actually matters, and lean into pantry-friendly ingredients so you get comfort without the drama. This recipe takes everyday corn and turns it into something you’ll want to serve with everything from burgers to roasted chicken. It’s cozy, practical, and built for real life — the kind where dinner needs to come together fast and taste like you put in twice the effort.
Why this recipe works
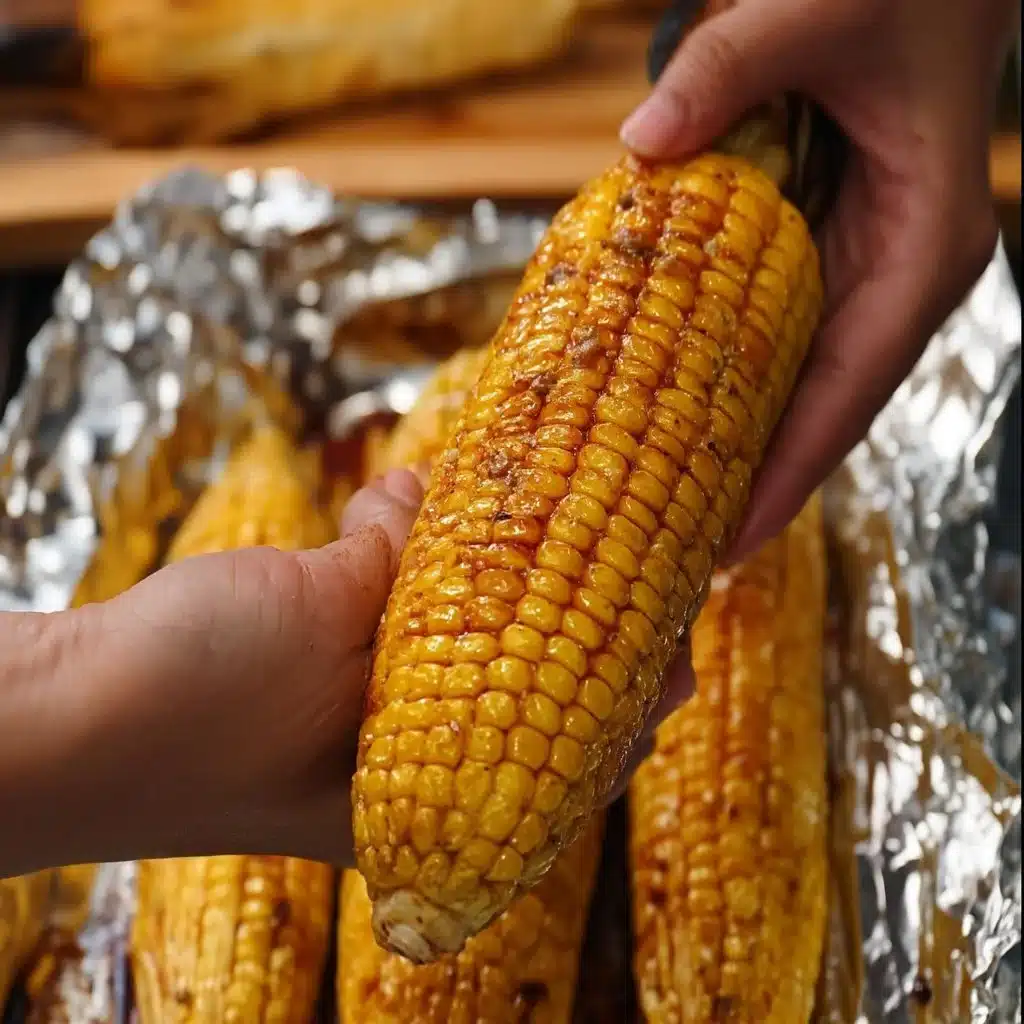
This method uses the oven to roast corn at a high, steady heat so the natural sugars caramelize while the garlic butter soaks into the kernels. The oven delivers even heat around each ear, which avoids the hot-and-cold spots you can get on a grill or stovetop. The melted butter carries the minced garlic and seasoning directly into the crevices between kernels, creating deep flavor rather than just surface seasoning.
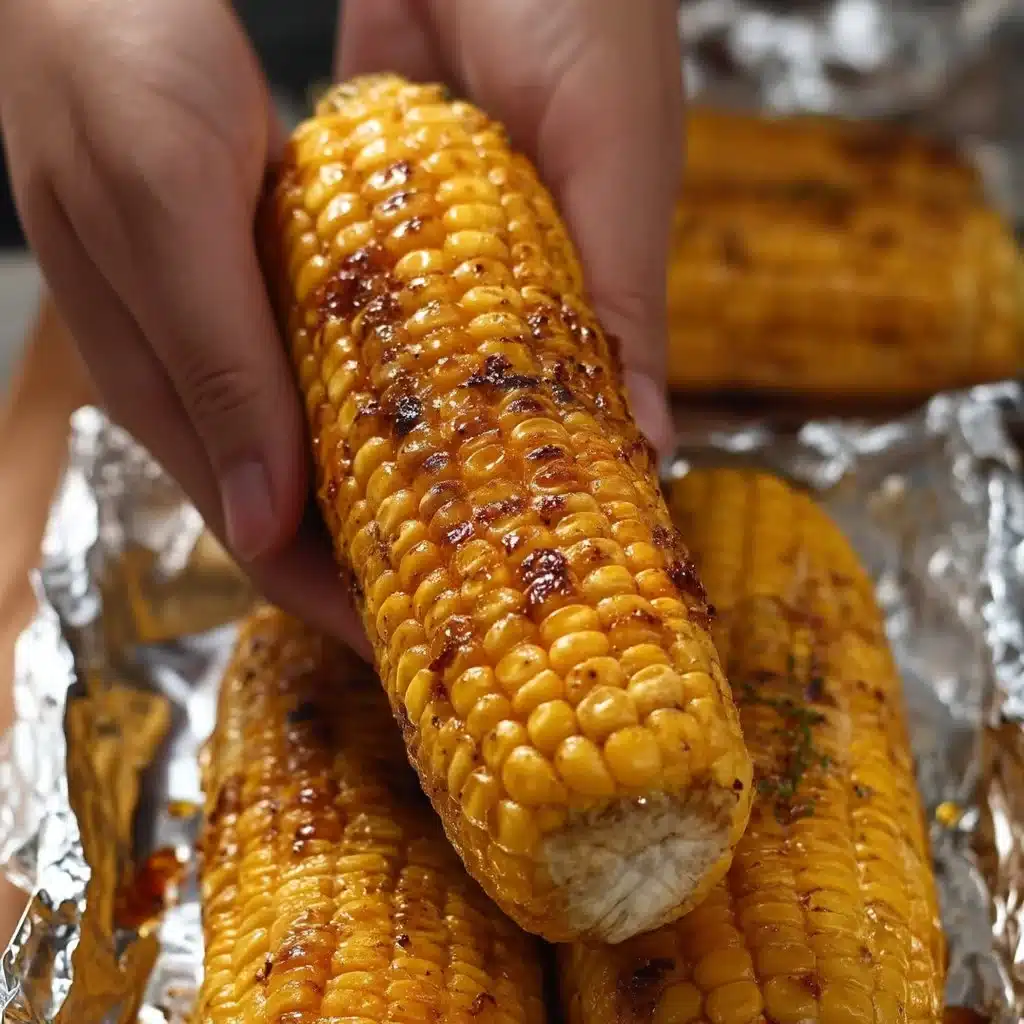
Roasting for 20–25 minutes gives you two things at once: tender, juicy kernels and gently browned spots where the sugars concentrate into flavor. Turning the corn halfway ensures an even char and prevents one side from overcooking. If you’re short on time, wrapping corn in foil with the butter will speed the softening, but you’ll lose those browned, slightly crisp edges that make the roasted version sing.
How to prepare Garlic Butter Oven Roasted Corn on the Cob
This approach works in any standard oven and uses a single sheet pan. Prep stays minimal: husk, mix butter and garlic, coat, and roast. The steps are straightforward, and you can scale the quantities or tweak the seasonings to suit your family’s tastes.
Ingredients
- 4 ears of corn on the cob
- 1/2 cup unsalted butter, melted
- 4 cloves garlic, minced
- Salt, to taste
- Pepper, to taste
- Fresh parsley, chopped (optional for garnish)
Instructions
-
Preheat your oven to 400°F (200°C).
-
Husk the corn and remove all silks.
-
In a bowl, mix the melted butter and minced garlic.
-
Place the corn on a baking sheet and brush the garlic butter mixture generously over each ear.
-
Season with salt and pepper.
-
Roast in the oven for about 20-25 minutes, turning halfway through, until the corn is tender and slightly charred.
-
Remove from the oven and garnish with fresh parsley if desired.
-
Serve hot and enjoy!
Serving ideas
Serve this corn alongside grilled or roasted proteins, a crisp green salad, or under a warm, saucy main. For backyard-style dinners, plate two ears with a pat of butter and a sprinkle of flaky salt so guests can add more as they like. For a dinner-in-front-of-the-TV night, cut the kernels off the cob after roasting and toss them into a skillet with a squeeze of lime and a pinch of chili powder to create a quick corn side that stays warm and easy to eat.
If you want a composed plate, slice roasted corn from the cob and stir it into a warm salad with black beans, cherry tomatoes, diced avocado, and a simple lime vinaigrette. The sweetness from the roasted kernels pairs beautifully with citrus and fresh herbs. You can also shave a little Parmesan over hot corn for an instant, cheesy finish.
Storage tips
Cool leftover corn to room temperature for no longer than two hours, then store it in an airtight container in the refrigerator. Whole ears keep well for up to three days; cut kernels stored in a sealed container stay good for about two days. To reheat, wrap ears in foil and warm in a 350°F oven for 8–10 minutes; this method restores moisture without steaming away the roasted edges.
If you plan to freeze, cut the kernels off the cob and flash-freeze them spread in a single layer on a sheet pan. Once frozen, transfer to a freezer bag and store for up to three months. Reheat straight from frozen in a skillet with a little butter, and cook until heated through.
DishGrub Kitchen Tips
Work with fresh corn at peak sweetness if you can. Younger ears with plump, milky kernels taste best and roast up tender. When you brush on the garlic butter, spoon a little into the base of each cob and rub it into the kernels as you go; that ensures the flavor penetrates instead of just sitting on top.
Use fresh minced garlic rather than jarred for the brightest taste; add it to the melted butter last so it doesn’t burn or take on a bitter edge. If you prefer a bit more texture, fold in a tablespoon of grated Parmesan to the butter before brushing. For a dairy-free version, swap butter for olive oil and add a touch of smoked paprika for depth. If you’d like a full meal idea that keeps the garlic-butter theme going, pair the corn with our garlic butter salmon for two for a simple, matching dinner that’s fast to prepare and even easier to enjoy.
Recipe variations
Add heat: mix a pinch of cayenne or red pepper flakes into the butter for a little kick.
Herby twist: swap parsley for chopped cilantro or chives for a different herb note.
Cheesy finish: grate cotija or Parmesan over hot corn and let it melt slightly for a salty, savory edge.
Southwest style: after roasting, toss kernels with black beans, diced red onion, lime juice, and chopped cilantro for a warm corn salad.
Lemon-garlic: substitute lemon zest for some of the parsley and finish with a squeeze of lemon for a bright contrast to the butter.
Common questions
Q: Can I roast more ears at once?
A: Yes. Roast as many as your oven rack allows as long as the corn sits in a single layer without overlapping. Crowding the pan traps steam, which prevents browning. If you need to roast a crowd, use two sheet pans and swap their positions halfway through the cooking time so they cook evenly.
Q: What if I don’t have unsalted butter?
A: You can use salted butter; just reduce the additional salt you sprinkle on after brushing. Taste the melted butter before seasoning and adjust so the corn doesn’t end up too salty. For a dairy-free option, use a neutral oil or olive oil; the corn will still roast nicely but will lack the richness that butter provides.
Q: How do I keep garlic from burning?
A: Mix the minced garlic with the melted butter and brush it on the corn right before roasting. The butter protects the garlic from the dry heat. If you worry about burning, lower the oven temperature to 375°F and add a few extra minutes to the cooking time, or add the garlic halfway through the roast so it spends less time exposed to high heat.
Q: Can I make this ahead?
A: You can prepare the butter-garlic blend in advance and store it in the fridge for up to two days. Bring it back to room temperature or warm it slightly before brushing to make it easier to apply. Roast the corn just before serving to preserve the char and texture.
Q: How do I get even browning on all sides?
A: Turn the ears once during cooking and arrange them so they don’t touch. If your pan is large enough, rotate the pan halfway through cooking to account for any hot spots in your oven.
Conclusion
For a simple, dependable side that tastes like comfort, this garlic butter oven roasted corn on the cob delivers every time. If you want to explore another oven-friendly garlic-butter recipe that pairs well with this corn, check out this Oven-Roasted Corn on the Cob – Immaculate Bites for additional ideas and inspiration.





