
I still remember the first time I sunk my teeth into a slab of slow‑baked St. Louis ribs that fell apart without a knife. The house smelled like a Sunday fair — sweet smoke, caramelized sauce, warm meat — and neighbors wandered in off the porch, drawn by the oven’s promise. We ate with our hands, laughing with sticky fingers and wiping sauce on paper towels, and nothing felt more like home. That evening taught me something simple: the best comfort food asks for minimal fuss but rewards with time and a few good ingredients. With ribs, patience becomes the secret ingredient. Low heat and steady baking turn a tough cut into fork‑tender, deeply flavored meat while the final high heat gives you that toasted, caramelized finish everyone expects from the grill without firing up the backyard.
I build recipes that fit around real life: kids’ soccer practice, a late workday, or a last‑minute dinner guest. This oven method removes weather worries and grill anxiety. It lets you prep ahead, keep the kitchen calm, and still serve a plate that looks and tastes like a celebration. I’ve learned to trust foil, a trusty rimmed baking sheet, and a simple spice blend to coax the ribs into fall‑off‑the‑bone texture. Brush on a bold BBQ sauce at the end and pop them under the broiler for those sticky, blistered edges that make everyone reach for more. I like these ribs because they deliver deep flavor and that gratifying chew without complicated marinades or special equipment.
Comfort food brings people together. It gives you an excuse to linger over a meal, to share stories, and to savor small rituals—like tearing into a perfectly browned rib. At DishGrub we test recipes until they behave the same in different kitchens. We like cozy, practical dishes that home cooks can trust on a weeknight and still feel proud to serve on the weekend. This rib method fits that promise: simple steps, pantry‑friendly seasonings, and dependable results. We write for people who want good food without fuss, so we keep techniques clear and swap picky steps for reliable ones. Follow these directions, and you’ll have tender, saucy ribs that earn second helpings and new family memories.
Why this recipe stands out
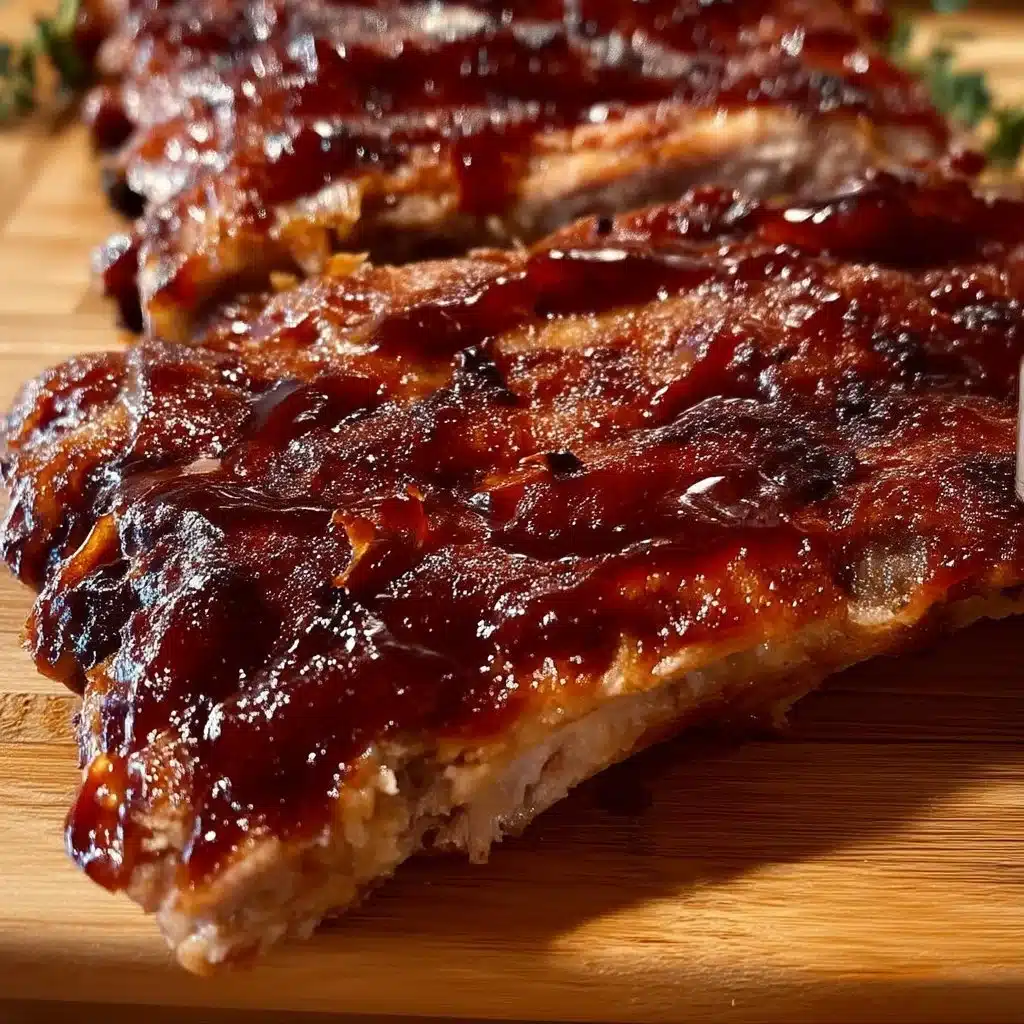
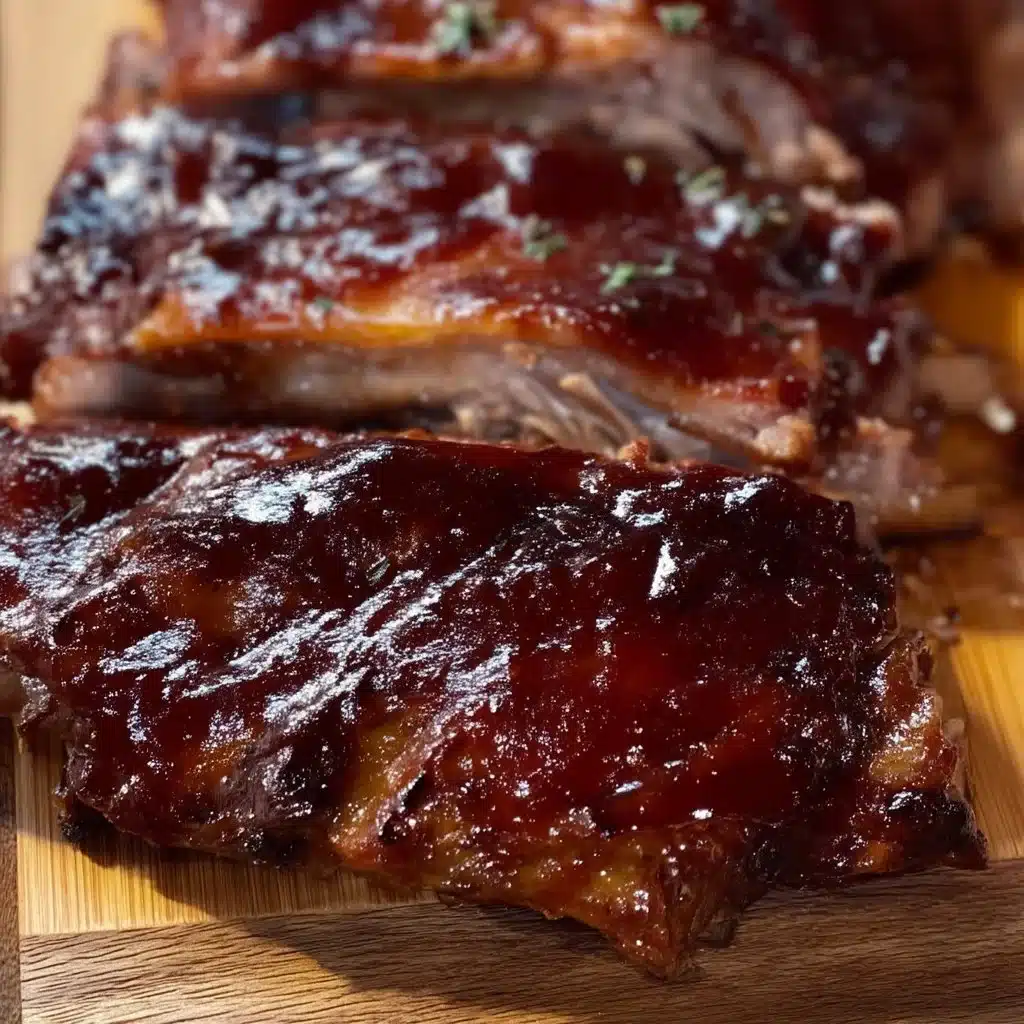
This oven‑baked approach gives you tender, flavorful St. Louis ribs without a smoker or grill. Slow, low heat breaks down connective tissue so the meat becomes tender but stays juicy. The modest spice mix — salt, pepper, garlic powder, onion powder, paprika — highlights the pork rather than masking it. Brushing on BBQ sauce at the end and finishing under the broiler creates a glossy, caramelized crust that mimics the best grill char, so you get that desirable contrast between tender interior and sticky edges.
The method also fits busy schedules. You can season the ribs the night before and bake them the next day, or start them in the morning and finish when company arrives. Foil traps steam and prevents drying, so you don’t need constant attention. Because the technique uses common pantry spices and any bottle of BBQ sauce you like, you can adapt flavors quickly for mild or bold tastes. Finally, the recipe scales well — cook one rack or three for a crowd — and reheats with excellent results, making it ideal for leftovers.
How to prepare Oven-Baked St. Louis Ribs
Ingredients
- St. Louis ribs
- BBQ sauce
- salt
- pepper
- garlic powder
- onion powder
- paprika
Instructions
- Preheat your oven to 300°F (150°C).
- Prepare the ribs by removing the membrane from the back.
- Season the ribs generously with salt, pepper, garlic powder, onion powder, and paprika.
- Place the ribs on a baking sheet lined with foil and cover with another layer of foil.
- Bake for 2.5 to 3 hours until tender.
- Remove from the oven, brush with BBQ sauce, and broil for an additional 5-10 minutes to caramelize.
- Let rest for a few minutes before serving.
Serving ideas
Pair these ribs with classic, easy comforts that soak up sauce and brighten the plate. Serve them with a mound of creamy mashed potatoes or buttery corn on the cob to match the ribs’ richness. A tangy coleslaw cuts through the fat and adds a cool crunch; toss shredded cabbage, grated carrot, apple cider vinegar, a touch of honey, and salt. For a Southern picnic vibe, include baked beans warmed with a pinch of brown sugar and mustard, and a skillet of mac and cheese for the kids. If you want lighter sides, roast Brussels sprouts with lemon and a little chili flake, or make a simple arugula salad with shaved Parmesan, toasted almonds, and a lemon‑oil dressing.
For presentation, slice between the bones and stack the ribs on a platter, drizzle extra BBQ sauce on the side, and provide plenty of napkins. Serve the potato salad or coleslaw in separate bowls so guests can build plates the way they like. If you’re hosting, warm the sauce in a small pot for easy dipping. For a fun family meal, set out small bowls of pickles, sliced jalapeños, and chopped green onion so everyone can customize their rib experience.
Storage tips
Cool the ribs to room temperature before refrigerating to avoid condensation that can make textures soggy. Store leftover ribs tightly wrapped in foil or in an airtight container for up to four days. Keep the sauce separate if you plan to reheat only a portion; that prevents the meat from over‑glazing in the fridge.
To reheat, preheat your oven to 275°F (135°C). Place ribs in a single layer on a baking sheet, splash a tablespoon or two of water or broth over the meat, and cover loosely with foil. Heat for about 20–25 minutes until warmed through, then brush with fresh BBQ sauce and broil for 2–4 minutes to revive the caramelized edges. For longer storage, freeze ribs in a tight container or vacuum bag for up to three months. Thaw overnight in the refrigerator before reheating using the oven method above.
DishGrub Kitchen Tips
Trim the rack into manageable portions before seasoning so you can handle and store them easily. Removing the silver skin or membrane on the bone side allows seasonings to penetrate and prevents the ribs from curling during cooking. Use a light hand with salt if your BBQ sauce already contains sodium; you can always add more at the table.
Line your baking sheet with heavy‑duty foil for an easier cleanup and to keep juices from burning onto the pan. When covering with foil, seal the edges snugly but avoid pressing down on the ribs; leave a little room so steam can circulate without steaming the meat completely flat. For even cooking, place the ribs bone side down. If you want a smokier flavor without a smoker, add a teaspoon of smoked paprika to the rub or a splash of liquid smoke to the BBQ sauce, but use it sparingly—liquid smoke can become overpowering.
Check the ribs at the earliest time in the range; ovens vary. You’ll know ribs are done when the meat has pulled back from the ends of the bones about a quarter‑inch and a toothpick slides in with little resistance. Letting them rest after broiling helps the juices redistribute and keeps the sauce from running off when you cut into them.
Recipe variations
Swap the BBQ sauce to change the whole profile. For a sweet and tangy twist, use a Kansas City style sauce and finish with a dusting of brown sugar before broiling. For a Carolina approach, brush with mustard‑based sauce and serve with pickled red onion. Want heat? Mix in a few tablespoons of your favorite hot sauce or cayenne to the BBQ sauce before brushing.
Change the seasoning to match regional flavors: add cumin and coriander for a Tex‑Mex flair, or use Dijon mustard and brown sugar for a French‑inspired glaze. For a citrus note, stir in orange or lime zest to the sauce right before broiling. If you prefer a dry finish, omit the final sauce step and rub on a blend of smoked paprika, brown sugar, and a pinch of chili powder; increase broil time slightly to create a crisp crust.
Swap the cut: if you can’t find St. Louis style ribs, baby back ribs work with the same method but reduce bake time to 2 to 2.5 hours because they are leaner and cook a bit faster.
Common questions
Q: How do I know when ribs are fully cooked without a thermometer?
A: Check tenderness and bone pullback rather than relying solely on internal temperature for ribs. Insert a toothpick or skewer between the bones; it should slide in easily with little resistance when the ribs are done. Look for the meat to have pulled back from the bone ends by about a quarter‑inch, and give the rack a slight bend — the meat should crack a little where you bend it. These indicators tell you the collagen has broken down and the ribs will be tender and juicy. If you prefer a firmer bite, reduce the bake time slightly.
Q: Can I skip removing the membrane on the back of the ribs?
A: You can skip it, but removing the membrane makes the ribs more tender and allows seasonings to penetrate the meat better. The membrane can become chewy as it cooks, which interferes with the melt‑in‑your‑mouth texture you want. Removing it is straightforward: slide a butter knife under an edge, lift enough to grab with a paper towel, and pull it away in one steady motion. If it tears, repeat until you remove as much as possible.
Q: What if I don’t like sweet BBQ sauce — how should I adjust?
A: Choose a sauce profile you enjoy. If you prefer savory or spicy, pick a mustard‑based or vinegar‑forward sauce and thin it with a little apple cider vinegar if it feels too heavy. For heat, add chopped chipotle in adobo or hot sauce to taste. If you’re avoiding sweetness, balance flavors with acid (vinegar or lemon) and smoke (smoked paprika or a drop of liquid smoke) instead of brown sugar. Remember to taste and adjust before brushing and broiling.
Q: Can I cook these ribs on a sheet pan with vegetables?
A: Yes, but time the vegetables so they don’t overcook. Place root vegetables like carrots, potatoes, or parsnips around the ribs in the last 60–90 minutes of cooking because they need less total time than the ribs. Toss the veggies in oil, salt, and a little paprika and space them so air circulates. Cover with foil as usual; the vegetables will steam and roast gently alongside the meat.
Conclusion
For a clear, tested oven method that yields tender, fall‑apart St. Louis ribs without a smoker, follow these steps and adapt the sauce to your tastes; for an alternative baker’s take and sauce ideas, see BBQ St. Louis Ribs in the Oven – Bites with Bri.





