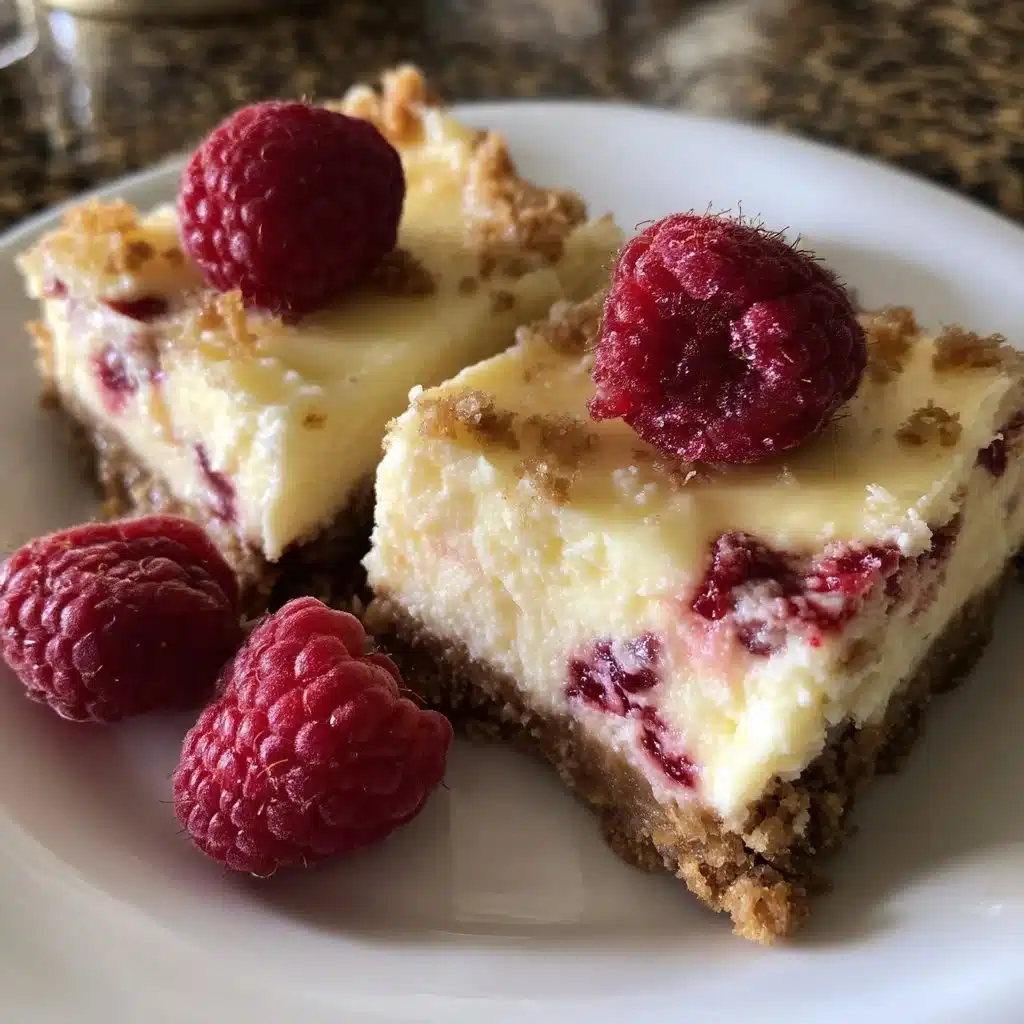
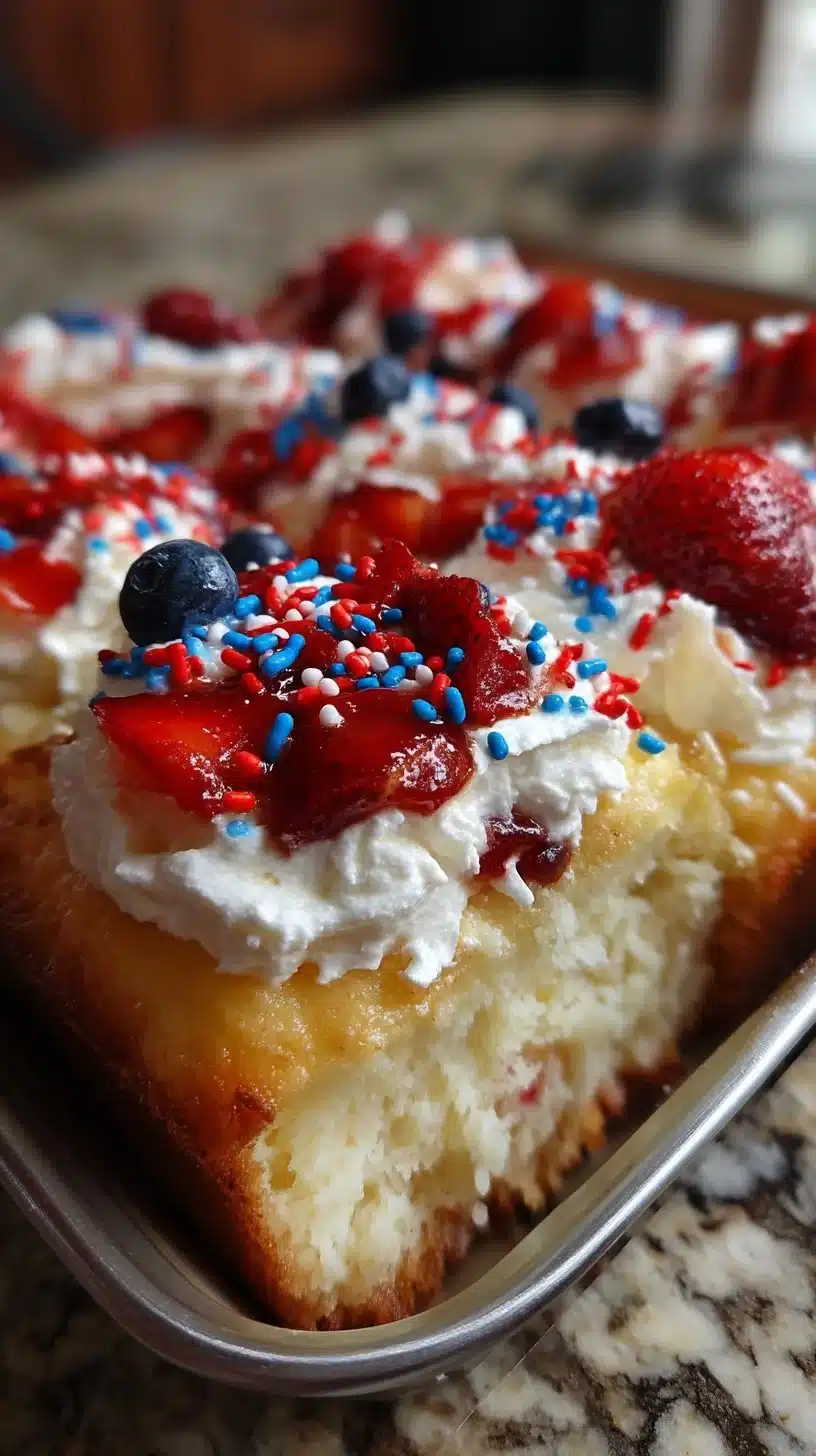
A poke cake feels like a hug from the inside out. One spoonful takes you back to backyard barbecues, potlucks and holiday picnics where desserts piled high on paper plates brought everyone together. This Red White and Blue Poke Cake channels that same easy, nostalgic joy — a soft white cake, sweetened condensed milk carrying fresh berries into every nook, and a cloud of whipped topping finished with festive sprinkles. It serves a crowd and always disappears first.
I love recipes that let you work smart, not hard. This cake asks for a single box of cake mix and a few fresh ingredients, but it rewards you with layered flavor and a bright, celebratory look. You can mix the berries to your taste, chill it overnight, and walk into the party with confidence because it holds up and looks great sliced. It plays well with kids and adults, and it feels like a small homemade miracle: simple steps, big payoff.
At DishGrub we test every recipe until it behaves predictably in a real home kitchen. We pick practical shortcuts, estimate realistic times and explain the little moves that turn a basic dessert into something you’ll make again. We keep recipes cozy and approachable because comfort food should be stress-free and dependable. If you enjoyed quick crowd-pleasers like our red velvet cupcakes, this poke cake will join your regular rotation with the same easy confidence.
Why this recipe stands out
This recipe shines because it balances speed and showmanship. You get the convenience of a boxed cake mix and the freshness of real berries. The “poke” technique lets the sweetened condensed milk and berry juices seep into the crumb, creating a tender, moist interior without any complicated sauces or soaking steps. The whipped topping keeps the finish light, while the sprinkles add a festive pop without masking the flavors.
The cake scales well for gatherings and travel. Bake it in a 9×13 pan for a picnic, or use an 8×8 for a smaller crowd. Chill time helps the flavors meld and keeps the cake firm enough to slice neatly. You can make the cake a day ahead: the texture improves as the milk and berries settle into the cake. This feature means less last-minute fuss and more time with friends.
The technique also tolerates substitutions. If you don’t have strawberries, swap them for raspberries or sliced cherries. If you prefer a less sweet finish, use a lighter whipped cream or reduce the condensed milk slightly. The overall method keeps the cake moist and flavorful, and you can adjust the decoration to match any holiday or color scheme.
How to prepare Red White and Blue Poke Cake
Prepare your mise en place: measure the cake mix, beat the eggs, wash the berries, and have the sweetened condensed milk within reach. A 9×13 pan gives you even baking and plenty of surface area for the poking step, which helps the milk-and-berry mixture distribute evenly. Use the back of a wooden spoon or a rounded handle to create holes about an inch apart across the top; that spacing ensures each bite gets a ribbon of berry-milk goodness.
When you pour the sweetened condensed milk and berry mix over the warm cake, pour slowly and let it sink in rather than drenching one spot. Chill the cake after soaking; the cold sets the topping, makes slicing cleaner, and lets the flavors marry. Dress the cake with whipped topping right before serving to keep the topping fresh and the sprinkles bright.
You can add another little twist: whip the heavy cream with a touch of powdered sugar and vanilla for a homemade whipped topping instead of using canned whipped topping. It gives a fresher flavor and a sturdier finish if you expect the dessert to sit out for a while. For a lighter option, fold a bit of plain Greek yogurt into the whipped cream for tang and stability.
Ingredients
- 1 box white cake mix
- 3 large eggs
- 1 cup water
- 1 cup sweetened condensed milk
- 1/2 cup strawberries, crushed
- 1/2 cup blueberries
- 1 cup whipped topping
- 1 cup heavy cream
- Red and blue sprinkles
Instructions
-
Preheat the oven to 350°F (175°C) and grease a 9×13 inch baking dish.
-
Prepare the white cake mix according to package instructions, adding eggs and water.
-
Pour batter into the greased baking dish.
-
Bake for about 30 minutes, or until a toothpick comes out clean.
-
Let the cake cool for 10 minutes after removing it from the oven.
-
Using the end of a wooden spoon, poke holes all over the warm cake.
-
In a bowl, mix the sweetened condensed milk, crushed strawberries, and blueberries.
-
Pour the milk and berry mixture over the cake, ensuring it fills the holes.
-
Cover the cake and chill it in the refrigerator for at least 2 hours, preferably longer.
-
Whip the heavy cream until soft peaks form if you choose to make a fresh whipped topping.
-
Once chilled, top the cake with whipped topping.
-
Decorate with red and blue sprinkles before serving.
Serving ideas
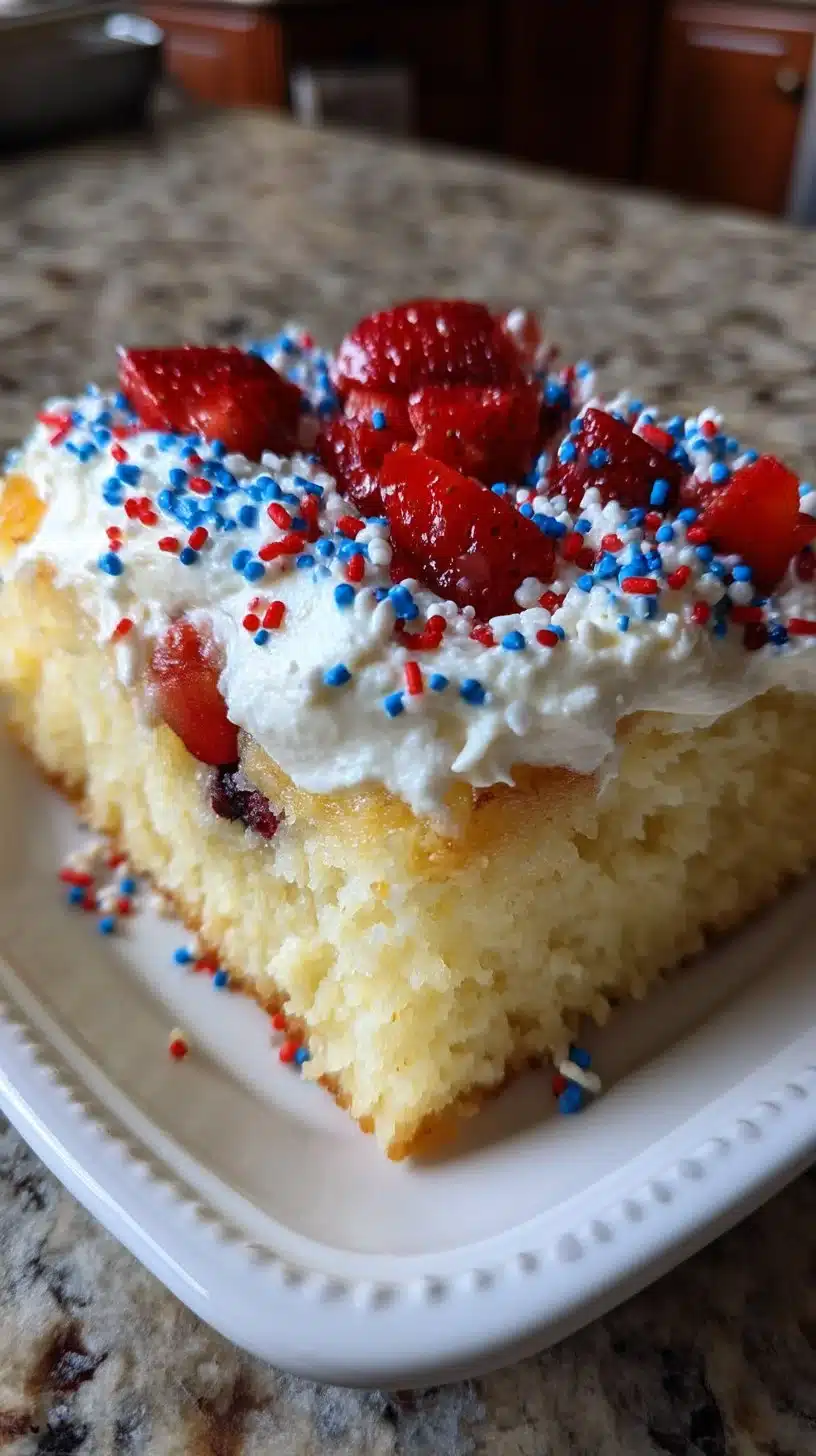
Serve this poke cake chilled, straight from the fridge. Slice it into squares and plate with a few extra berries for a pretty presentation. For a picnic-friendly option, cut the cake into bite-sized bars and transport them in a single layer. If you want to dress it up for a summer party, serve each slice with a small scoop of vanilla ice cream or a drizzle of berry coulis for an elegant touch.
If kids will be helping, set out small bowls of additional sprinkles, mini chocolate stars, and sliced strawberries so they can personalize their pieces. For a more grown-up twist, add a few mint leaves or a light dusting of citrus zest over the whipped topping for brightness. The cake complements strong coffee, iced tea, or a sparkling lemonade.
Pair the cake with simple sides like fresh fruit skewers or a light green salad for a balanced spread. Keep the plating casual for backyard get-togethers or set a nicer table for holiday gatherings; the cake adapts to both.
Storage tips
Store the cake covered in the refrigerator for up to 3 days. Keep it in an airtight container or cover the baking dish tightly with plastic wrap to prevent the whipped topping from absorbing fridge odors. Slice individual portions and wrap them in plastic wrap or wax paper if you plan to take pieces to go.
If you expect to keep the cake longer, freeze individual slices without the whipped topping. Wrap each slice tightly and freeze for up to one month. Thaw in the refrigerator and add whipped topping and sprinkles just before serving. Avoid freezing the cake with the whipped topping in place because it changes texture and weeps when thawed.
If the whipped topping starts to weep slightly after a day or two, re-whip a small amount of cream and dollop fresh peaks on each slice before serving; that refreshes the look and texture quickly.
DishGrub Kitchen Tips
Use room-temperature eggs for better integration into the batter; they raise the cake more evenly and help you avoid overmixing. Grease the pan well and line it with parchment if you want foolproof removal, though this recipe serves right from the pan for convenience. When testing doneness, insert a toothpick into the center; if it comes out clean or with a few moist crumbs, the cake is ready.
When poking holes, avoid pushing so deep that you reach the pan. Aim for holes that go through the top and into the crumb — that depth channels the berry-milk mixture into the cake without pooling on the bottom. Pour the condensed milk mixture slowly and use a spatula to nudge it across the top if it tents in one spot.
If you want a lighter whipped topping, fold a little of the sweetened condensed milk into whipped heavy cream to create a subtly sweeter, more stable topping. For an all-store-bought shortcut, beat the canned whipped topping with a splash of heavy cream for a fluffier texture. For more easy dessert inspirations, see our guide to red velvet cupcakes that use similar make-ahead strategies.
Make it your own
Swap the white cake mix for yellow cake to add a slightly richer flavor. Replace strawberries with raspberries or cherries for a different berry profile. For a patriotic take with a tropical twist, use crushed pineapple in place of strawberries and garnish with toasted coconut flakes; add blueberries for color contrast.
To make it gluten-free, use a gluten-free white cake mix and follow the same steps. For a less-sweet version, reduce the sweetened condensed milk to 3/4 cup and add a tablespoon of lemon juice to the berry mixture to brighten the flavors. You can layer this cake with a thin spread of cream cheese frosting before adding the whipped topping for a richer, tangy finish.
For a show-stopping presentation, pipe rosettes of whipped cream across the top and alternate berry clusters on each rosette. The result looks professional but stays simple in execution.
Common questions
Q: Can I use frozen berries instead of fresh?
A: Yes. Thaw frozen berries completely and drain excess liquid before mixing them with the sweetened condensed milk. Frozen berries release more liquid, so pat them dry to prevent the cake from becoming soggy. If the thawed berries still release a lot of juice, toss them lightly in a tablespoon of cornstarch to help stabilize the mixture. Use berries that maintain shape well—thawed raspberries can get mushy, while frozen blueberries often hold up better.
Q: Do I have to use sweetened condensed milk?
A: Sweetened condensed milk gives poke cakes their classic, sweet, and creamy soak that keeps the crumb moist. If you prefer a less-sweet option, use part evaporated milk mixed with a tablespoon or two of sugar, or make a light simple syrup (equal parts water and sugar, boil until the sugar dissolves, then cool) and mix in the berries. Those substitutions change the flavor profile, so taste and adjust sweetness as you go.
Q: How far in advance can I make this cake?
A: You can bake and soak the cake up to 24 hours ahead and keep it covered in the refrigerator. Add the whipped topping and sprinkles within a few hours of serving for the best texture and appearance. If you need to prepare earlier than that, freeze individual slices without the whipped topping, then thaw in the fridge and finish them with freshly whipped cream and sprinkles.
Q: Can I make this in a different-sized pan?
A: Yes. An 8×8 pan makes a thicker cake that needs slightly longer baking time; check after 25 minutes and then every 5 minutes until done. A 9×13 provides even baking and works well for a crowd. If you change the pan size, watch the baking time and the amount of poking surface—the soak mixture should still cover the top well.
Conclusion
This Red White and Blue Poke Cake makes summer easy and festive, and you can customize it to fit your event or pantry. If you want another tested version for comparison or extra ideas, check this trusted external recipe at Red White and Blue Poke Cake – Spend With Pennies for additional tips and visuals.