
I remember the first time I made chia pudding that actually felt like a discovery and not just a health fad. It was a grey Saturday morning, the kind that made me want to pull on slippers and make something that would hold up for several relaxed breakfasts. I combined the tiny seeds with milk, stirred, and walked away thinking the whole thing might be a gloopy mess. When I opened the fridge hours later, I found creamy, spoonable pudding waiting for mesmooth, slightly nutty, and endlessly adaptable. That quiet little bowl launched a habit: mornings with simple, thoughtful food that made the rest of the day feel manageable.
Chia pudding fits into that comfort zone because it asks for so little and gives back so much. It performs like a reliable friend in the fridgeready when you are, forgiving when you forget to sweeten enough, and delightful when you top it with something crisp. I’ve packed jars for road trips, layered parfaits for sleepy brunches, and swapped almond milk for coconut milk when I wanted a tropical twist. The technique stays the same: hydrate the seeds, let them expand, and adjust the flavor. The rest is play. Making chia pudding taught me that easy food can still feel intentional and that small ritualsstirring, tasting, toppingcan make ordinary mornings feel cozy.
Comfort and company matter just as much as convenience. A spoonful shared across the kitchen table can start conversations, steady nerves, or anchor a family’s breakfast routine. Chia pudding glides into that role perfectly: it’s nourishing, simple to scale, and it travels well in jars for kids, partners, or friends.
DishGrub tests recipes in real kitchens, not only to chase flavor but to make sure every step earns its keep. We try each version until it consistently works across different ovens, fridges, and home pantries. That means this chia pudding recipe stays forgiving: it tolerates different milk types, adjusts to sweetness preferences, and keeps well. We focus on practical swaps, common mistakes to avoid, and tips that save time without sacrificing comfort. This recipe gives you a base you can trust. Use it as your weekday staple, weekend treat, or an easy foundation for seasonal toppings.
Why this recipe stands out
This chia pudding shines because it balances simplicity, texture, and flexibility. The basic formula uses a small list of pantry staples to create a creamy, spoonable result that feels richer than the ingredient list implies. Chia seeds hydrate into a gel that mimics the mouthfeel of more complex puddings without needing hours of stirring or thickening agents. The half teaspoon of vanilla lifts the flavor without overpowering other additions, and the honey or maple syrup lets you control sweetness in a straightforward way.
You can scale the recipe up or down easily, and it responds well to dairy or non-dairy milks. It works equally well as a light breakfast, a portable snack, or a healthy dessert. Because the technique emphasizes soaking and simple stirring, it minimizes the chance of clumps and delivers a reliable texture, making it perfect for meal prep and busy morning routines.
How to prepare Chia Pudding
This method keeps things efficient: mix, rest, stir, and chill. Start with a clean bowl or jar, measure the seeds and liquid, and give them a good first stir to separate seeds and prevent clumps. Let the mixture sit briefly to allow seeds to absorb some liquid, then stir again to redistribute any seeds that settled. Cover and chill until fully setthis can happen in a couple of hours, but overnight gives the creamiest texture. Finish with fresh toppings for contrast: something bright, something crunchy, and something sweet if you like. The technique works the same whether you make a single serving or a week’s worth of jars.
Ingredients
- 1/4 cup chia seeds
- 1 cup almond milk (or any milk of choice)
- 1-2 tablespoons honey or maple syrup (to taste)
- 1/2 teaspoon vanilla extract
- Fresh fruits, nuts, or granola for topping
Instructions
- Measure 1/4 cup chia seeds into a bowl or a jar.
- Pour 1 cup almond milk (or chosen milk) over the chia seeds.
- Add 1-2 tablespoons honey or maple syrup to the mixture.
- Stir in 1/2 teaspoon vanilla extract.
- Stir the mixture vigorously to prevent clumping.
- Let the mixture sit for about 5 minutes to allow seeds to absorb liquid.
- Stir the mixture again to redistribute any settled seeds.
- Cover the bowl or jar tightly.
- Refrigerate for at least 2 hours or overnight until the pudding thickens.
- Serve chilled and top with fresh fruits, nuts, or granola as desired.
Simple serving suggestions
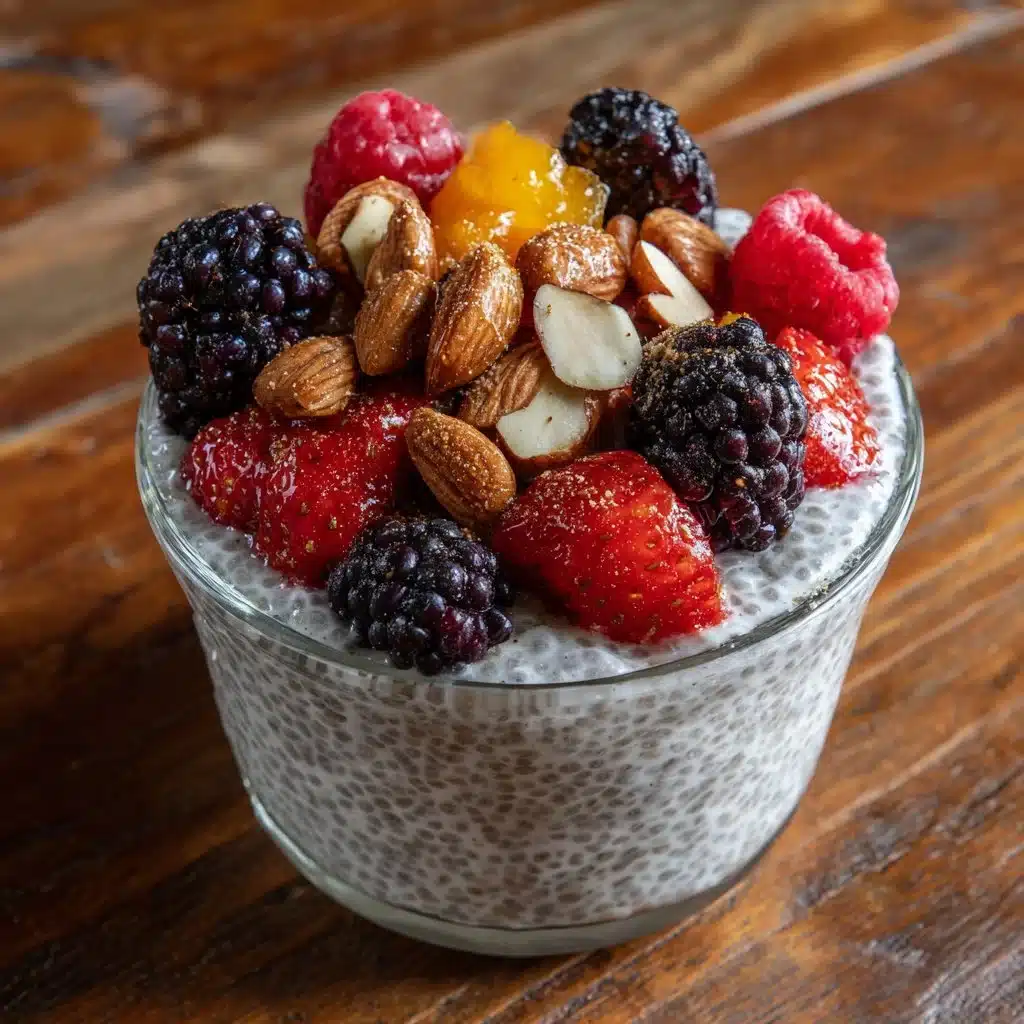
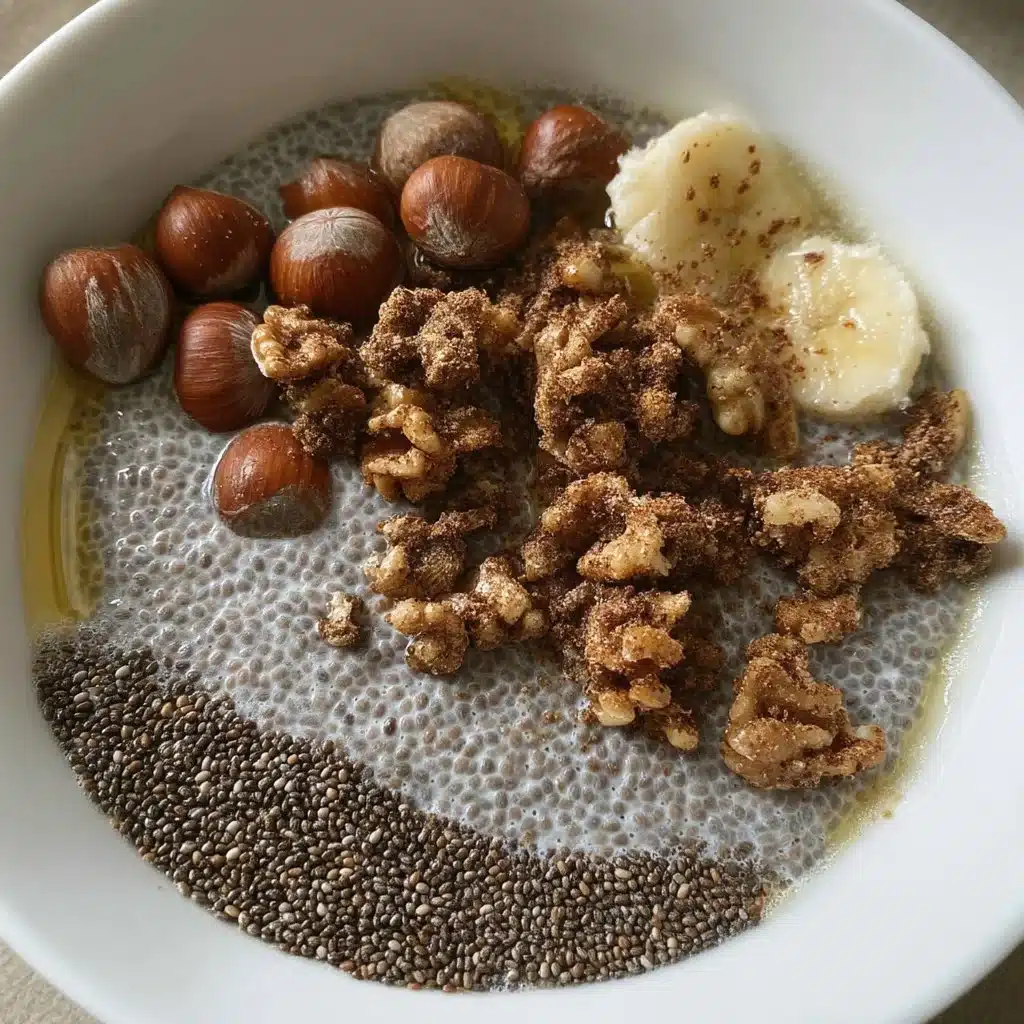
Serve chia pudding in a clear jar or bowl to show the layers and make it feel special. For weekday breakfasts, top with sliced bananas, a sprinkle of cinnamon, and a few chopped walnuts for a balance of creamy, sweet, and crunchy textures. For a bright summer option, add a spoonful of mixed berries and a few mint leaves. If you want to make a dessert, stir in a tablespoon of cocoa powder and top with shaved dark chocolate and toasted almonds.
Layering makes it look like a care-filled treat: a few tablespoons of berry compote, then the chia pudding, then a scattering of granola or toasted coconut on top just before serving keeps the crunch. For a quick on-the-go option, fill small mason jars and add a lid; pack fruit in a separate small container if you want to avoid soggy toppings. For kids, try a swirl of peanut butter or a dollop of yogurt inside for a familiar, comforting flavor.
How to keep leftovers
Store chia pudding with an airtight lid to maintain its texture and prevent fridge flavors from seeping in. It keeps well in the refrigerator for up to five days if you keep it chilled. If you plan to meal prep, make individual portions in jars so you only open what you need each day. Toppings store separately best: keep granola or toasted nuts in a small container and add them when you eat the pudding to preserve their crunch.
If the pudding becomes a touch thicker than you prefer after sitting for a few days, stir in a splash of milk to loosen the texture. Avoid freezing plain chia pudding; freezing can change the gel structure and create a watery texture upon thawing. Instead, freeze fresh fruit compotes or smoothies you plan to layer in, and combine them with refrigerated pudding when ready to serve.
DishGrub Kitchen Tips
Invest in a good set of measuring spoons and a small kitchen whisk or forkthose tools make the initial mixing easier and help prevent clumps. Use room-temperature milk if you want the seeds to hydrate more evenly right away; cold milk works fine too but may take a bit longer to show initial thickening. Taste before chilling: if the mix tastes flat at first, it often improves as it chills, but you can adjust sweetness now so you don’t end up with a bland result.
If you plan to add cocoa or matcha powder, sift it into the milk before mixing with seeds to avoid lumps. When using flavored milks like vanilla almond milk, reduce added vanilla to keep flavors balanced. For smoother texture, blend the seeds and milk briefly with an immersion blender or in a regular blender before refrigerating; this turns the mix into a uniform creamy base similar to pudding. Label jars with the date if you prepare multiple at once so you use the oldest first.
Make it your own
Swap sweeteners freely: use agave, brown rice syrup, or a mashed ripe banana for natural sweetness. To make a chocolate version, whisk a tablespoon of cocoa powder into the milk before mixing with the seeds and sweeten to taste. For a coconut-forward pudding, replace half or all of the milk with coconut milk and top with toasted coconut flakes and chopped pineapple for a tropical bowl.
Add protein by stirring in a spoonful of nut butter or a scoop of unflavored protein powder before chilling. If you enjoy spices, fold in ground cinnamon, cardamom, or a pinch of nutmeg to warm the flavor profile. For a layered parfait, alternate chia pudding with Greek yogurt or fruit compote for a contrast of tang and texture. Feel free to experiment with seedsflax or hemp seeds work as add-ins for extra nutrition, though they behave differently and won’t create the same gel as chia on their own.
Common questions
Q: Can I use different milks, and does the choice change the texture?
A: Yes, you can use any milkdairy, almond, oat, coconut, soy, or others. The milk choice slightly changes the mouthfeel: full-fat dairy or coconut milk yields a richer, creamier pudding, while almond and oat produce a lighter texture. Thicker milks often give a denser pudding, while thinner milks might need a little extra chia or a longer chilled setting time to reach the same firmness. Adjust the seed-to-liquid ratio if you consistently prefer a firmer or looser puddingtry 3 tablespoons of chia for a firmer set or 3/8 cup for a really firm, spoonable texture.
Q: Why did my chia pudding turn out lumpy, and how do I fix it?
A: Lumps happen when seeds clump before they fully hydrate. To prevent lumps, stir vigorously right after combining seeds and liquid and again after the short 5-minute rest to break up any clumps. Using a whisk or giving the mixture a quick blend with an immersion blender also creates a smooth texture. If you already have lumps, blend the pudding briefly and return it to the fridge to reset. Once the seeds hydrate evenly, lumps rarely return.
Q: How long can I store chia pudding, and can I freeze it?
A: Store chia pudding in an airtight container in the refrigerator for up to five days. Keep crunchy toppings separate and add them just before serving. Freezing chia pudding is not ideal because the freezing and thawing process can alter the gel structure, making the texture watery or grainy. Instead of freezing the pudding itself, freeze components like fruit compotes or smoothie layers and assemble with fresh or refrigerated pudding when ready to eat.
Q: Can I make chia pudding without sweetener or with a substitute?
A: Absolutely. You can omit sweetener for a lower-sugar option; ripe fruit like mashed banana or applesauce gives natural sweetness and can blend smoothly into the mix. For low-calorie sweeteners, use stevia or monk fruit, but add sparingly and taste before chilling because they can be sweeter than sugar or syrup. For a more savory or neutral base, skip sweeteners and use chia pudding as a creamy layer in savory bowls with herbs, roasted vegetables, and a drizzle of olive oil.
Conclusion
If you want another simple approach to this pantry-friendly treat, you can compare variations at 3-Ingredient Chia Pudding.
Print
Chia Pudding
- Total Time: 120 minutes
- Yield: 2 servings
- Diet: Vegan
Description
A creamy and adaptable chia pudding perfect for breakfast, snacks, or dessert.
Ingredients
- 1/4 cup chia seeds
- 1 cup almond milk (or any milk of choice)
- 1-2 tablespoons honey or maple syrup (to taste)
- 1/2 teaspoon vanilla extract
- Fresh fruits, nuts, or granola for topping
Instructions
- Measure 1/4 cup chia seeds into a bowl or a jar.
- Pour 1 cup almond milk (or chosen milk) over the chia seeds.
- Add 1-2 tablespoons honey or maple syrup to the mixture.
- Stir in 1/2 teaspoon vanilla extract.
- Stir the mixture vigorously to prevent clumping.
- Let the mixture sit for about 5 minutes to allow seeds to absorb liquid.
- Stir the mixture again to redistribute any settled seeds.
- Cover the bowl or jar tightly.
- Refrigerate for at least 2 hours or overnight until the pudding thickens.
- Serve chilled and top with fresh fruits, nuts, or granola as desired.
Notes
Store chia pudding in an airtight container in the refrigerator for up to five days. Keep crunchy toppings separate and add them just before serving.
- Prep Time: 10 minutes
- Cook Time: 0 minutes
- Category: Breakfast
- Method: No-Cook
- Cuisine: American





