
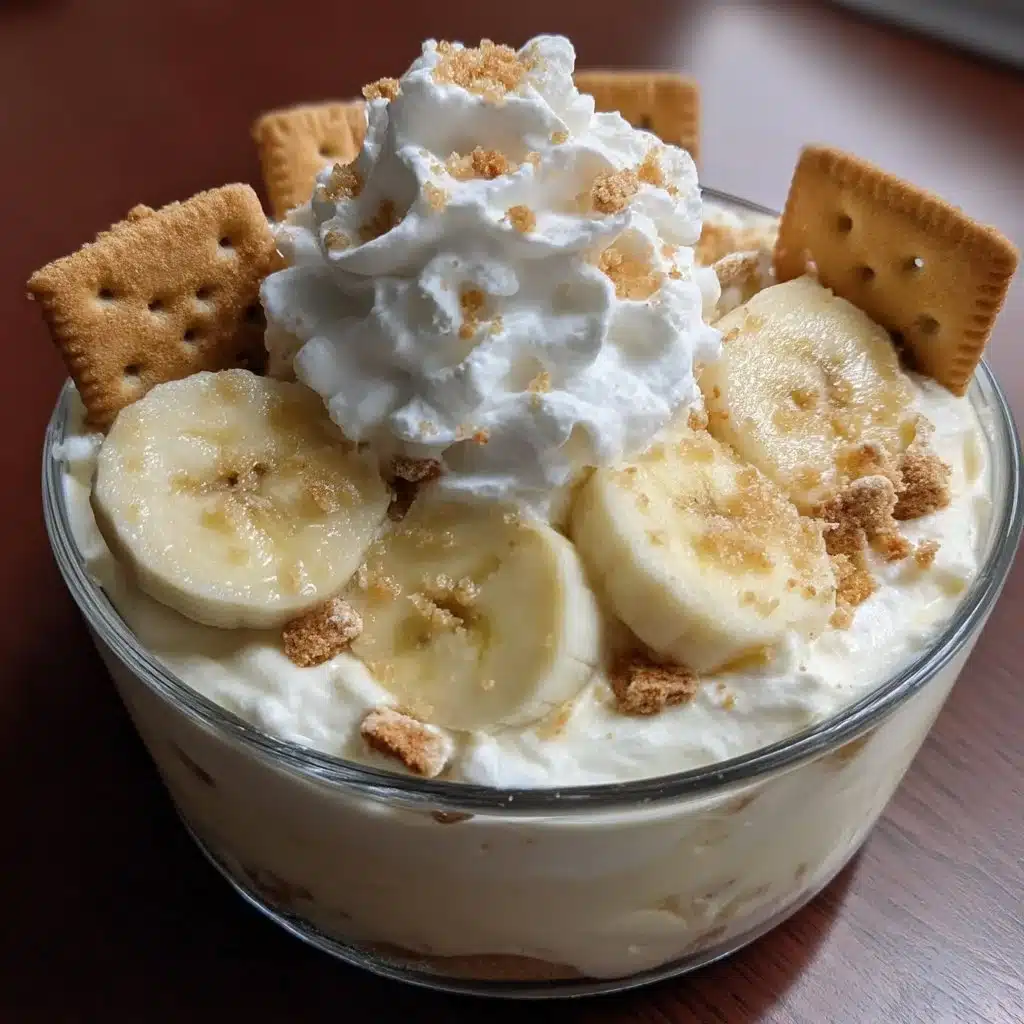
Comfort food gathers people. It fills plates and quiets busy days. These Easy Banana Pudding Cups do both with very little fuss: creamy instant-pudding layers meet soft banana slices and buttery vanilla wafers for a dessert that comforts like a warm kitchen and comes together in minutes.
I remember my grandmother serving banana pudding in Mason jars on summer afternoons. She never measured; she mixed with a spoon and piled wafers until there was just enough room for a final dollop of whipped topping. This recipe strips that nostalgia down to straightforward, pantry-friendly steps so you can repeat that same feeling without a long prep list. You can make the pudding in under 10 minutes and let it chill while you finish the main course. The parfait-style cups let you portion for guests, keep things tidy for potlucks, and give you control over how much cookie crunch or banana you want in every bite.
DishGrub tests each recipe until it feels effortless and reliable. We focus on cozy, practical meals that home cooks actually use week after week. This banana pudding cup keeps things simple: one boxed pudding mix, whipped topping, bananas, and crushed wafers. You don’t need special tools or fuss. If you enjoy make-ahead sweets, you might also like our chia pudding recipe for a no-cook option that stores well for breakfasts or snacks.
Why you’ll love this dish
How to prepare Easy Banana Pudding Cups
Ingredients
- 2 ripe bananas, sliced
- 1 package instant vanilla pudding mix
- 2 cups milk
- 1 cup whipped topping
- 1 cup vanilla wafers, crushed
- Additional banana slices and wafers for topping (optional)
Instructions
-
Whisk the instant vanilla pudding mix and milk in a bowl until smooth.
-
Let the pudding mixture sit for 5 minutes to thicken.
-
Fold the whipped topping into the pudding until well combined.
-
Spoon some crushed vanilla wafers into the bottom of each serving cup.
-
Add a layer of pudding over the crushed wafers.
-
Arrange a layer of banana slices on the pudding.
-
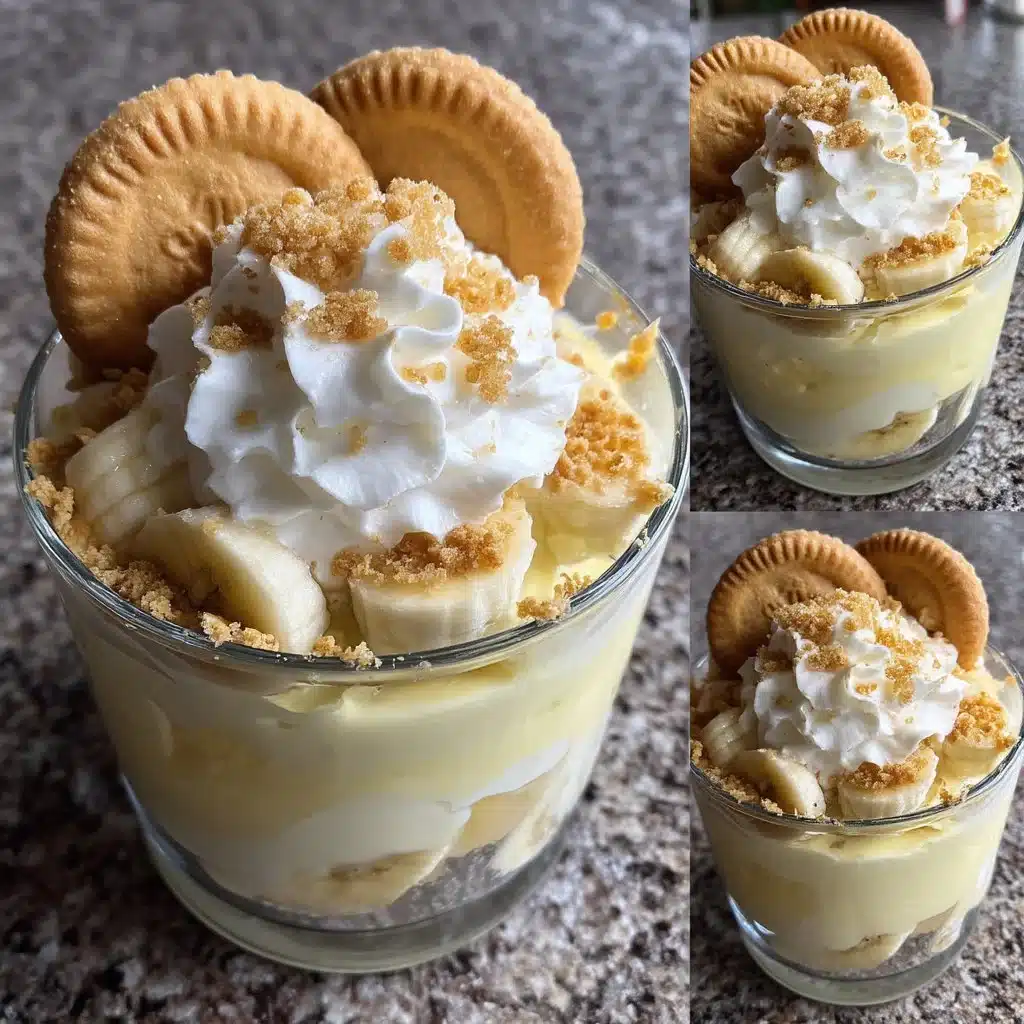
Repeat layers of wafers, pudding, and bananas until the cups fill, finishing with a top layer of whipped topping.
-
Garnish with extra banana slices and crushed wafers if you like.
-
Chill the cups in the refrigerator for at least 1 hour before serving.
Serving ideas
Serve these banana pudding cups right from the fridge for a cool, creamy finish to barbecue, weeknight dinners, or a picnic spread. Offer small spoons and let guests choose their own toppingsextra crushed wafers, a dusting of cinnamon, or a drizzle of caramel work well. For a brunch twist, place a cup next to fresh fruit and coffee; it tastes surprisingly light when paired with citrusy berries. To create a more formal dessert, serve the pudding cups alongside mini shortbread cookies and a pot of hot espresso for contrast.
If you want a warmer pairing, slice a loaf of warm banana bread and serve a small pudding cup on the side; the soft textures and similar flavors create a pleasing set of contrasts. Try pairing with a slice of classic banana bread for a comforting two-item dessert plate that feels both homey and thoughtful.
Storage tips
Store assembled pudding cups covered in the refrigerator for up to 2 days for best texture. The wafers will soften as they sit; if you prefer more crunch, store crushed wafers separately in an airtight container and add them right before serving. If you plan to make components ahead, prepare the pudding and whipped topping mixture and keep it chilled for up to 24 hours; slice fresh bananas just before assembling to avoid browning. Freeze is not recommended for assembled cups because the whipped topping and bananas change texture after thawing, but you can freeze extra crushed wafers in a freezer bag for up to 3 months.
When transporting to a picnic or potluck, keep the cups in a cooler with ice packs to maintain the chilled texture. If you store them in disposable plastic cups for an event, add a layer of plastic wrap directly on top before sealing with lids to reduce condensation.
DishGrub Kitchen Tips
Use ripe but firm bananas so slices hold their shape in the layers. Overripe bananas will mash into the pudding and make the cups denser. Whisk the pudding mix and milk until you see no lumps; instant pudding firms quickly, so follow the 5-minute rest to reach a scoopable texture. Fold in the whipped topping gently to keep the mixture light and airy; vigorous stirring will deflate the topping and yield a denser filling.
Crush the vanilla wafers to a medium-fine consistency so they add texture without becoming gritty. If you want a slightly sturdier base, press a few whole wafer pieces into the bottom of each cup before adding crushed crumbs. For portion control, use 4-ounce cups for individual servings; 8-ounce cups work well if you expect bigger appetites or want to combine this dessert with other sweets on a plated dessert.
If you need a dairy-free version, substitute the milk with an unsweetened almond or oat milk labeled for cooking and use a dairy-free whipped topping. Check the pudding mix label for compatibility with non-dairy milkssome instant puddings thicken better with dairy.
Recipe variations
Swap flavors to create new spins on the classic. Use banana pudding mix for extra banana flavor or try butterscotch pudding for a caramel-like profile. For a chocolate twist, layer chocolate sandwich cookies in place of vanilla wafers and fold in a tablespoon of cocoa powder to the pudding mix before adding the whipped topping.
Make a grown-up version by tossing banana slices with a splash of dark rum or bourbon before layering, then reduce the amount if serving to kids. For added fruit brightness, layer thinly sliced strawberries or raspberries between banana layers to cut through the sweetness. You can also turn this dessert into parfait-style breakfast treats by using Greek yogurt in place of whipped topping and reducing added sugartop with chopped nuts and a sprinkle of granola.
If you want extra decadence, melt a few chocolate squares and drizzle them over the top just before serving. For a nutty crunch, sprinkle chopped toasted pecans or almonds on the final whipped topping layer.
Common questions
Q: How far ahead can I assemble these pudding cups?
A: Assemble the cups up to 24 hours in advance for convenience, but slice and add bananas no more than a few hours ahead to avoid discoloration. If you prepare components in advance, store the pudding mixture and crushed wafers separately and assemble just before serving for the freshest texture.
Q: Can I use homemade pudding instead of instant mix?
A: Yes. Homemade cooked pudding works beautifully and gives a richer, creamier flavor. Cool the pudding completely before folding in whipped topping so it retains its light texture. Keep in mind that homemade pudding may thicken differently, so adjust the ratio of whipped topping to reach your desired creaminess.
Q: My wafers get soggy overnight. How do I keep them crunchy?
A: To preserve crunch, store crushed wafers in an airtight container and add them right before serving. Alternatively, create a firmer base by pressing a layer of whole wafers into the bottom of the cups and keeping the crushed topping separate. If you must assemble ahead, accept that the wafers will soften and plan for a softer, spoonable dessert rather than a crunchy parfait.
Q: Can I make these for a crowd?
A: Absolutely. Multiply the ingredients and spoon into individual cups, Mason jars, or one large trifle dish. For a trifle, build slightly thicker layers and chill for at least 2 hours before serving to allow flavors to meld. Keep extra toppings separate so guests can customize their portion.
Q: Any tips for keeping banana slices from browning?
A: Toss banana slices with a small amount of lemon juice to slow browning; the acid prevents oxidation and adds a faint brightness. Use just a light brushtoo much citrus will change the flavor. Also, assemble closer to serving time when possible.
Conclusion
For another take on layered banana desserts and inspiration, check out Banana Pudding Cups – Kim’s Cravings.





