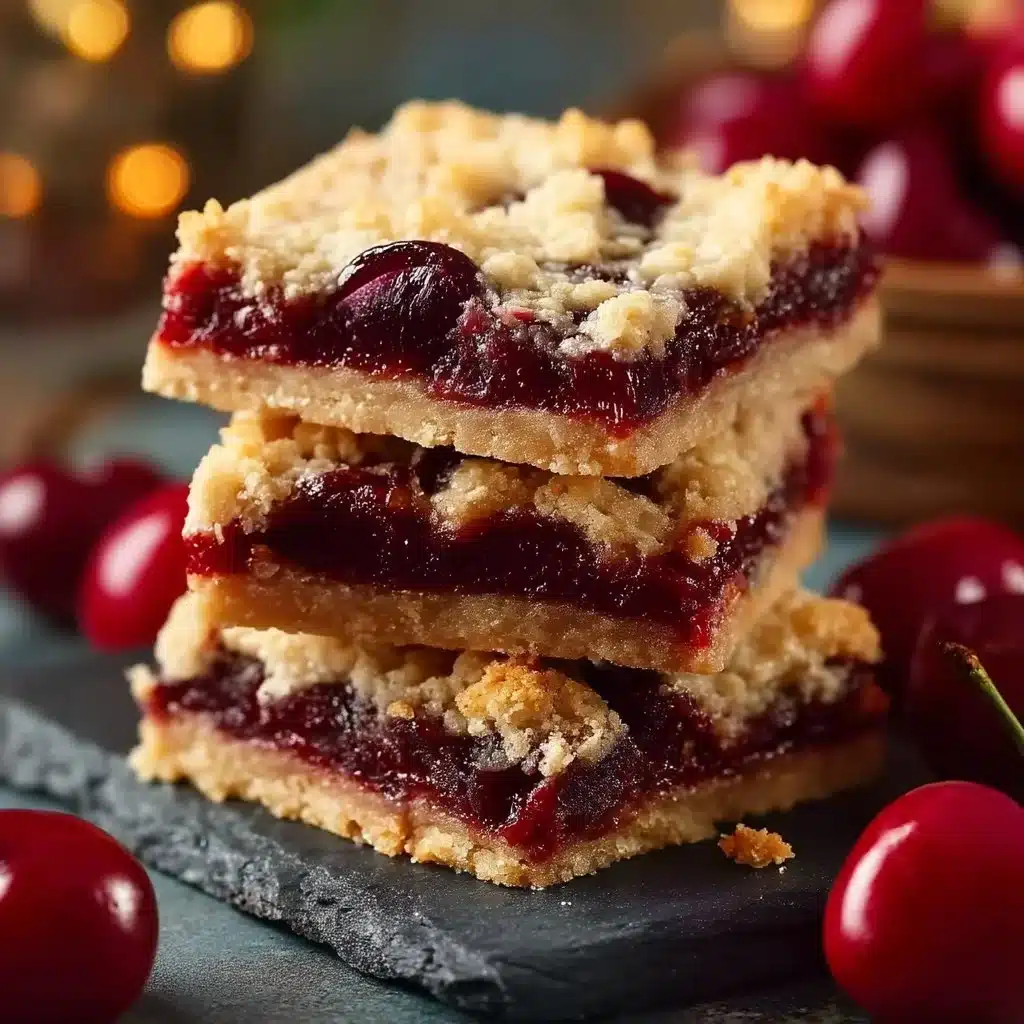
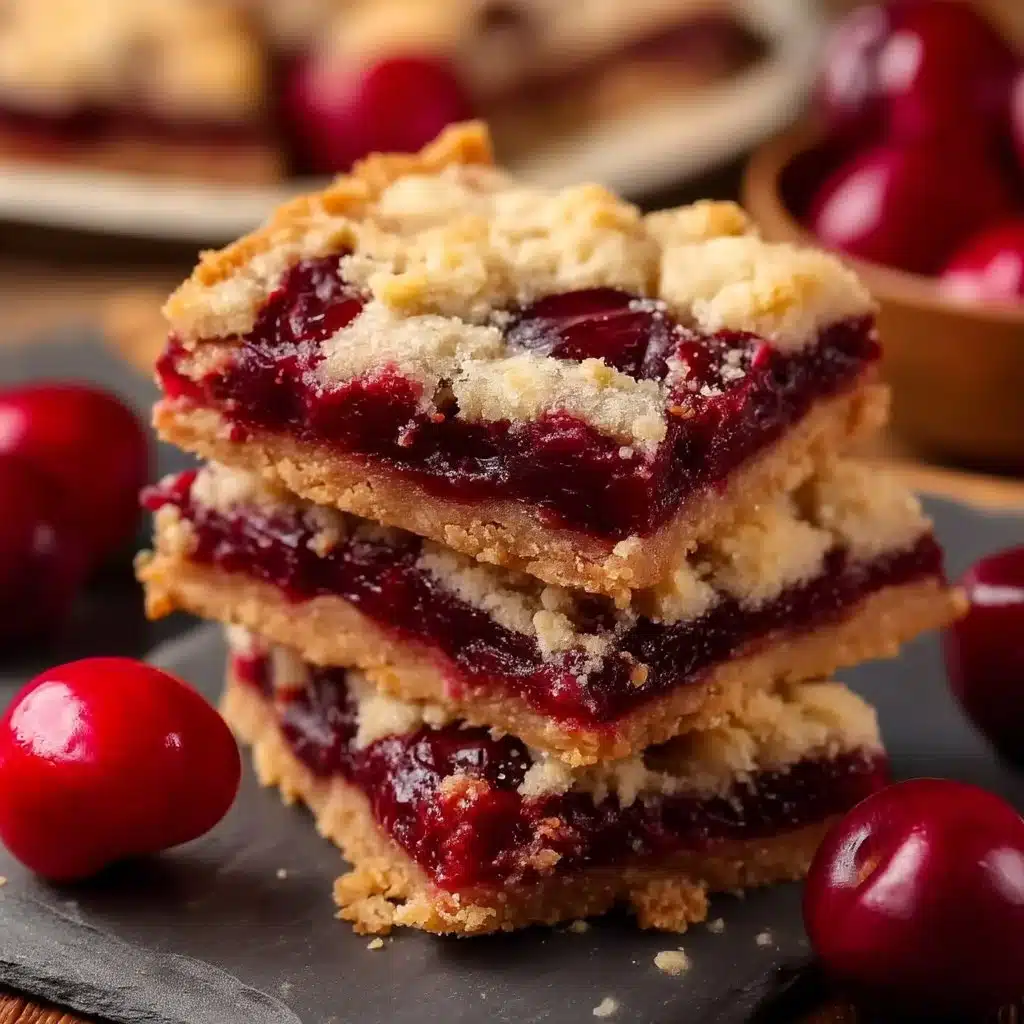
On cool evenings I pull a pan of cherry pie bars from the oven and the house seems to sigh in contentment. The scent of butter and vanilla drifts through the rooms, and people who were scattered across the day find a reason to gather. A simple sheet of jammy cherries tucked into a tender, slightly crumbly dough feels like a hug you can eat. These bars land between a classic pie and a cookie bar: they give you flaky shortbread, bright preserved cherries, and a glossy glaze that makes each square feel celebratory even if you cut them for Tuesday dessert.
I like recipes that travel well from kitchen to couch to potluck table. These cherry pie bars travel even better. You can assemble the dough ahead, press half into the pan, keep the rest chilled, and finish everything in under an hour on busy afternoons. Kids help spoon the filling; a party of friends helps polish off the pan. They slice into neat squares for a bake sale or serve warm with vanilla ice cream for a weekend treat. The cherry filling gives countable bursts of flavor, while the shortbread-like dough frames each bite with buttery comfort. I choose canned premium cherry pie filling for predictable color and texture, though I include notes below if you want to use fresh fruit.
At DishGrub we test recipes until they behave. We prefer cozy food that won’t make home cooks feel nervous. Our approach keeps ingredient lists short, steps logical, and results reliable so you can relax and enjoy the baking as much as the eating. If you enjoy recipes that balance comfort and ease, you might also like our take on seasonal dinners like an asparagus risotto recipe that shines with minimal fuss: asparagus risotto recipe. We write for real kitchens and real schedules, and these cherry pie bars fit right into that way of cooking.
Why this recipe works
This recipe pairs a sturdy, buttery base with a smooth, bouncy cherry filling so every bite tastes balanced. The dough behaves like shortbread: it holds together when you press it in the pan and crumbles slightly at the edges as it bakes. The eggs add structure and the extracts give a rounded, bakery-like aroma without any complicated steps. Using a single can of premium cherry pie filling removes the guesswork about sugar and thickening agents. The filling spreads evenly and retains neat pockets of cherries after baking.
The glaze finishes the bars with a shiny, sweet touch that offsets the tartness of the cherries. Almond extract in both the dough and the glaze amplifies the cherry flavor without overtaking the other notes. The result feels homemade and thoughtful, but it won’t demand hours of hands-on attention.
Simple steps for Easy Cherry Pie Bars: A Simple Cherry Dessert to Savor
Ingredients
- 1 cup softened butter
- 1 cup sugar
- 2 large eggs, room temp
- 1 tsp almond extract
- 1 tsp vanilla extract
- 2 ½ cups all-purpose flour
- ½ tsp salt
- 1 (21 oz) can premium cherry pie filling
- For glaze: 1 cup confectioners’ sugar
- For glaze: 1 tsp almond extract
- For glaze: ½ tsp vanilla
- For glaze: milk as needed
Instructions
-
Preheat oven to 350°F (175°C).
-
Cream butter and sugar.
-
Add eggs and extracts.
-
Mix in flour and salt.
-
Press half the dough in pan.
-
Spread cherry filling evenly.
-
Dollop remaining dough on top.
-
Bake 35–40 minutes.
-
Cool.
-
Drizzle glaze and serve.
Serving ideas
Serve these bars warm or at room temperature depending on the mood. Offer a scoop of vanilla ice cream or a spoonful of whipped cream for an indulgent finish. For a lighter option, top bars with a dollop of plain Greek yogurt sweetened with a splash of honey; the tang brightens each bite. If you want to dress them up for guests, warm the bars briefly, dust with a little extra confectioners’ sugar, and add a few toasted almond slices for crunch and color contrast.
Cut the bars into small squares for a dessert tray or into larger pieces for a casual family night. They pair beautifully with coffee, black tea, or a sparkling beverage if you serve them at a brunch or shower. If you pack them for a picnic, wrap them in parchment to keep the glaze from sticking.
Storage tips
Store the bars in an airtight container at room temperature for up to two days. If you plan to keep them longer, refrigerate for up to a week; chilling will firm the dough and keep the glaze set. When refrigerated, allow bars to come to room temperature before serving so the texture becomes tender again.
For freezing, cut into squares and layer between sheets of parchment in a freezer-safe container. Freeze for up to three months. Thaw in the refrigerator overnight and bring to room temperature before finishing with any extra glaze or toasting a few almond slices if you like.
DishGrub Kitchen Tips
Press the dough evenly into the pan so the top layer can bake through without sinking into the filling. Use a piece of parchment paper or a flat-bottomed measuring cup to get a smooth, even surface. If the dough feels too sticky to handle, chill it for 15 minutes; cooler dough becomes easier to press and dollop.
When you dollop the remaining dough over the filling, leave small gaps so the cherries breathe and steam can escape. That creates a patchwork top that crisps nicely. If you want a slightly thicker crust, use a 9×13-inch pan; for thinner bars, use a 10×15 and watch the baking time. For techniques that transfer well between sweet and savory, see our reliable risotto method, like this creamy asparagus risotto, which highlights timing and texture in a similar, no-fuss way.
Recipe variations
Swap the cherry filling for blueberry or apple pie filling in the same quantity for a different seasonal twist. Add a tablespoon or two of lemon zest to the dough for a citrus lift that brightens the cherries. For a nutty spin, fold ½ cup chopped toasted almonds into the base dough before pressing; they add a pleasant crunch and echo the almond extract.
If you prefer a lattice look, roll out the reserved dough and cut thin strips to weave across the top. For a lighter glaze, mix just enough confectioners’ sugar and milk to create a thin, paintable drizzle. For gluten-free bars, try a 1-to-1 gluten-free flour blend and add a tablespoon of xanthan gum if your blend lacks it to help with structure.
Common questions
Q: Can I make these bars with fresh cherries instead of canned filling?
A: Yes. Use about 3 cups of pitted fresh cherries. Toss them with ¼ to ½ cup sugar and 2 teaspoons cornstarch to help thicken the juices, then cook briefly in a saucepan to soften and release juices before spreading the mixture over the crust. Cooling the cooked cherries before adding them to the dough helps prevent the top from absorbing too much moisture during baking.
Q: My top dough sank into the filling. How do I avoid that?
A: To prevent sinking, dollop the top dough rather than spreading it thinly, and leave small gaps so steam can escape during baking. If you place the top dough too evenly, it can soften and sink. Chill the pan for 10 minutes before baking if your kitchen runs warm; firmer dough holds its shape better in the oven.
Q: The glaze looks runny. How do I get the right consistency?
A: Start with less milk and whisk it into the confectioners’ sugar a teaspoon at a time. The glaze should form a ribbon when you lift the whisk and fall back slowly. If it looks too thin after adding, stir in more confectioners’ sugar until you reach the desired thickness. For a glossy glaze that sets, give it 10–15 minutes at room temperature before stacking or packing the bars.
Q: Can I make the dough ahead of time?
A: Yes. The dough keeps well refrigerated for up to 48 hours. Wrap it tightly in plastic wrap. When ready, press half into the pan and proceed with filling and topping. Chilled dough is easier to handle and gives a slightly flakier texture when baked.
Q: How do I get even slices without the glaze sticking to the knife?
A: Use a sharp chef’s knife and wipe it between cuts. For cleaner slices, chill the pan until the glaze firms, then run the knife under hot water, dry it quickly, and slice. Repeat for each cut if you want neat edges for presentation.
Conclusion
For a classic take on cherry bars with reliable results, you can compare variations and techniques with the recipe at Cherry Pie Bars – The Country Cook.