
Comfort food has a way of folding itself into our lives like a favorite sweater familiar, warm, and easy to reach for when the day needs softening. A plate of stuffed bell peppers does exactly that: colorful vegetables cradling a savory, seasoned filling that feels like a small, personal celebration at the dinner table. I remember the first time I served these to a chaotic weeknight crowd; the kitchen smelled like caramelized onions and paprika, and for a few minutes everyone slowed down, traded stories, and dug into something simple and satisfying. That’s the kind of meal that keeps people coming back to the table.
We make recipes here that work in real kitchens under real-life conditions. At DishGrub, we test every recipe on busy weeknights, with hungry kids, impatient partners, and the need for leftovers that reheat well. We favor straightforward steps, pantry-friendly ingredients, and techniques that deliver consistently. These stuffed bell peppers started as a weeknight solution a way to use leftover rice and ground beef and turn them into a dish that looks special without the fuss. Over time we refined the seasoning, the bake time, and the cheese finish so you get tender peppers, a juicy filling, and minimal cleanup.
This recipe hits that sweet spot between fuss-free and crowd-pleasing. You can prep the filling while the oven warms, assemble everything in one baking dish, and adapt the filling easily to what you have on hand. Whether you lean turkey for a lighter meal or stick with beef for something richer, these stuffed peppers offer balanced flavors and bright color that make any table feel cozier. Leftovers reheat beautifully, so this becomes a reliable plan for busy nights and easy lunches. Below you’ll find clear steps, practical tips, and simple serving ideas to make this recipe a regular in your weeknight rotation.
Why this recipe works
This stuffed pepper recipe balances simplicity with flavor. It uses cooked rice and a pound of ground meat so you get satisfying texture and protein without complicated prep. Diced tomatoes add moisture and a gentle acidity that keeps the filling from becoming dry, while garlic powder and paprika give the mix a warm, savory backbone without needing specialty spices. The peppers act like little edible bowls, concentrating the filling’s aroma as they bake and providing a tender-but-still-structured bite.
The technique also supports consistent results. Browning the meat with onion first builds depth through caramelization, and mixing in the rice and tomatoes lets the flavors marry before baking. Covering the dish for the first part of baking steams the peppers gently, then removing the foil finishes the top and melts any cheese you choose to add. That two-stage bake keeps peppers tender without collapsing and gives you a pleasing contrast between the soft interior and lightly blistered exterior.
This recipe scales easily. If you need more, double the filling and use a second pan; if you need less, three peppers will also work. You can prepare the filling a day ahead and stuff peppers just before baking, which makes this dish great for meal planning.
How to prepare Stuffed Bell Peppers
Ingredients
- 4 bell peppers
- 1 cup cooked rice
- 1 pound ground beef (or turkey)
- 1 cup diced tomatoes
- 1 small onion, diced
- 1 teaspoon garlic powder
- 1 teaspoon paprika
- Salt and pepper to taste
- 1 cup shredded cheese (optional)
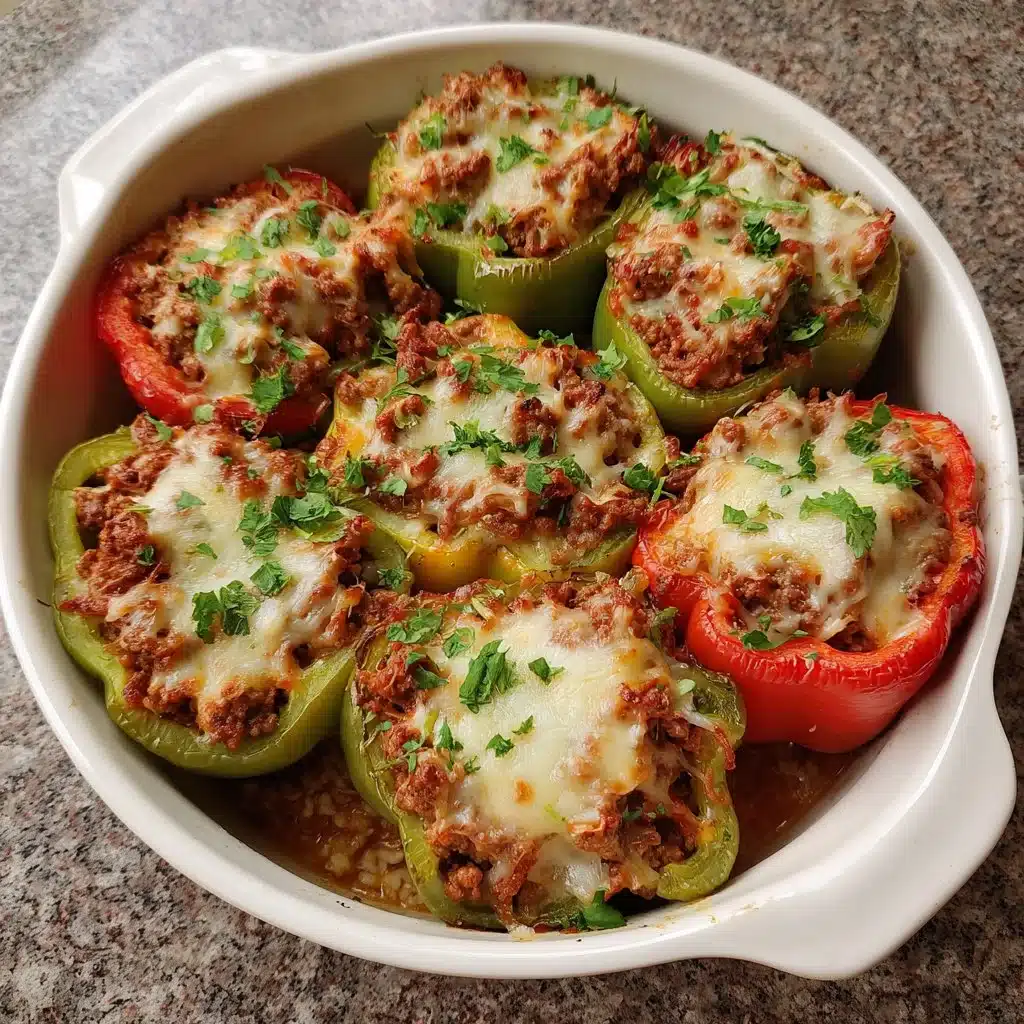
Instructions
- Preheat your oven to 375°F (190°C).
- Cut the tops off the bell peppers and remove the seeds.
- In a skillet, cook the ground beef with the diced onion until browned.
- Add in the cooked rice, diced tomatoes, garlic powder, paprika, salt, and pepper; mix well.
- Stuff the mixture into the bell peppers.
- Place the stuffed peppers upright in a baking dish.
- If desired, sprinkle cheese on top of each pepper.
- Cover the dish with aluminum foil and bake for 30 minutes.
- Remove the foil and bake for an additional 10-15 minutes, until peppers are tender and cheese is melted.
- Serve warm.
Serving ideas
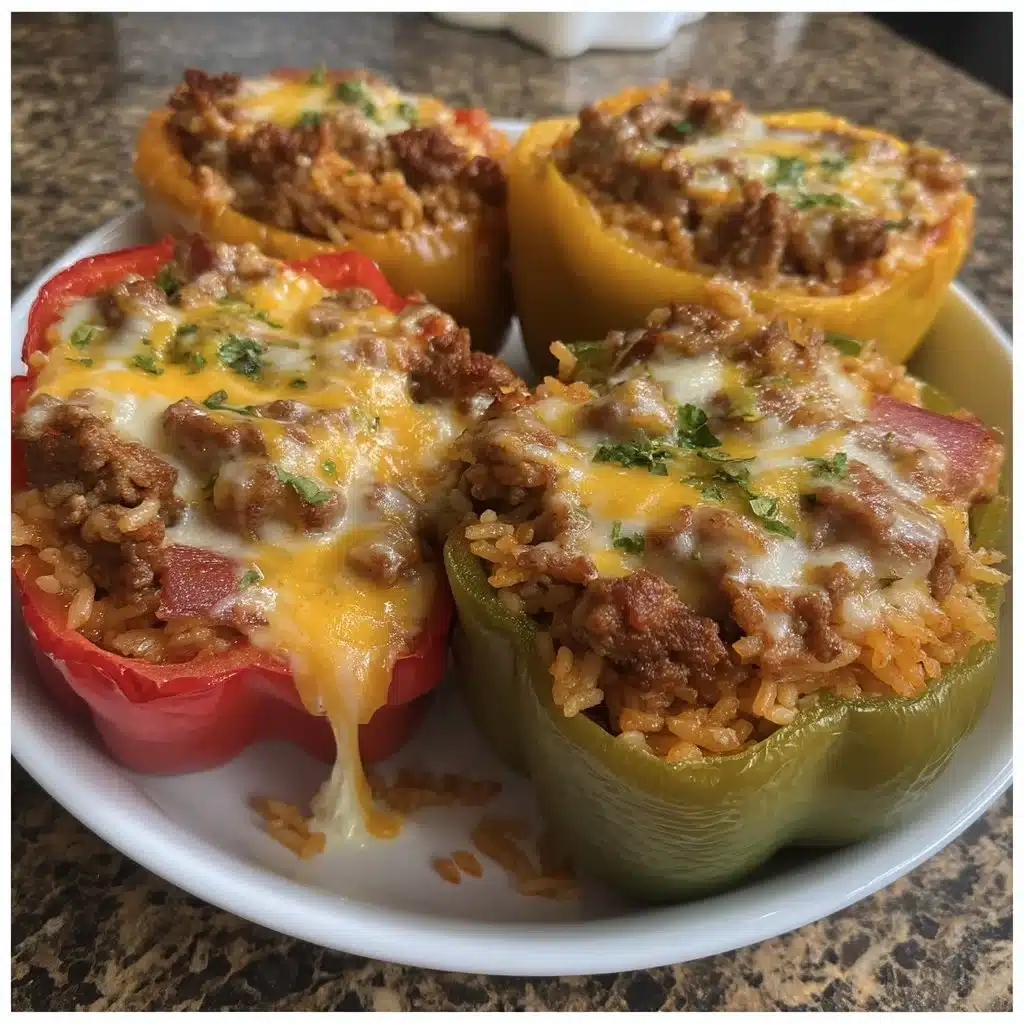
Serve these stuffed bell peppers straight from the baking dish for a homey family meal. A crisp green salad brightens the plate and adds a fresh contrast to the warm, savory filling. If you want a heartier spread, offer crusty bread or garlic toast to soak up any juices from the peppers. For lighter sides, steamed green beans or a simple cucumber-tomato salad keep things bright.
Consider topping with a spoonful of plain yogurt or sour cream and a sprinkle of chopped fresh herbs like parsley or cilantro for a cool, herbaceous finish. A drizzle of salsa or a few slices of avocado can add a Southwestern twist that plays well with the paprika and tomatoes. For kids, cut peppers into halves to make smaller, manageable portions and serve with a side of roasted potatoes or sweet potato fries.
If you plan to serve for a group, set the stuffed peppers on a platter and garnish with extra shredded cheese and herbs so guests can help themselves. They look attractive on the table and travel well to potlucks or casual gatherings.
How to keep leftovers
Cool leftovers to room temperature no more than two hours after baking, then transfer them to an airtight container. Store in the refrigerator for up to 4 days; the peppers and filling keep their texture well and reheat evenly. For reheating, place a pepper on a microwave-safe plate and heat for 1 to 2 minutes, checking halfway, or rewarm in a 350°F oven for 10–15 minutes covered with foil to prevent drying out.
For longer storage, freeze individual peppers by wrapping each tightly in plastic wrap and placing them in a freezer bag or container. They keep up to 3 months. Thaw in the refrigerator overnight before reheating, and bake at 350°F for about 20–30 minutes to restore tenderness and warmth. If you plan to freeze, omit fresh garnishes like yogurt or avocado until after reheating.
Keep any extra sauce or juicier components separate if possible; they reheat better when added back just before serving. Label containers with the date so you use the oldest leftovers first.
DishGrub Kitchen Tips
Use bell peppers of similar size so they bake evenly. If some peppers are much larger, they may take longer to become tender while the filling risks drying out. Stand the peppers upright in a snug baking dish so they support one another and stay upright while baking.
Don’t skip browning the meat. Even a quick brown adds complex flavor through the Maillard reaction and renders some fat that flavors the filling. Drain excess grease if you used higher-fat beef, but leave a little to carry flavor. Taste the filling before stuffing and adjust salt, pepper, or spices seasoning at this stage ensures the final dish won’t be bland.
If you like a saucier filling, stir in a spoonful of tomato sauce or a splash of broth before stuffing. To test pepper tenderness, pierce one near the end of baking with a fork; it should glide in easily but not collapse. If the peppers aren’t soft yet, bake covered for an additional 10 minutes and check again.
Make it your own
Swap the ground beef for ground turkey or a plant-based crumble for a lighter or vegetarian option. Stir in cooked quinoa, barley, or cauliflower rice instead of white rice for variety. Mix in different seasonings oregano and basil for an Italian vibe, cumin and chili powder for a Tex-Mex twist, or curry powder for a surprising global flavor.
Add-ins like black beans, corn, or chopped mushrooms increase fiber and stretch the filling for more servings. Finish with different cheeses: Monterey Jack or cheddar melts nicely for a classic finish; feta or goat cheese brings tang and a creamier texture after baking. Try topping with breadcrumbs mixed with olive oil for a crunchy finish in the last 10 minutes of baking.
For a cozy one-pan meal, nestle quartered potatoes or halved zucchini around the peppers; they’ll roast in the same time and make the meal more substantial.
Common questions
How do I keep peppers from becoming soggy?
Soggy peppers usually come from too much moisture in the filling or overcooking. Drain any excess liquid from canned tomatoes before mixing them in, or use diced tomatoes with limited juice. If your filling feels very wet, cook it a few extra minutes on the stove to evaporate some liquid before stuffing. Bake covered for most of the time to steam the peppers gently, then remove the cover for the final 10–15 minutes to allow excess moisture to evaporate and the tops to set.
Can I prepare this ahead of time?
Yes. You can make the filling a day or two in advance and refrigerate it. Assemble the peppers just before baking to keep them from becoming overly soft. Alternatively, stuff the peppers and keep them covered in the fridge for up to 24 hours before baking; add an extra 5–10 minutes to the baking time if you bake them straight from cold.
What if I only have three peppers or more than four?
The recipe adapts easily. Use slightly larger peppers if you have fewer, or fill any extra peppers and set them in the same baking dish they will bake together as long as the pan isn’t overcrowded. If you have more filling than peppers, spread the extra in a small baking dish and bake alongside the peppers as a deconstructed version for serving.
How do I make these spicier or milder?
Adjust the heat by adding red pepper flakes, a dash of cayenne, or a chopped jalapeño to the filling to increase heat. To keep it milder, omit any hot peppers and choose a milder paprika or simply use extra herbs and garlic powder for flavor without the heat.
Conclusion
If you want a reliable, weeknight-friendly version of stuffed peppers with notes on timing, storage, and easy swaps, consider this approach as your go-to. For additional inspiration and variations on the classic stuffed pepper, check out Stuffed Bell Peppers – Budget Bytes for more ideas to make this dish your own.
Print
Stuffed Bell Peppers
- Total Time: 55 minutes
- Yield: 4 servings
- Diet: Gluten-Free
Description
Colorful bell peppers filled with a savory mixture of ground beef, rice, and tomatoes, perfect for a comforting weeknight meal.
Ingredients
- 4 bell peppers
- 1 cup cooked rice
- 1 pound ground beef (or turkey)
- 1 cup diced tomatoes
- 1 small onion, diced
- 1 teaspoon garlic powder
- 1 teaspoon paprika
- Salt and pepper to taste
- 1 cup shredded cheese (optional)
Instructions
- Preheat your oven to 375°F (190°C).
- Cut the tops off the bell peppers and remove the seeds.
- In a skillet, cook the ground beef with the diced onion until browned.
- Add in the cooked rice, diced tomatoes, garlic powder, paprika, salt, and pepper; mix well.
- Stuff the mixture into the bell peppers.
- Place the stuffed peppers upright in a baking dish.
- If desired, sprinkle cheese on top of each pepper.
- Cover the dish with aluminum foil and bake for 30 minutes.
- Remove the foil and bake for an additional 10-15 minutes, until peppers are tender and cheese is melted.
- Serve warm.
Notes
Use similar-sized bell peppers for even baking. Feel free to swap ingredients based on your preference or leftovers.
- Prep Time: 15 minutes
- Cook Time: 40 minutes
- Category: Main Course
- Method: Baking
- Cuisine: American





